Professional made-to-measure digital sewing patterns — PDF · PLT · DXF AAMA
A men's tailcoat with fronts cut away into long back tails and a mock waistcoat panel sewn in between the fronts. Notched lapels buttoned down to the fronts, slanted double-welt pockets with buttoned flaps and a buttoned tab across the back waist. Fully lined. Drafted to your own measurements. Recommended fabric: wool or wool-blend suiting with enough body to hold the tails.
A men's tailcoat with fronts cut away into long back tails and a mock waistcoat panel sewn in between the fronts. Notched lapels buttoned down to the fronts, slanted double-welt pockets with buttoned flaps and a buttoned tab across the back waist. Fully lined.
Silhouette: Fitted, shaped by seamed fronts and by side panels between front and back; padded shoulders.
Length: The fronts are cut away from waist level in a curve; the back falls in long tails to about knee length.
Collar: Notched collar with a separate stand; the collar is set between the coat and the facings. Each lapel point is held to the front with a button.
Front: The coat fronts stay open. Between them sits a separate waistcoat panel, faced with lining and caught into the front facing seam, closed with five buttons; buttonholes on the left side.
Sleeves: Two-piece set-in sleeves with eased caps.
Pockets: Slanted double-welt pockets across the front and side panel seam, each covered by a lined flap fastened with one button.
Back: Centre back seam ending in a vent, curved panel seams, and a lined back tab across the waist with a button at each end.
Finishing: Back vent, front edges and collar topstitched; back tab edgestitched 2 mm from the edge. Fusible interfacing on all fronts, facings, collar and small parts.
Lining: Full body and sleeve lining, bagged through an opening in the left side seam.
Advanced. Double-welt pockets with flaps, a collar with a separate stand set between coat and facing, a sewn-in waistcoat panel, eased two-piece sleeves, a bagged lining and eleven buttonholes.
Wool or wool-blend suiting with enough body to hold the tails. The waistcoat panel, collar, flaps, welts and back tab can be cut from a contrast fabric.
From Main Fabric:
From Main Fabric (Contrast / Layer 1):
From Lining Fabric:
From Fusible Interfacing:
All interfacing pieces are cut using the corresponding main pattern pieces.
Before cutting your fabric:
Apply fusible interfacing to the following pieces, using the corresponding pattern shapes:
Front, Center Front Button Panel, Front Facing, Collar, Collar Stand, Pocket Flaps, Back Tab, and Pocket Welts.
Place the Back Tab (main fabric) and Back Tab (lining) right sides together and stitch around the entire perimeter, leaving an opening along one long edge for turning.
Clip seam allowances along curved areas, turn the Back Tab right side out, and press.
Topstitch around the perimeter 2 mm from the edge.
Work buttonholes at both ends of the Back Tab as marked.
Stitch the shaped seams of the Front pieces.
Press seam allowances open.
Place the Pocket Flap (main fabric) and Pocket Flap (lining) right sides together and stitch along the side and lower edges.
Trim seam allowances at the corners, turn the flap right side out, shape the edges, and press.
Finish the upper raw edge.
Work buttonholes as marked.
Mark the pocket placement on the Front and Side.
Fold the Pocket Welts lengthwise along the center, wrong sides together, and press.
Mark a stitching guideline on each Pocket Welt parallel to the fold.
Mark parallel guideline lines on the Front and Side for attaching the Pocket Welts.
Stitch the Pocket Welts to the Front and Side, with the folded edges facing toward each other.
End the stitching exactly at the marked pocket boundary lines.
Check from the wrong side that the stitching lines are parallel.
Slash the pocket opening between the stitching lines.
Make diagonal clips 1–1.5 cm from each end of the opening.
Turn the Pocket Welts to the wrong side through the opening, straighten the edges, and adjust the welt ends so the pressed folds meet neatly edge to edge.
Secure the pocket ends from the wrong side with a double backstitch at the base of the triangular corners.
Attach the upper Pocket Bag into the seam of the upper Pocket Welt.
Attach the lower Pocket Bag into the seam of the lower Pocket Welt, trim as needed, and stitch the Pocket Bags together.
Attach the Pocket Flap to the Front along the marked line, with the outer edge facing toward the shoulder.
Fold the flap downward and topstitch 0.5 cm along the attachment seam.
Stitch the center back seam from the top down to the start of the vent; press the seam allowances open.
Stitch the shaped seams of the Back; press the seam allowances open.
Stitch the shoulder seams; press the seam allowances open.
Stitch the elbow seam of the sleeve and press the seam allowances open. Press the sleeve hem allowance to the inside.
Stitch the front sleeve seam and press the seam allowances open.
Along the sleeve cap, sew a line of gathering stitches with reduced upper thread tension and draw up slightly. Steam-shrink the ease.
Set the sleeves into the armholes, matching the notches.
Insert and secure the shoulder pads.
Attach the upper collar to the Collar Stand and press the seam allowances open.
Attach the lower collar to the Collar Stand and press the seam allowances open.
Place the collar pieces right sides together and stitch along the outer edge and the side edges from marking to marking.
Clip the seam allowances at the markings and trim the corners.
Turn the collar right side out, shape the edges carefully, and press.
Place each Center Front Button Panel together with its corresponding Center Front Button Panel Lining, right sides together.
Stitch along the outer contour from the marked point to the inner edge.
Clip the seam allowance at the marking and trim the corners.
Turn the piece right side out, shape the edges neatly, and press.
Place the Front Facing right side to the right side of the Center Front Button Panel (Waistcoat Panel).
Align all open edges and baste or pin together along the raw edges.
From this point onward, treat the Facing and Waistcoat Panel as a single unit for further assembly.
Stitch the lining pieces together in the same sequence as the outer garment, leaving an opening in the left side seam for turning later.
Attach the lining to the inner edges of the Front Facings, matching notches and seams.
Place the Front Facings with attached lining and the main garment right sides together.
Stitch around the back vent opening, front edges, and lapels up to the mark indicating the end of the collar attachment.
Clip the seam allowances at the marked points, turn the garment right side out, shape the edges carefully, and press.
Set the upper collar into the neckline of the main garment.
Set the lower collar into the neckline of the lining and Front Facings.
Press the seam allowances open, then secure the collar seam allowances together close to the stitching line.
Attach the lining to the sleeve hems.
Topstitch along the back vent, the front edge, and the collar.
Work buttonholes on the lapels.
Work buttonholes on the left Waistcoat Front.
Sew buttons on the right Waistcoat Front.
Sew buttons corresponding to the buttonholes on the Lapels, Flaps, and Back Tab.
Carefully press the entire garment, shaping seams and edges with steam to achieve a crisp, tailored appearance.
Press the lapels, collar, sleeve heads, vents, and front edges, ensuring all seam allowances lie flat and the garment maintains its intended silhouette.
Lightly steam the garment to remove any remaining creases and allow it to cool completely on a hanger so the structure sets properly.
Ready now, no waiting: PDF A0, A4, US Letter, One Page and Projector files with seam allowances, plus the sewing booklet with fabric requirements — in one ZIP.
Body measurements the sizes are drafted for
| Size | Height | Chest | Waist | Hip |
|---|---|---|---|---|
| M | 178 cm70″ | 100 cm39″ | 85 cm33.5″ | 100 cm39″ |
| L | 183 cm72″ | 107 cm42″ | 92 cm36.2″ | 107 cm42″ |
| XL | 188 cm74″ | 112 cm44″ | 99 cm39.0″ | 113 cm44″ |

#1647
Men's Regency Double-Breasted Tailcoat with Notched Lapels

#1646
Men's Tuxedo Shirt with Pleated Bib
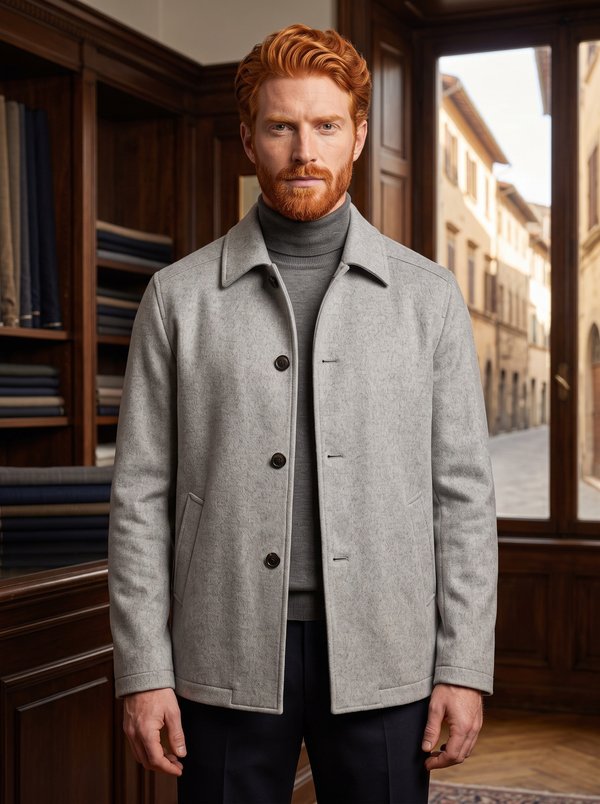
#6005
Casual Wool Jacket
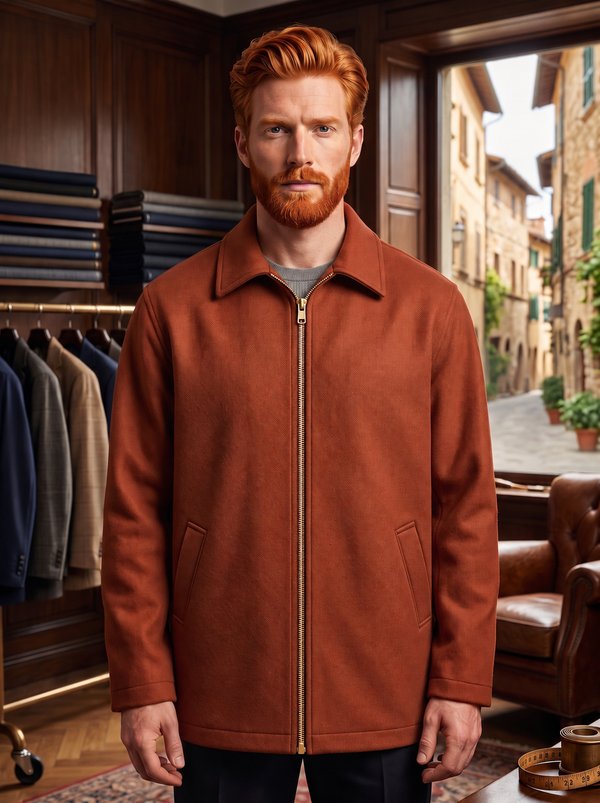
#6006
Casual Jacket with Front Zip
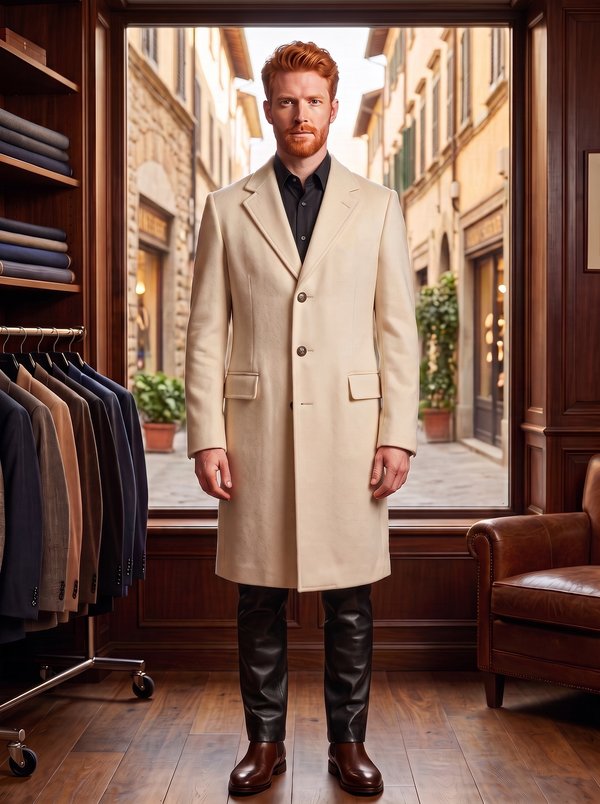
#6009
Men's Classic Single-Breasted Overcoat
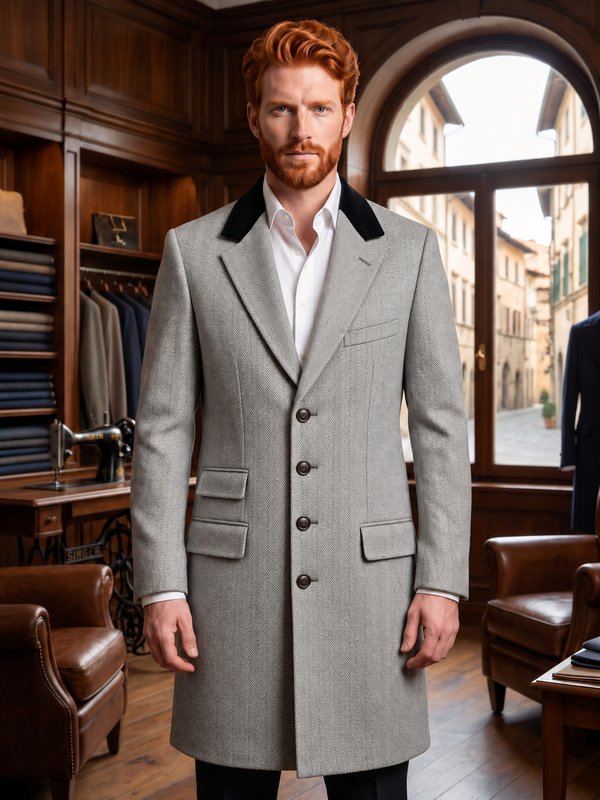
#6010
Classic Knee Length Coat with Velvet Collar
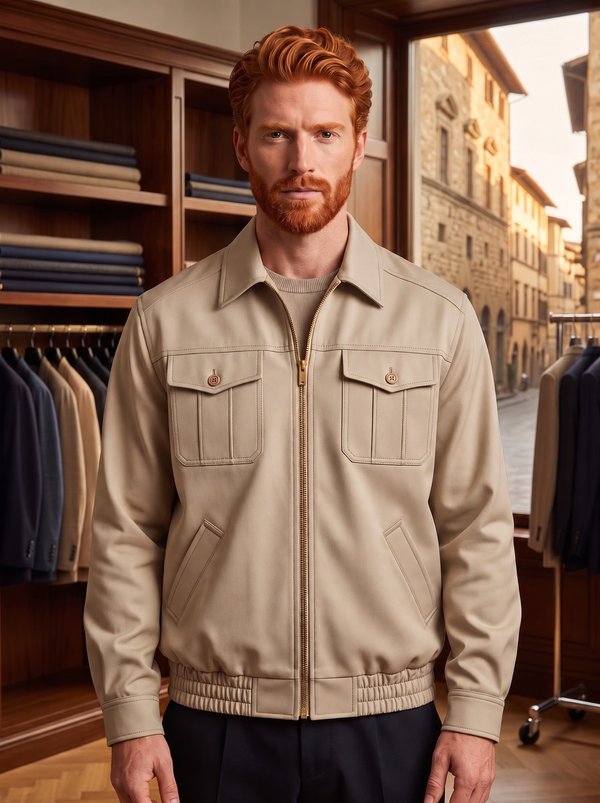
#6011
Men's Eisenhower Jacket with Zip Front & Shirt Collar
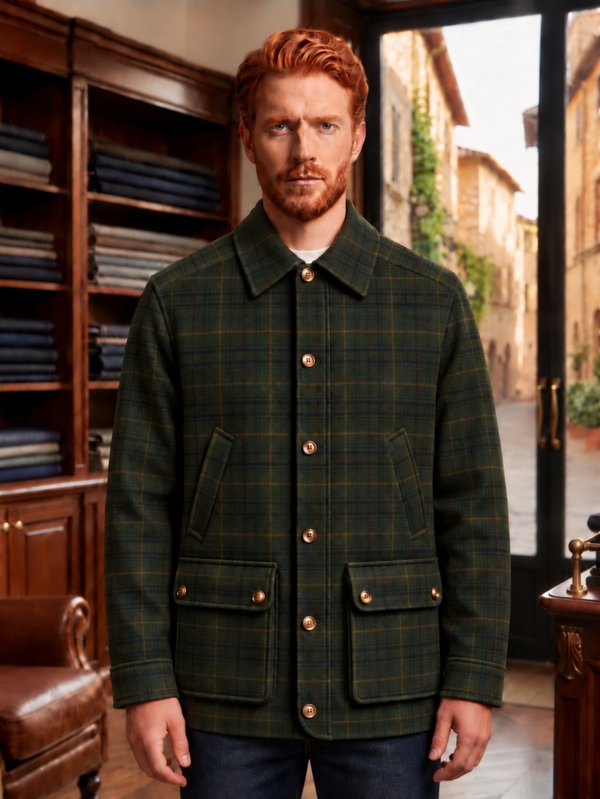
#6012
Men's Field Jacket

Minerva Support
Online