Professional made-to-measure digital sewing patterns — PDF · PLT · DXF AAMA
A women's plus-size waist-length blouse with short cut-on sleeves, a V-neckline finished with bias binding and a five-button front whose lower ends are tied in a knot at the centre front. Only two pattern pieces: a back and two fronts. Drafted to your own measurements. Recommended fabric: blouse fabrics in natural or blended fibres.
A women's plus-size waist-length blouse with short cut-on sleeves, a V-neckline finished with bias binding and a five-button front whose lower ends are tied in a knot at the centre front. Only two pattern pieces: a back and two fronts.
Silhouette: Loose, boxy body drawn in at the front by the tied ends.
Length: Back to the waist; the front extends into ties that are knotted at the centre front.
Neckline: V-neck at the front, shallow round neck at the back, bound with a 4 cm bias strip folded in half and topstitched along the fold.
Sleeves: Short cap sleeves cut in one with the front and back, hems turned up and topstitched.
Front: Cut-on button placket, interfaced and topstitched from the right side; five buttons. The placket corners are bagged out at the neckline and the hem.
Back: One piece cut on the fold, no seams; 2 cm hem turned up and topstitched.
Finishing: Shoulder and side seams overlocked and pressed to the back; front hem and ties turned under and topstitched; seam allowances 1 cm.
Beginner. No set-in sleeves or collar; the work is a bias-bound neckline, a cut-on placket with turned corners and five buttonholes.
Blouse fabrics in natural or blended fibres.
When stitching pieces, pay attention to the notches - they must match!
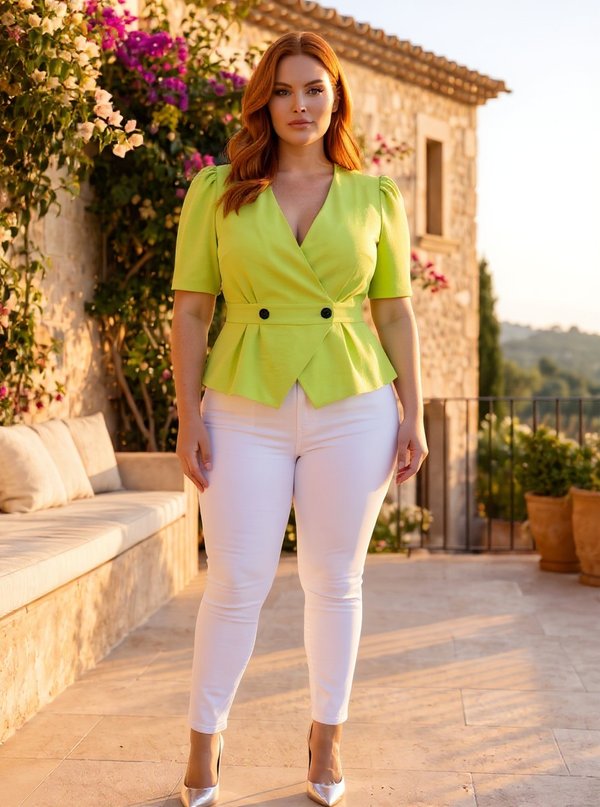
#902448
Plus Size Puff Sleeve Wrap Blouse Asymmetrical Hem
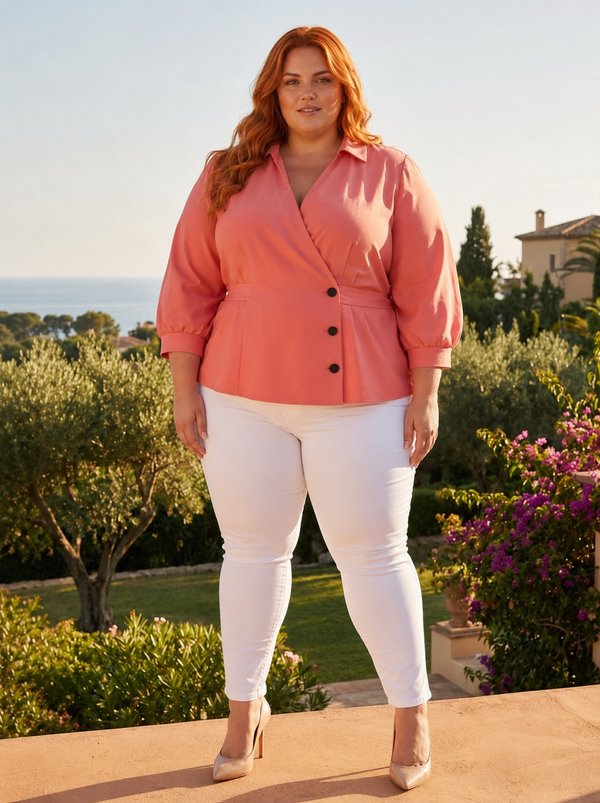
#902447
Plus Size Collared Wrap Blouse with Tie Belt
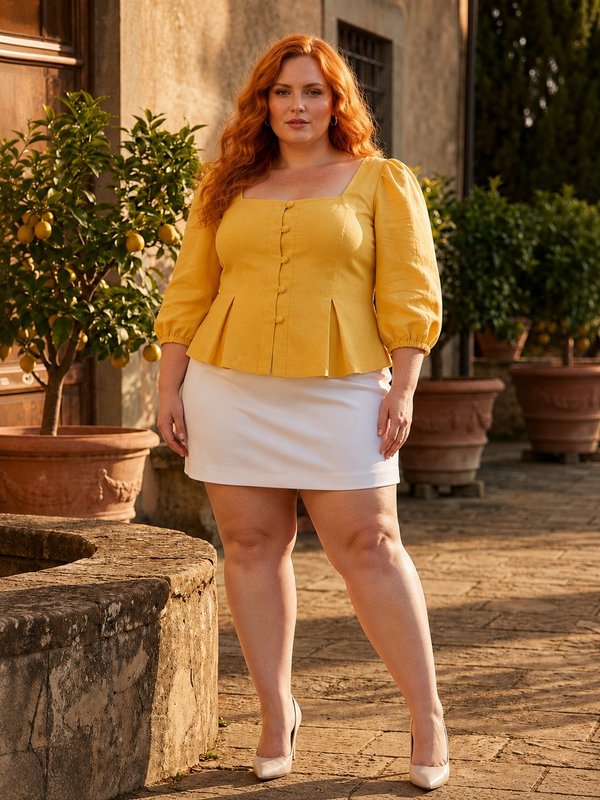
#902446
Plus Size Square Neck Puff Sleeve Blouse with Box Pleats

#902468
Plus Size Sleeveless V-Neck Pleated Swing Top

#902481
Plus Size Asymmetrical Draped Sleeveless Pointed Hem Top

#902483
Plus Size Long Sleeve Draped Crossover V-Neck Top
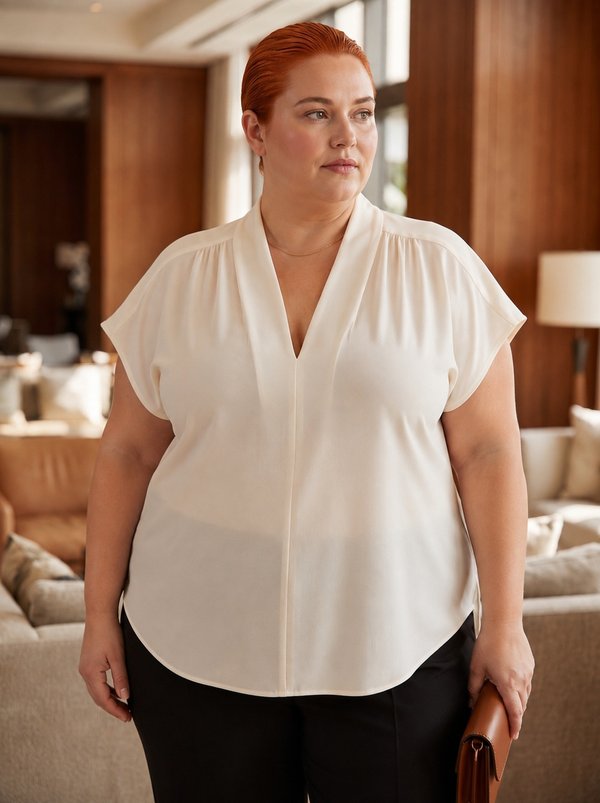
#902484
Plus Size V-Neck Gathered Dolman Blouse

#902429
Plus Size Notched V-Neck Blouse Waistband Short Sleeve

Minerva Support
Online