Professional made-to-measure digital sewing patterns — PDF · PLT · DXF AAMA
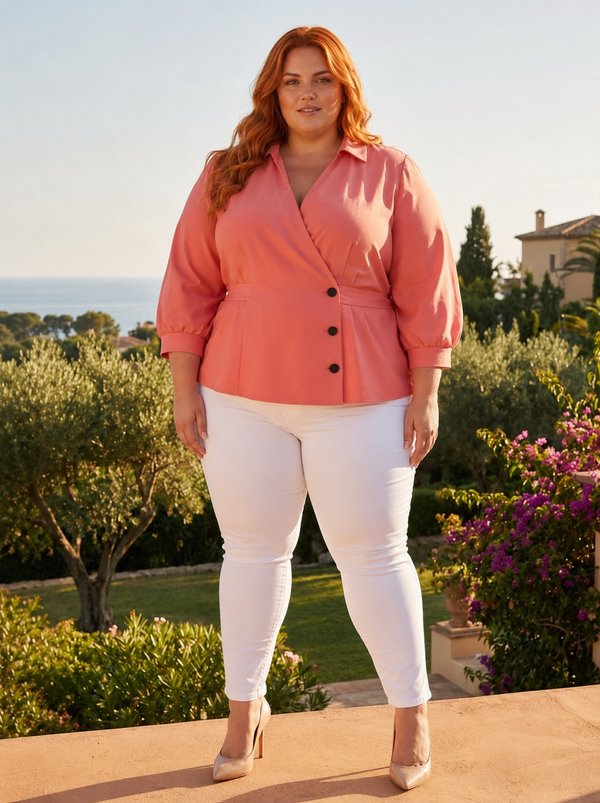
A plus-size women's wrap blouse with a V-neck, a waistband seam and a short peplum whose front panels cross to form an asymmetric, angled hem. The upper fronts are gathered into the waistband, and the elbow-length sleeves have gathered caps. Drafted to your own measurements. Recommended fabric: dress fabrics made of natural or blended fibres.
A plus-size women's wrap blouse with a V-neck, a waistband seam and a short peplum whose front panels cross to form an asymmetric, angled hem. The upper fronts are gathered into the waistband, and the elbow-length sleeves have gathered caps.
Silhouette: Fitted bodice joined to a waistband, with a short flared peplum below.
Length: Just below the waist; the front hem dips to a point where the two lower fronts overlap.
Neckline: Wrap V-neck finished with a folded bias strip 4 cm wide, turned to the inside and topstitched along the fold.
Front: Right front laps over left. The upper fronts are gathered along the lower edge into the waistband. The lower fronts have angled bias edges, overlocked, turned under and topstitched.
Closure: Three buttons: a buttonhole in the right front fastens to a button on the left front, an inner buttonhole in the left front fastens to a hidden button, and a decorative button is sewn on the right front. Two buttons show on the waistband.
Sleeves: Set-in, elbow length, the cap gathered.
Back: Centre back seam and waist darts on the upper back; a back waistband and a one-piece lower back.
Waist: Double-layer waistband, the front sections interfaced; the inner layer is stitched in the ditch of the waistband seam.
Finishing: Hems overlocked, turned up 1.5 cm and topstitched.
Intermediate. Gathering into a waistband, a bias-bound wrap neckline, a double waistband enclosing the peplum, and a hidden inner button.
Dress fabrics made of natural or blended fibres.
If the patterns have a double contour, seam allowances are included. If the contour is single, seam allowances are not included. Seam allowances: hem allowance for the garment and sleeve hem — 1.5 cm, other seams 1 cm. Attention! First, print out the paper patterns and lay them out on the fabric width (fabric width can be from 90 cm to 150 cm) to determine how much material you will need.
When stitching pieces, pay attention to the notches - they must match!
#902447
Plus Size Collared Wrap Blouse with Tie Belt
#902446
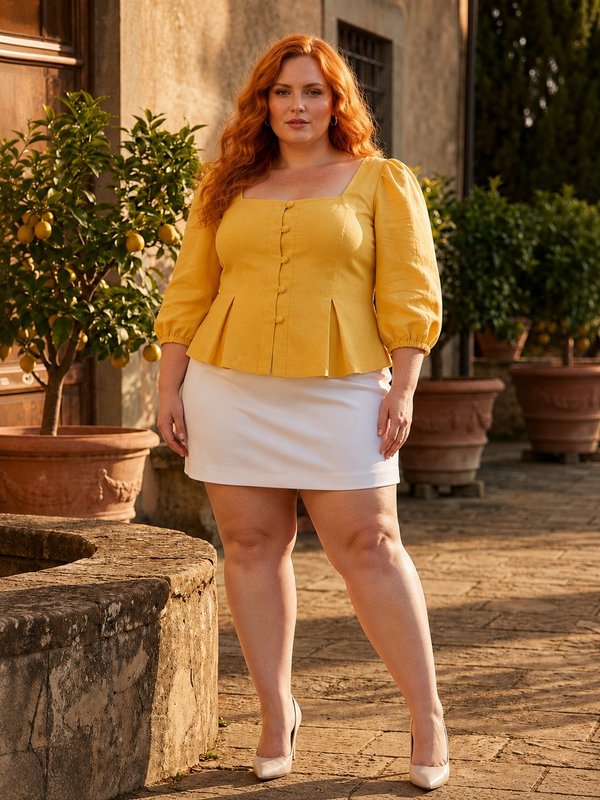
Plus Size Square Neck Puff Sleeve Blouse with Box Pleats

#902457
Plus Size Button-Front Blouse with Bias Neckline

#902429
Plus Size Notched V-Neck Blouse Waistband Short Sleeve

#902468
Plus Size Sleeveless V-Neck Pleated Swing Top

#902481
Plus Size Asymmetrical Draped Sleeveless Pointed Hem Top

#902483
Plus Size Long Sleeve Draped Crossover V-Neck Top
#902484
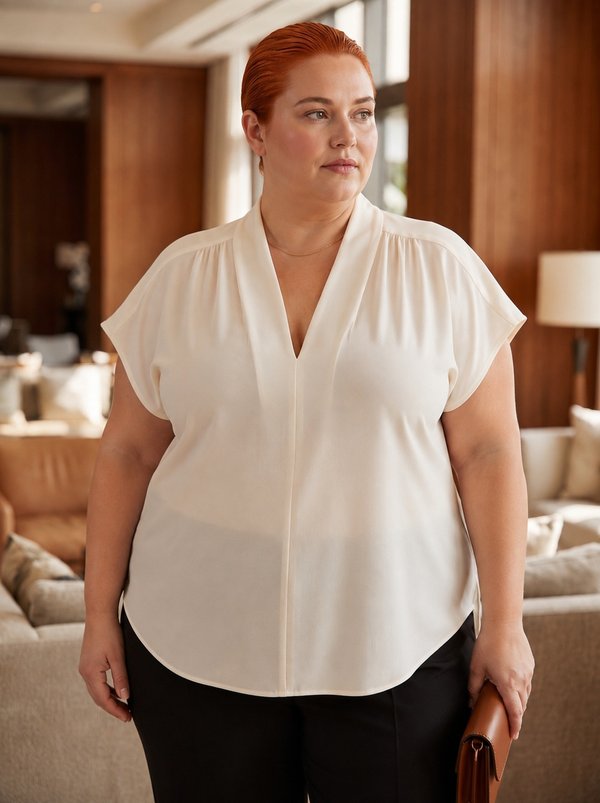
Plus Size V-Neck Gathered Dolman Blouse

Minerva Support
Online