Professional made-to-measure digital sewing patterns — PDF · PLT · DXF AAMA
A plus-size women's hip-length cardigan for dense knit fabric, worn open with no fastening. The wide shawl collar is cut in one with the centre front panels and fully faced, the sleeves are cut in one with the body, and the back ends in a separate lower band. Drafted to your own measurements. Recommended fabric: dense knit fabrics made of natural or blended fibres.
A plus-size women's hip-length cardigan for dense knit fabric, worn open with no fastening. The wide shawl collar is cut in one with the centre front panels and fully faced, the sleeves are cut in one with the body, and the back ends in a separate lower band.
Silhouette: Loose, straight fit, worn open.
Length: Hip length; the front edges curve round into the hem.
Collar: Wide shawl collar cut in one with the centre front panels, joined by a seam at the centre back and set into the back neckline.
Front: Curved princess seams join the centre front panels to the side fronts. The centre front panels are cut double, so the collar, front edges and front hem are faced with the same fabric and interfaced.
Sleeves: Cut in one with the body, the underarm seam sewn together with the side seam; long, finished with folded cuffs.
Back: One piece cut on the fold with a horizontal seam above a separate lower back band, which is cut double. A back neckline facing, reinforced with stay tape, finishes the neck.
Finishing: Seams sewn with a stretch or narrow zigzag stitch; the inner layer is stitched in the ditch of the joining seam.
Intermediate. Sewing knit fabric, a cut-on shawl collar joined at the centre back, and a full inner layer bagged out along the front edges, hem and collar.
Dense knit fabrics made of natural or blended fibres.
Tip: Knit fabric pieces are stitched with a special elastic or narrow zigzag stitch. When serging, trim seam allowances to 0.6 – 0.8 cm. The hem allowance is topstitched with a twin needle to maintain elasticity.

#902873
Plus Size V-neck Puffed 3/4 Sleeve Cardigan

#904122
Plus Size Fitted Knit Jacket with Gathered Trim

#904599
Plus Size Shawl Collar Wrap Jacket

#905812
Plus Size Long Draped Tie-Front Cardigan

#905867
Plus Size Long Draped Waterfall Cardigan

#902301
Plus Size Asymmetric Hem Contrast Panel Blouse
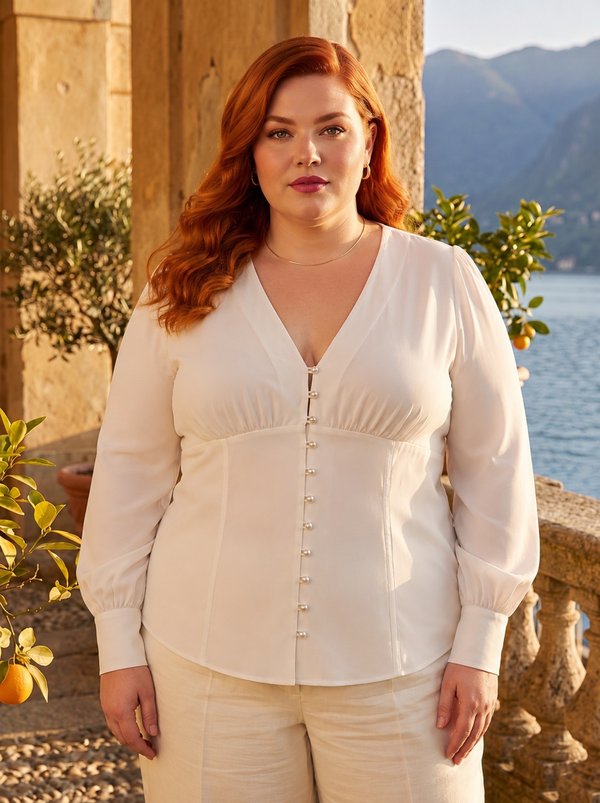
#902310
Plus Size V-Neck Button-Front Blouse Gathered Bodice

#902429
Plus Size Notched V-Neck Blouse Waistband Short Sleeve

Minerva Support
Online