Professional made-to-measure digital sewing patterns — PDF · PLT · DXF AAMA
A men's and unisex hip-length zip-up hoodie in low-stretch knit fabric, with princess seams on the front, pockets set into those seams and a three-piece hood with a drawstring. Rib knit hem band and cuffs, separating zipper. Drafted to your own measurements. Recommended fabric: knit fabric with low stretch, of natural or blended fibres; rib knit for the hem band and cuffs.
A men's and unisex hip-length zip-up hoodie in low-stretch knit fabric, with princess seams on the front, pockets set into those seams and a three-piece hood with a drawstring. Rib knit hem band and cuffs, separating zipper.
Silhouette: Straight, gathered into a rib hem band.
Length: Hip length.
Collar: Hood of two side pieces and a centre panel; a facing stitched down inside forms the casing for a decorative drawstring that exits through two eyelets.
Sleeves: Long one-piece set-in sleeves, eased into folded rib cuffs.
Front: Princess seams from the armhole to the hem; full-length separating zipper with the tape topstitched to the front, the ends of the hem band wrapped around the zipper.
Pockets: In-seam pockets in the lower part of the front princess seams.
Back: One piece cut on the fold.
Finishing: Seams sewn with a stretch or narrow zigzag stitch, or on a 3- or 4-thread overlocker; allowances overlocked.
Beginner. Knit seams, in-seam pockets and rib bands; the zipper set between the front edge and the hem band takes the most care.
Knit fabric with low stretch, of natural or blended fibres; rib knit for the hem band and cuffs.
From Main Fabric:
From Rib Knit Fabric:
Before cutting your fabric, print and lay out the paper patterns according to your fabric width (90–150 cm) to determine required yardage.
Remember to account for paired and symmetrical pieces.
When assembling, pay close attention to all notches — they must match precisely to ensure correct construction and fit.
Tip:
Knit garments should be assembled using a stretch stitch or narrow zigzag stitch. A twin needle or coverstitch can be used for finishing hems, and a 3- or 4-thread overlock is suitable for seam construction.
Attach the Pocket Bag pieces to the Front pieces.
Stitch the shaped seams of the Front, simultaneously finishing the pocket bag.
Press the seam allowances toward the center and overlock.
Stitch the shoulder and side seams, press the seam allowances toward the Back and overlock.
Attach the Hood pieces to the Center Hood, press seam allowances toward the center piece and overlock.
Install eyelets according to the markings.
Overlock the inner edge of the Hood Facing.
Place the Hood Facing and Hood right sides together and stitch along the outer edge.
Clip seam allowances at the curves and turn the facing to the wrong side.
Topstitch the Hood Facing onto the main piece, forming a casing.
Set the Hood into the neckline, press seam allowances toward the hood and overlock.
Overlock the front edges.
Overlock one long edge of the Waistband (marked on pattern as “Lower Placket”).
Attach the unoverlocked edge of the Waistband to the lower edge of the jacket, slightly stretching the waistband.
Insert the zipper.
Wrap the Waistband around the zipper and topstitch in the zipper seam.
Turn the waistband to the inside and topstitch in the seam of attachment of the upper edge of the waistband.
Topstitch the zipper tape onto the main piece.
Stitch the sleeve seams, press seam allowances toward the back and overlock.
Set the sleeves into the armholes, press seam allowances and overlock.
Stitch the Cuffs into a ring.
Fold the cuffs lengthwise, right side out, and press.
Attach the cuffs to the sleeves, easing the sleeve, overlock seam allowances.
Insert the drawstring into the hood casing.
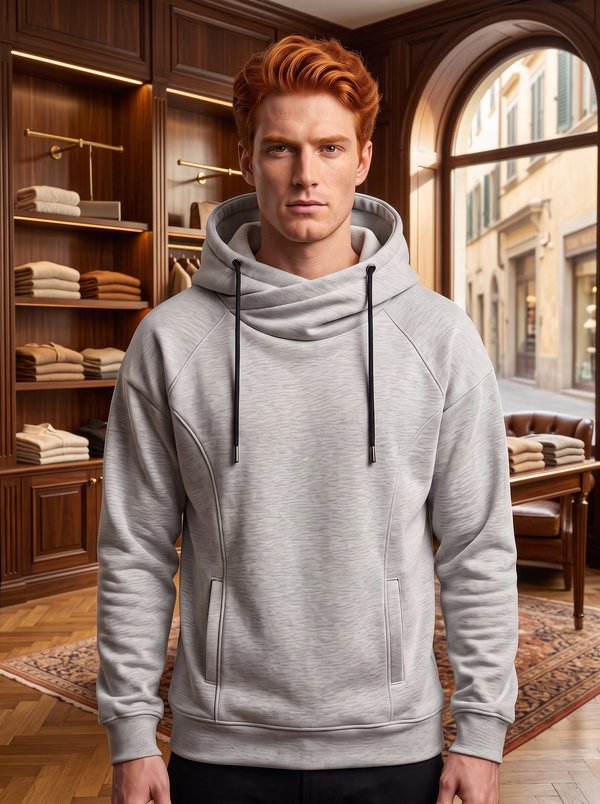
#6143
Drawstring Cowl Neck Raglan Sleeve Hoodie
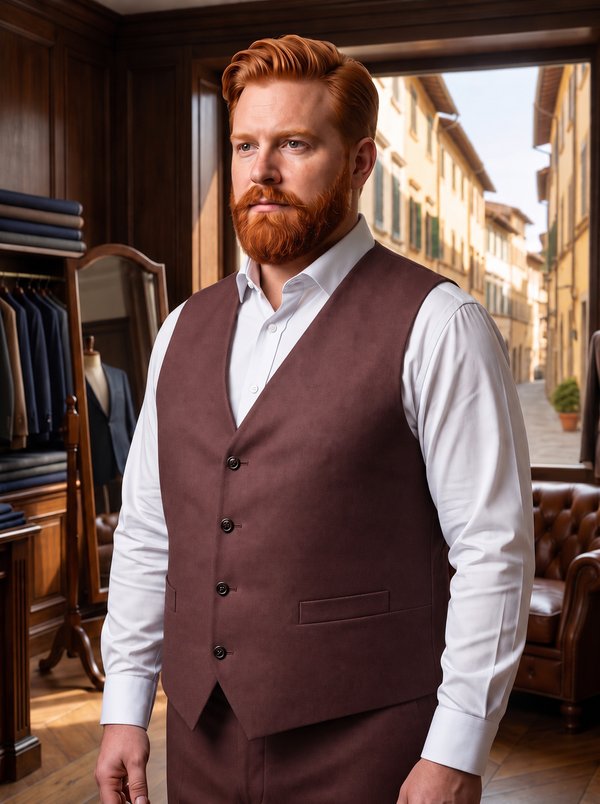
#6145
Plus Size Men's Waistcoat with Welt Pockets
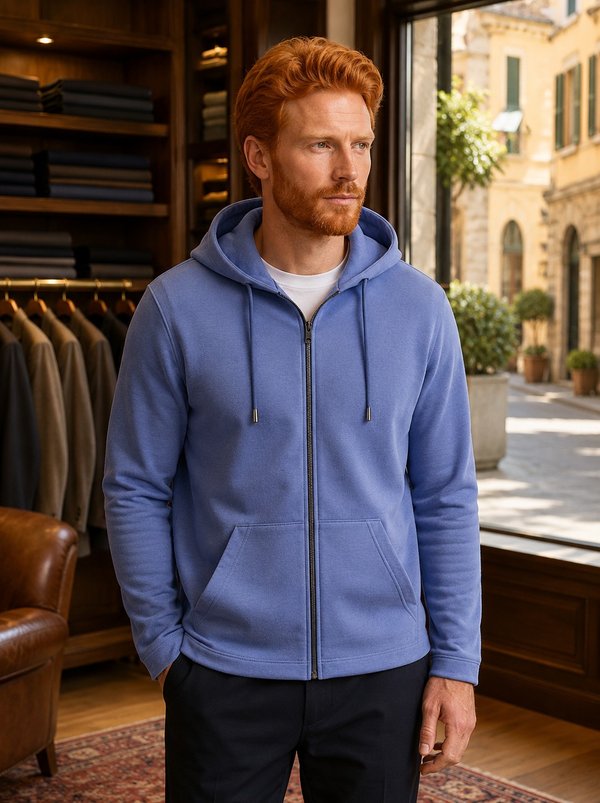
#6142
Zip Front Hoodie with Kangaroo Pocket
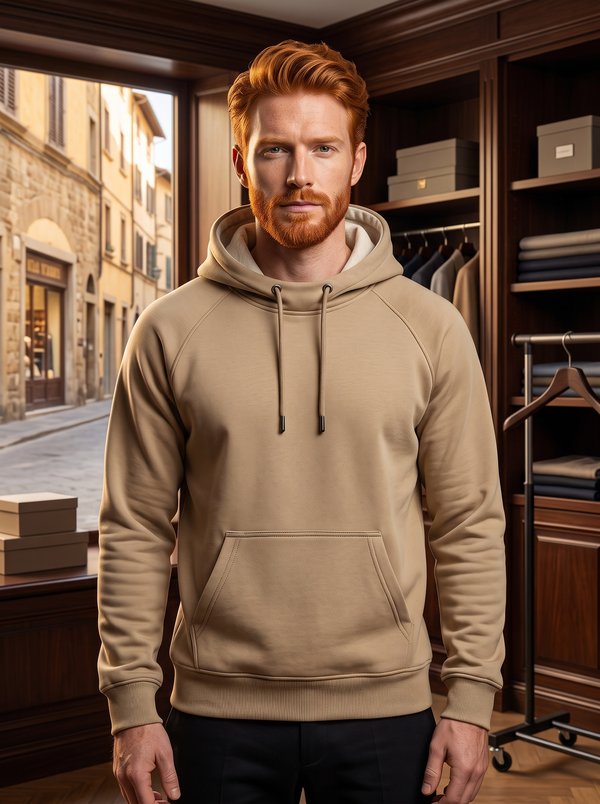
#6141
Raglan Sleeve Hoodie with Kangaroo Pocket
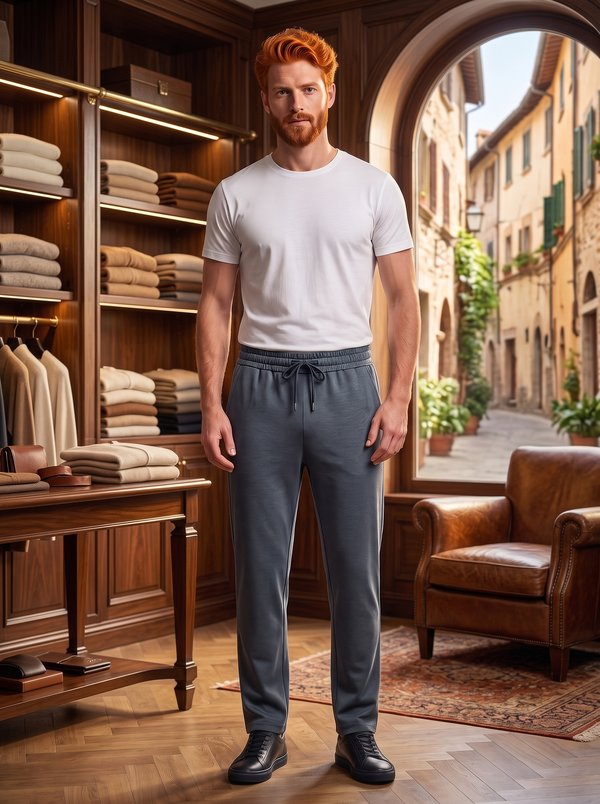
#6140
Men's Relaxed Fit Drawstring Trousers
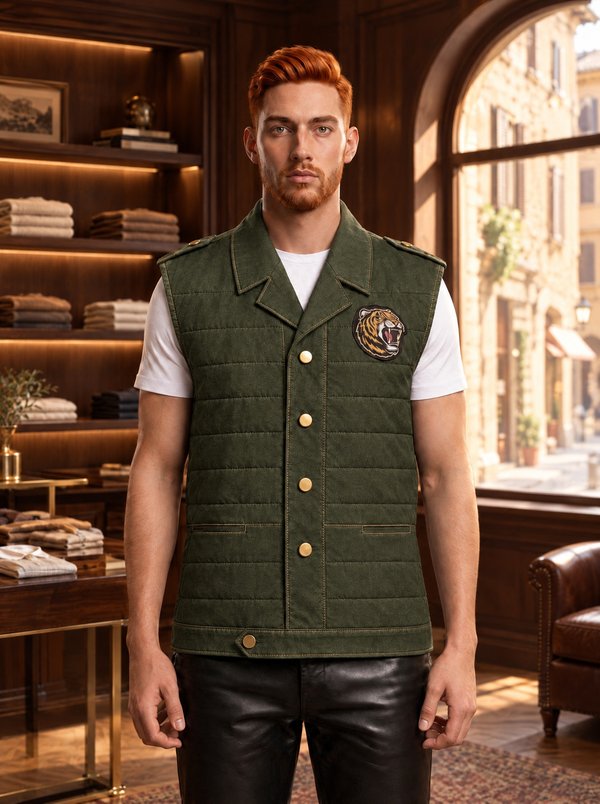
#6139
Notched Collar Vest with Epaulets
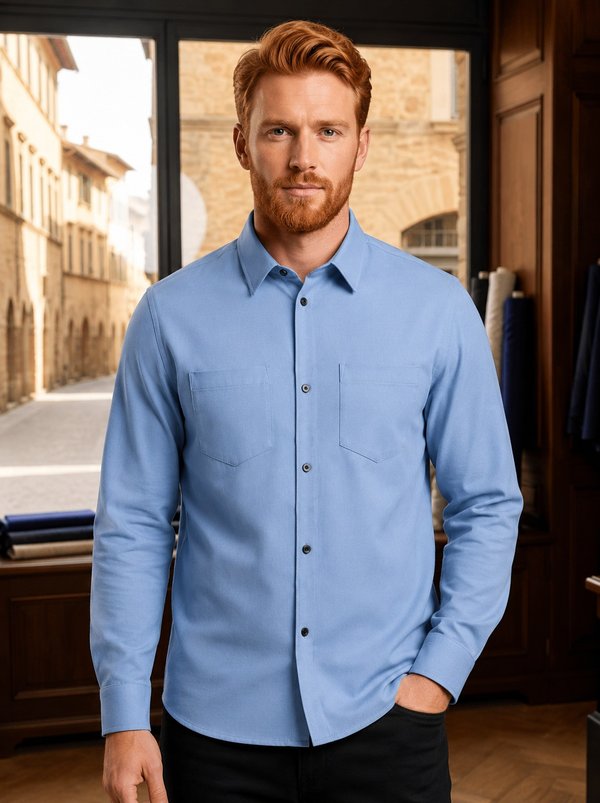
#6138
Men's Long Sleeve Shirt
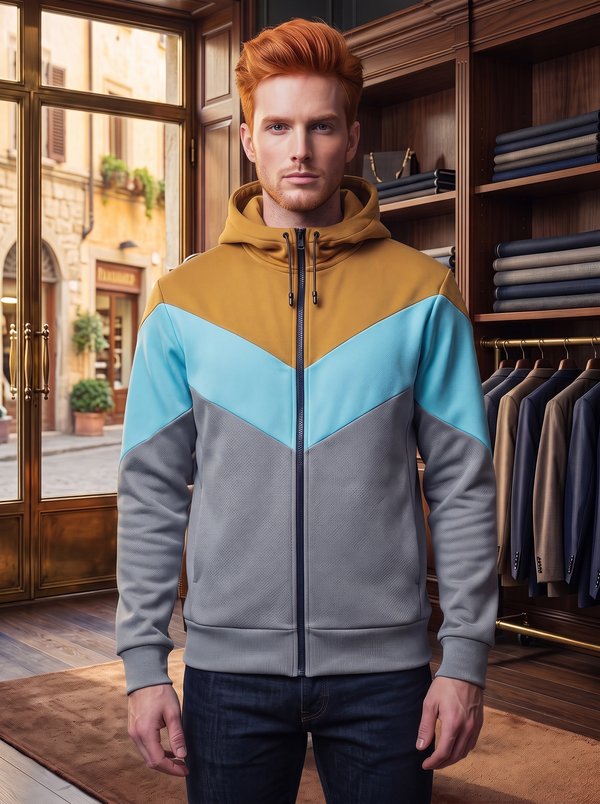
#6137
Chevron Color Block Zip Hoodie

Minerva Support
Online