Professional made-to-measure digital sewing patterns — PDF · PLT · DXF AAMA
A men's (unisex) hip-length zip-up hoodie for fleece or brushed sweatshirt knit, with a two-piece drawstring hood, set-in sleeves and two patch pockets that meet at the zip like a kangaroo pocket. No rib bands: the hems are turned up and topstitched. Drafted to your own measurements. Recommended fabric: fleece or soft, heavy knit (brushed-back sweatshirt fabric).
A men's (unisex) hip-length zip-up hoodie for fleece or brushed sweatshirt knit, with a two-piece drawstring hood, set-in sleeves and two patch pockets that meet at the zip like a kangaroo pocket. No rib bands: the hems are turned up and topstitched.
Silhouette: Straight, relaxed fit; one-piece back with no seams.
Length: Hip length, straight hem turned up 2 cm and topstitched.
Neckline: Hood of two pieces with a centre seam covered by folded bias tape; the front edge is turned into a casing for a drawcord threaded through two buttonholes. The hood seam at the neckline is also covered with bias tape.
Sleeves: Long one-piece set-in sleeves, sewn into the open armhole; the side and sleeve seams are stitched in one pass. Sleeve hems turned up 2 cm and topstitched.
Closure: Zip down the centre front, backed by front facings that are tacked to the shoulder seams.
Pockets: A patch pocket on each front with a slanted, turned-and-topstitched opening; the two pockets meet at the zip.
Finishing: Seams sewn with a stretch or narrow zigzag stitch and overlocked; hems topstitched with a twin needle; fusible interfacing behind the hood buttonholes.
Beginner. Patch pockets, a zip and a hood seam bound with bias tape. Some experience with knits is useful.
Fleece or soft, heavy knit (brushed-back sweatshirt fabric).
If the patterns have a double contour, they include seam allowances. If the contour is single, the patterns do not include seam allowances. Seam allowances: Hem allowance for the bottom of the garment and sleeves – 2 cm. Outer edge allowance for the hood 2 cm. Hem allowance for the bottom of the facing – 0 cm. Pocket opening allowance – 2 cm. All other seams 1 cm. Attention! First, print out the paper patterns and lay them out on the fabric width (fabric width can be from 90cm to 150cm) to determine how much material you will need (do not forget to account for paired and symmetrical pieces). When stitching pieces, pay attention to the notches - they must match!
Tip: Cut pieces from knit fabrics are stitched with a special elastic or narrow zigzag stitch. When serging, trim allowances to 0.6 – 0.8 cm. The hem allowance is topstitched with a twin needle to maintain elasticity.
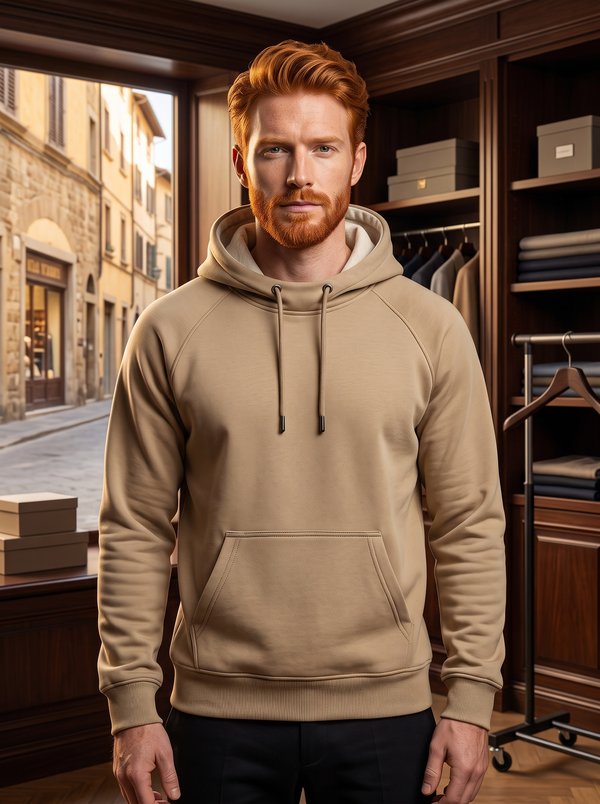
#6141
Raglan Sleeve Hoodie with Kangaroo Pocket
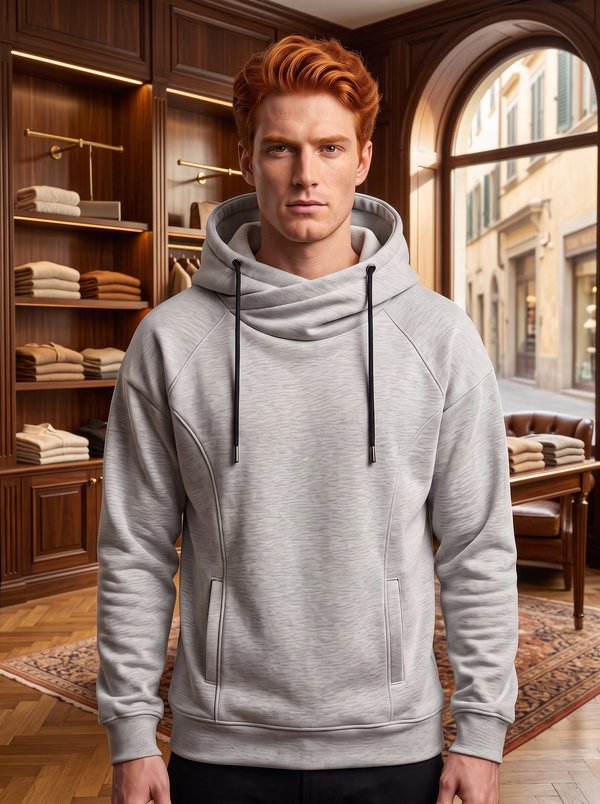
#6143
Drawstring Cowl Neck Raglan Sleeve Hoodie
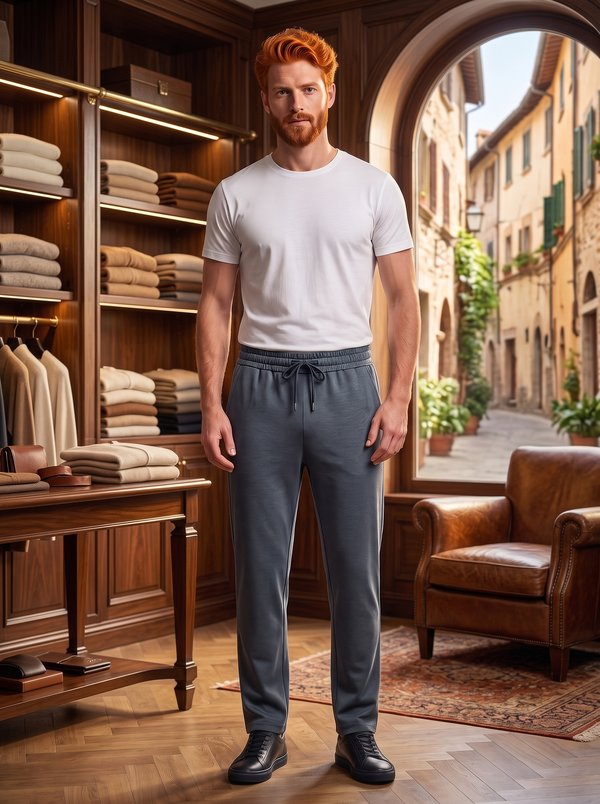
#6140
Men's Relaxed Fit Drawstring Trousers
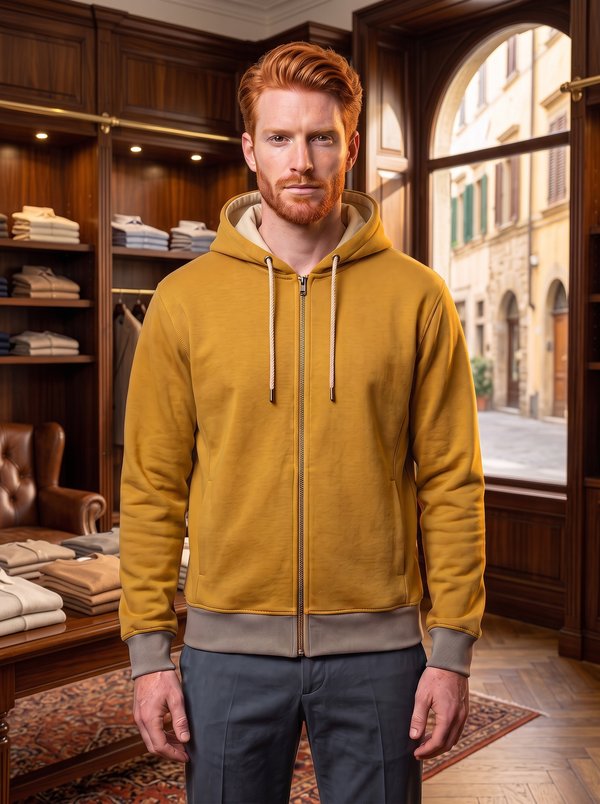
#6144
Full Zip Hoodie with Rib Bands
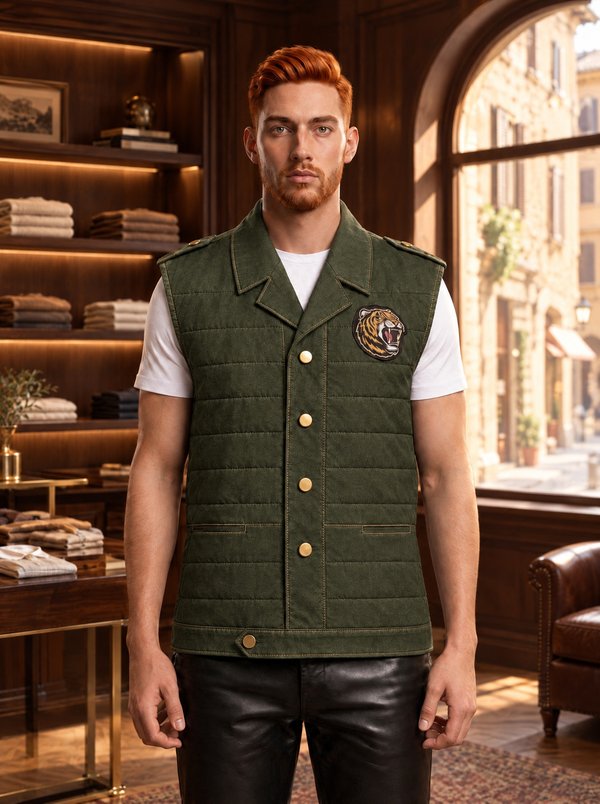
#6139
Notched Collar Vest with Epaulets
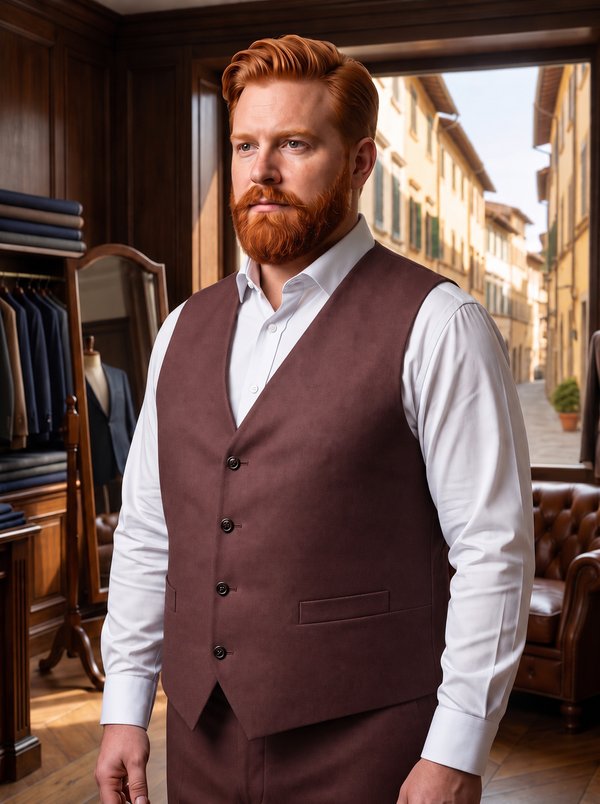
#6145
Plus Size Men's Waistcoat with Welt Pockets
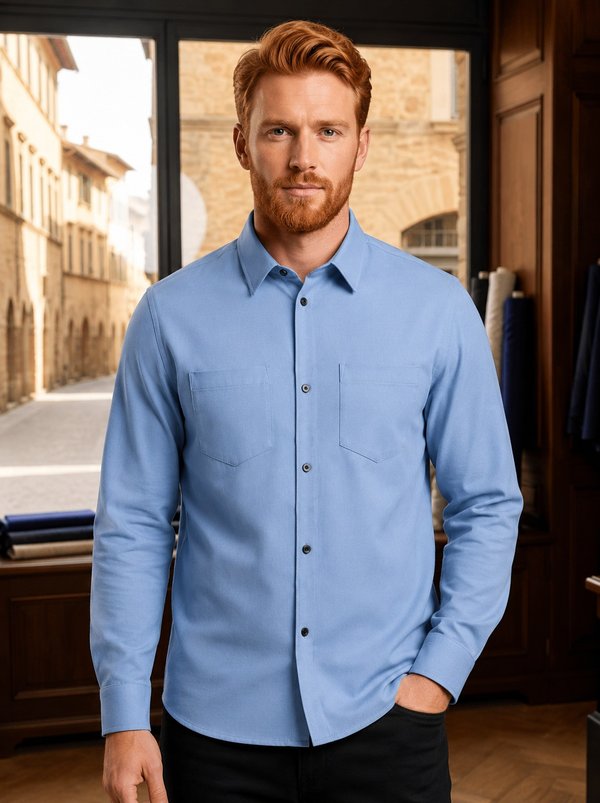
#6138
Men's Long Sleeve Shirt
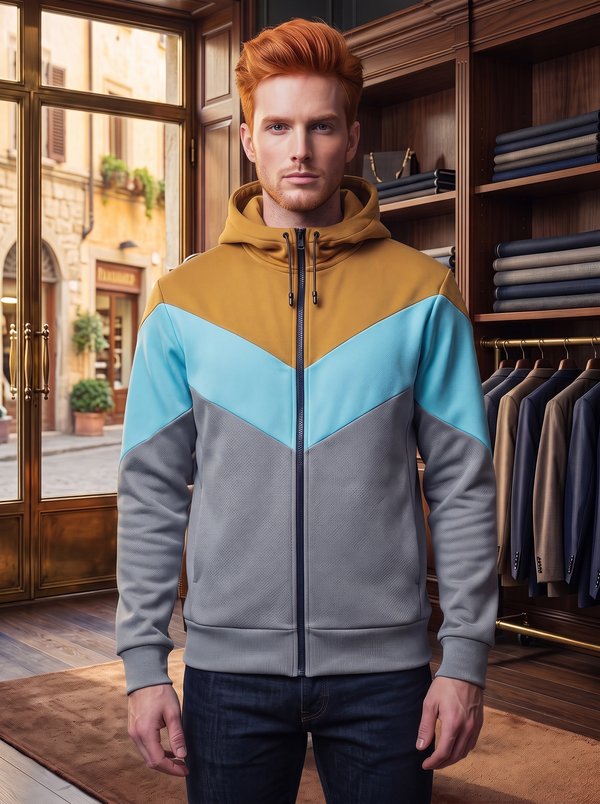
#6137
Chevron Color Block Zip Hoodie

Minerva Support
Online