Professional made-to-measure digital sewing patterns — PDF · PLT · DXF AAMA

Minervainervabeta
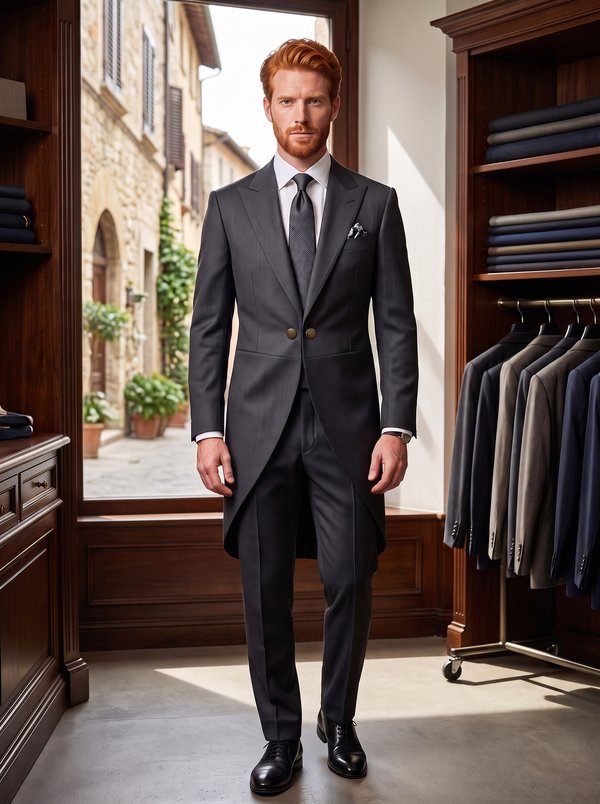
#6076
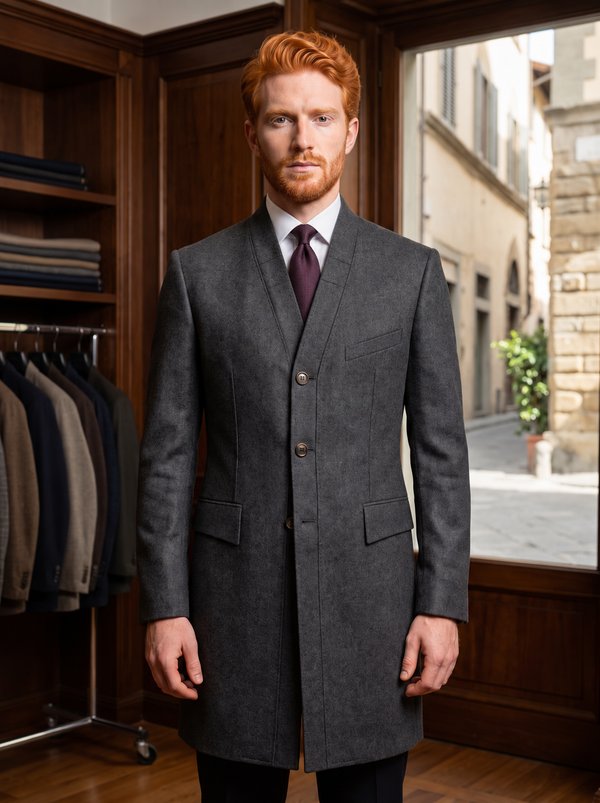
#6078

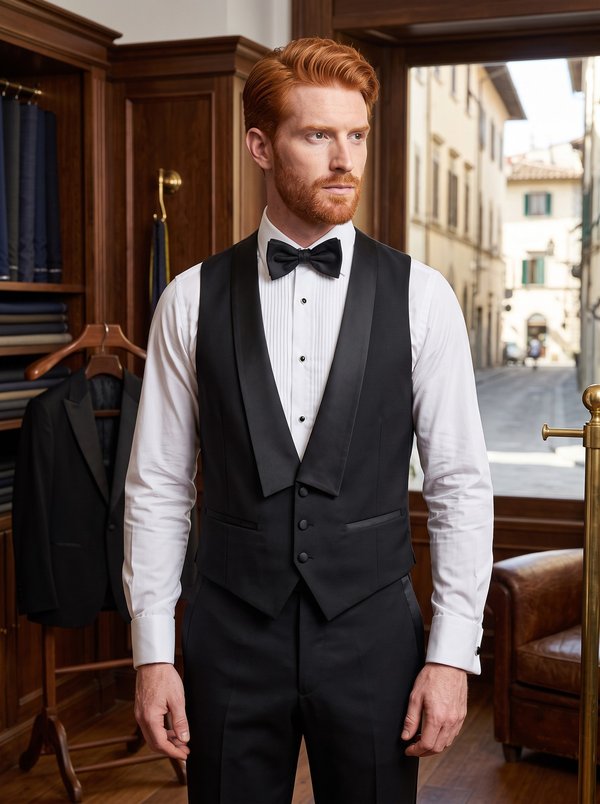
Men's Backless Tuxedo Waistcoat

Pattern #6077

A men's backless evening waistcoat: two lined fronts held by a flat collar that runs round the back of the neck and by a buckled strap across the back waist. Deep V opening, four small buttons, faux welts and a front hem cut to two points. Drafted to your own measurements. Recommended fabric: firm suiting or formal waistcoat fabrics with body, such as cotton piqué, wool barathea or silk faille.

Tech. Description

Men’s Tailcoat Vest with Flat Shawl Collar, Faux Welts, Open Back & Adjustable Back Belt

A men's backless evening waistcoat: two lined fronts held by a flat collar that runs round the back of the neck and by a buckled strap across the back waist. Deep V opening, four small buttons, faux welts and a front hem cut to two points.

When To Wear

  • Under a tailcoat for white-tie evening dress, or under a dinner jacket.
  • For concerts, stage performances, weddings and formal receptions where the jacket stays on.

Key Design Features

Silhouette: Fitted fronts shaped by waist darts; no back panel.

Length: Short, ending at the waist in two points at the centre front.

Collar: Flat shawl-type collar with pointed ends, joined at the centre back; upper and under collar are each cut in two halves. The collar is sewn between the fronts and the facings and forms the band around the back of the neck.

Closure: Single-breasted, four buttons set close together below the deep V; buttonholes on the left front.

Pockets: Two decorative single welts on the lower fronts, with no pocket opening.

Back: Open back. Two straps sewn to the side edges at the waist, one with a buckle, so the fit at the waist can be adjusted.

Lining: Fronts lined to the edge; hem and front edges bagged, armholes closed by hand.

Level Of Difficulty

Intermediate. Few pieces, but the collar must be sewn between front and facing in one pass, the lining bagged and the armholes finished by hand.

Fabric Recommendations

Firm suiting or formal waistcoat fabrics with body, such as cotton piqué, wool barathea or silk faille.

Additional Supplies

  • Lining fabric
  • Fusible interfacing (fronts, facings, collar, welts)
  • 4 buttons
  • 1 buckle for the back strap

Cutter’s Must

From Main Fabric:

  1. Front – 2 pieces
  2. Center Front Facing – 2 pieces
  3. Collar – 4 pieces
  4. Pocket Welt (marked on pattern as “’Off-Set Welt”) – 2 pieces
  5. Strap – 2 pieces

From Lining Fabric:

For drafting front part lining, use the Front pattern piece excluding center front facing area. Cut 2 pieces.

From Fusible Interfacing:

For drafting fusible interfacing patterns, use the following main patterns:

  1. Front – 2 pieces
  2. Center Front Facing – 2 pieces
  3. Collar - 4 pieces
  4. Pocket Welt – 2 pieces

Important Information

Before cutting your fabric:

  • Print and lay out pattern pieces to determine yardage.
  • Check mirrored pieces, notches, and grainlines.
  • For patterned fabrics, align carefully for symmetry.

Assembly Instructions

Preparation

  • Apply fusible interfacing to Fronts, all four Collars, Center Front Facings, Pocket Welts.
  • Transfer all markings to fabric: dart placement, welt position, buttonholes, collar notches, and waist strap points.
  • Staystitch neckline and armholes to prevent stretching.

Darts & Front Shaping

  • Sew waist darts on each fronts.
  • Press darts toward the center front.

Faux Welt Pockets (Decorative)

1. Fold welt lengthwise, wrong sides together, and press — folded edge is the visible “welt edge.”

2. Finish the welts (before attaching)

  • Open the welt again (right sides together).
  • Stitch the short ends (welt sides) along the seam allowance.
  • Trim corners, turn the welt right side out, and press — now you have a clean welt with finished ends and one raw long edge.

3. Attach Welt to Front

  • Place the welt on the front right side up, with:
    • Raw long edge aligned with the marked welt placement line
    • Folded edge pointing down
  • Stitch along the raw long edge to secure it to the front.

4. Turn & Finalize

  • Flip the welt upward over the seam so the folded edge faces up.
  • Press.
  • Topstitch both short sides to secure the welt neatly and permanently.

Center Front Facing & Collar Insertion

1. Prepare Center Front Facings:

  • With right sides together, sew Center Front Facings to Fronts along center front edge only.
  • Clip, grade, and understitch where possible — but leave neckline unstitched and open.
  • Turn facings to inside, press front edges.

2. Assemble Collar:

1. Join the two lower collars together at center back first

  • Sew two lower collar pieces together along the center back neckline seam.
  • Press the seam open.
  • Now you have one complete lower collar piece.

2. Join the two upper collars together at center back

  • Sew the two upper collar pieces together at the center back seam.
  • Press that seam open.
  • Now you have one complete upper collar piece.

3. Sew upper collar to under collar

  • Place collar pieces right sides together.
  • Sew along the outer curved edge and front edges.
  • Trim seams, clip curves, turn right side out.
  • Press — collar is now fully assembled as one continuous piece.

4. Attach collar between front & facing:

  • Position collar between the front bodice and front facing
  • Stitch through all layers: front + collar + facing.
  • Grade seams, clip curves.
  • Turn facing inward — collar edge is now cleanly enclosed. Press.

Strap

  • Place strap pieces right sides together. Sew around edges, leaving one short end open.
  • Trim corners, turn right side out, press.
  • Attach buckle to one end.
  • Baste raw strap ends to marked waistline points on the back.

Lining Assembly

  • Sew darts on the front lining pieces and press them toward the center.
  • With right sides together, align the front lining pieces to the Center Front Facings and stitch.
  • Align lining to the garment body at the hem and front edges; stitch around the hem and edges leaving armholes open.
  • Trim, notch, or clip seam allowances as needed. Turn vest inside out and press all edges smooth.

Armhole Finishing

  • Align armhole edges of lining and main fabric, wrong sides together.
  • Hand stitch around the armhole.
  • Press armholes flat.

Finishing

  • Work four buttonholes on the left front.
  • Sew four buttons on the right front.
  • Thread back strap through buckle and adjust fit.
  • Give a final press — ensuring sharp collar edges, flat facings, and crisp hem.

Features

Instant download · standard sizes

Ready now, no waiting: PDF A0, A4, US Letter, One Page and Projector files with seam allowances, plus the sewing booklet with fabric requirements — in one ZIP.

Body measurements the sizes are drafted for

SizeHeightChestWaistHip
M178 cm70″100 cm39″85 cm33.5″100 cm39″
L183 cm72″107 cm42″92 cm36.2″107 cm42″
XL188 cm74″112 cm44″99 cm39.0″113 cm44″

Prefer a pattern drafted to your own measurements? Order it below.

Order Pattern

Standard Sizes

Individual Measurements

This pattern is drafted to fit a chest of 88–112 cm and a height of 164–182 cm.

If your measurements fall outside this range, you're still welcome to order, but the same accuracy is not guaranteed.

Please double-check the file format and paper size. Your pattern is drafted in exactly the format you select; a different format or paper size later is a new order.

Similar patterns

View all
Support

Minerva Support

Online
Support
Hi! I'm Minerva's AI assistant. What can I help you with?