Professional made-to-measure digital sewing patterns — PDF · PLT · DXF AAMA

Minervainervabeta
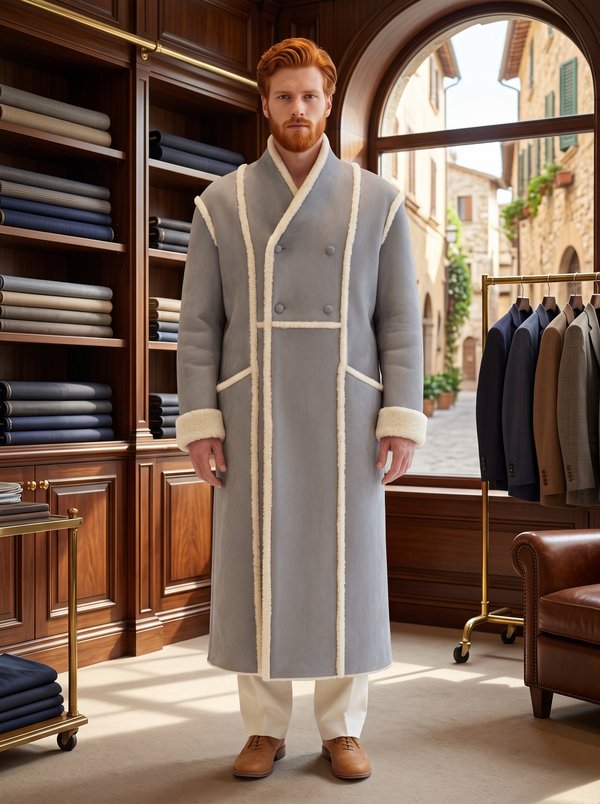
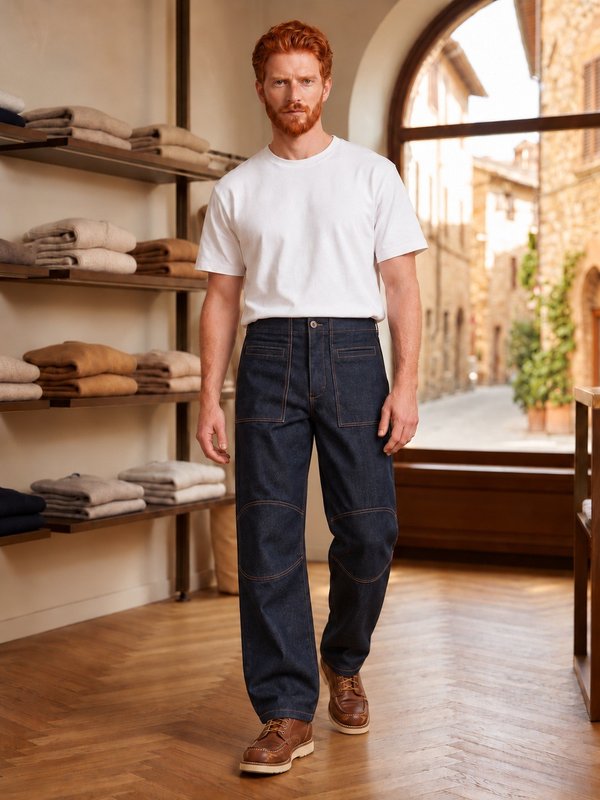
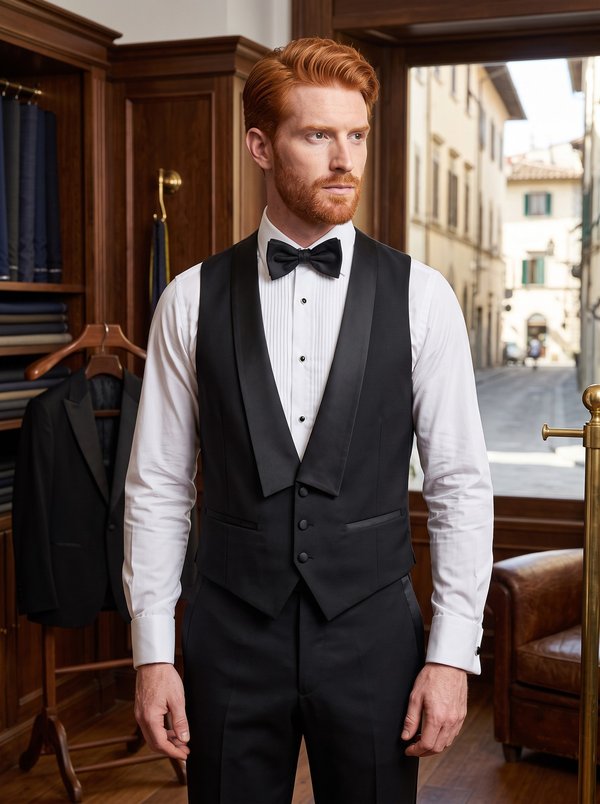
#6066
#6073

Men's Tailored Long Jacket

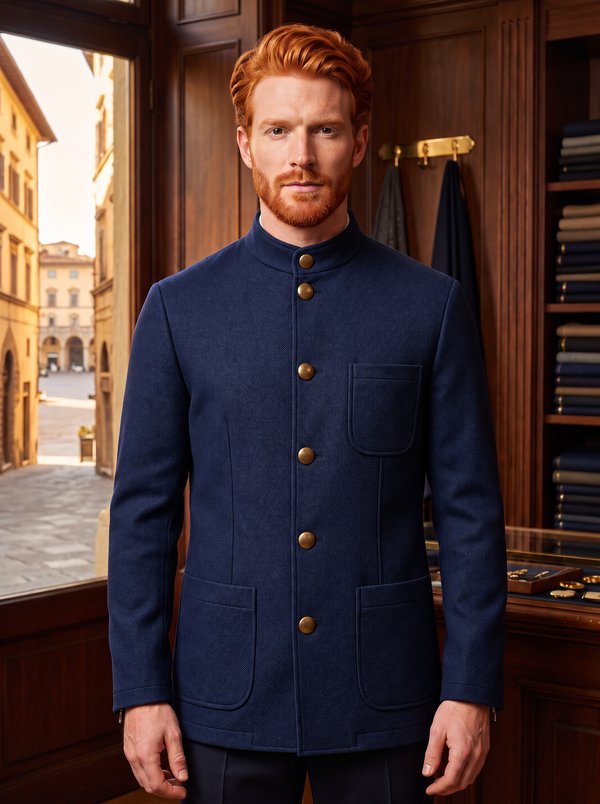
Pattern #6067

A men's mid-thigh single-breasted jacket with no lapels: the V-neck and front edges are finished with a band that runs from the back neck to the hem. Three front buttons, a chest welt pocket, flapped double-welt hip pockets, side panels and two back vents. Fully lined. Drafted to your own measurements. Recommended fabric: suiting fabrics in natural or synthetic fibres.

Tech. Description

Men’s Longline V-Neck Jacket with Double-Welt Flap Pockets

A men's mid-thigh single-breasted jacket with no lapels: the V-neck and front edges are finished with a band that runs from the back neck to the hem. Three front buttons, a chest welt pocket, flapped double-welt hip pockets, side panels and two back vents. Fully lined.

When To Wear

  • With trousers and a shirt or fine knit for work and evening events.
  • As a jacket-weight outer layer in spring and autumn.

Key Design Features

Silhouette: Straight and long, shaped by front darts and side panels between front and back; padded shoulders.

Length: Mid-thigh.

Neckline: V-neck without a collar or lapels. The band is made of three parts joined into one strip (a back neck collar piece, front insets and lower front pieces) and is sewn over the neckline and front edges, enclosing them.

Sleeves: Two-piece set-in sleeves with three buttons at each hem.

Front: Single-breasted, three buttons, buttonholes on the left front.

Pockets: Single-welt chest pocket on the left front; double-welt hip pockets with flaps on both fronts.

Back: Centre back seam; vents in the seams between back and side panels, lapped toward the sides.

Finishing: Fusible interfacing on the fronts, the band pieces, the flaps, the welt and the pocket facings; hems turned up and sewn by hand.

Lining: Full lining including the sleeves, basted to the jacket wrong sides together and enclosed by the front band.

Level Of Difficulty

Intermediate. A chest welt pocket, flapped double-welt pockets, two back vents, set-in two-piece sleeves and a multi-part front band applied over the lined edges.

Fabric Recommendations

Suiting fabrics in natural or synthetic fibres.

Additional Supplies

  • Lining fabric
  • Fusible interfacing
  • 3 buttons for the front
  • 6 smaller buttons for the sleeves
  • Shoulder pads

Cutter’s Must

From Main Fabric:

  1. Back – 2 pieces
  2. Side – 2 pieces
  3. Flap – 4 pieces
  4. Pocket Facing – 4 pieces
  5. Chest Pocket Welt (marked on pattern as "Off-Set Welt") – 1 piece
  6. Pocket Underlay – rectangle 11 × 6 cm – 1 piece (chest pocket; trim to the width of the pocket bag)
  7. Lower Center Front Facing – 4 pieces
  8. Center Front Facing Insert – 2 pieces
  9. Front – 2 pieces
  10. Collar – 2 pieces
  11. Upper Sleeve – 2 pieces
  12. Lower Sleeve – 2 pieces

From Lining Fabric:

For drafting lining patterns use main patterns with the following modifications:

  1. Back – use Back pattern excluding vent extensions, cut 2.
  2. Side – use Side pattern excluding vent extensions, cut 2.
  3. Pocket Bag – use Pocket Bag pattern, cut 4.
  4. Upper Pocket Bag – use Upper Pocket Bag pattern, cut 2.
  5. Upper Sleeve – use Upper Sleeve pattern excluding vent extensions, cut 2.
  6. Lower Sleeve – use Lower Sleeve pattern excluding vent extensions, cut 2.
  7. Front Lining – use Front Lining pattern, cut 2.

From Fusible Interfacing:

All interfacing pieces are cut using the corresponding main pattern pieces.

  1. Front - cut 2.
  2. Flap - cut 2.
  3. Pocket Facings - cut 4.
  4. Chest Pocket Welt - cut 1.
  5. Collar - cut 2.
  6. Center Front Facing Insert - cut 2.
  7. Lower Center Front Facing – cut 4.

Important Information

Before cutting your fabric:

  • Print and lay out pattern pieces to determine yardage.
  • Check mirrored pieces, notches, and grainlines.
  • For patterned fabrics, align carefully for symmetry.

Assembly Instructions

Preparation

Apply fusible interfacing to the Collars, Fronts, Chest Pocket Welt, Pocket Facings, Center Front Facing Inserts, Lower Center Front Facings, and Flaps - fuse from the wrong side using a hot iron, pressing firmly until fully bonded.

Darts & Front Shaping

  • Sew waist darts on each front.
  • Press darts toward the center front.

Chest Welt Pocket

On the left Front construct a single-welt chest pocket:

  • Fold the Chest Pocket Welt lengthwise right sides together and stitch across the short ends. Turn right side out and press.
  • Place the pocket underlay wrong side down on the right side of one lining pocket bag, aligning the upper raw edges; turn under its lower edge and edgestitch; baste the remaining edges.
  • Pin the Chest Pocket Welt (turned downward) to the garment front along the marked placement line.
  • Place one lining Upper Pocket Bag over the Chest Pocket Welt, then pin the second lining Upper Pocket Bag (with the pocket underlay) turned upward above it. Stitch 5 mm on either side of the marked line.
  • Slash the opening between the stitching lines, clipping diagonally into the corners. Turn the pocket bags to the inside.
  • Secure the free edge of the Chest Pocket Welt to the Pocket Bag with zigzag stitches.
  • Align both pocket bags and stitch around the contour.
  • From the right side, secure the Chest Pocket Welt ends to the garment.

Body Shaping

Attach Sides to Fronts, press allowances open.

Pocket Flaps

Place the Flaps right sides together, stitch along the outer edges, turn right side out, and press.

Side Pockets

Construct Double-Welt Pockets with Flaps:

  • Press Pocket Facings lengthwise, wrong sides together.
  • Pin upper and lower pocket facings to Front along markings.
  • Place one lining Pocket Bag on lower pocket facing; place the second lining Pocket Bag on upper pocket facing with Flap inserted between upper pocket facing and bag (flap turned upward).
  • Stitch 5 mm from each side of marking.
  • Cut opening through center, clip to corners.
  • Turn pocket bags inside, roll pocket facings to form 1 cm lips, press.
  • Press Flap down over opening.
  • Zigzag pocket facing edges to pocket bags.
  • Align and stitch pocket bags together.
  • From wrong side, secure pocket facings ends to small fabric triangles.

Back Assembly & Vent

  • Sew the center back seam.
  • Sew the back panel seam down to the vent marking and press seam allowances toward the back.
  • Fold the left vent extension to the right side of the garment, stitch along the hem foldline, turn right side out, and press.
  • Topstitch along the folded edge of the left vent.
  • Fold the hem allowance of the right vent to the right side, stitch along the edge of the vent extension, turn right side out, and press.
  • Lay the vent toward the side panel and secure the top of the vent with a diagonal reinforcing stitch.
  • Press the hem allowance to the wrong side.

Shoulders

Sew the shoulder seams.

Sleeves & Shoulder Structure

  • Stitch the upper and lower sleeves together.
  • Set the sleeves into the armholes.
  • Press the hem allowances to the wrong side.
  • Attach the shoulder pads.

Center Front & Collar Components

  • Place the Lower Center Front Facings right sides together and stitch along the outer and lower edges.
    Turn right side out and press.
  • Stitch together the Lower Center Front Facing, Center Front Facing Insert, and the Collar.

Lining Assembly & Hem Finish

  • Stitch the lining pieces together.
  • Place the lining and the jacket wrong sides together and baste along the edges.
  • Turn under the hem allowances of the jacket body and sleeves and hand-stitch them to the outer garment.

Joining Center Front Facing, Collar & Neckline

Insert the front edge and neckline edges of the jacket between the assembled Center Front & Collar Components and stitch.

Buttonholes & Buttons

  • Work buttonholes on the left front.
  • Sew buttons onto the right front and sleeves.

Features

Instant download · standard sizes

Ready now, no waiting: PDF A0, A4, US Letter, One Page and Projector files with seam allowances, plus the sewing booklet with fabric requirements — in one ZIP.

Body measurements the sizes are drafted for

SizeHeightChestWaistHip
M178 cm70″100 cm39″85 cm33.5″100 cm39″
L183 cm72″107 cm42″92 cm36.2″107 cm42″
XL188 cm74″112 cm44″99 cm39.0″113 cm44″
See finished garment measurements →

Prefer a pattern drafted to your own measurements? Order it below.
Order Pattern

Standard Sizes

Individual Measurements

Please double-check the file format and paper size. Your pattern is drafted in exactly the format you select; a different format or paper size later is a new order.

Similar patterns

View all
Support

Minerva Support

Online
Support
Hi! I'm Minerva's AI assistant. What can I help you with?