Fitted Ruffle Collar Dress with Contrast Sleeves
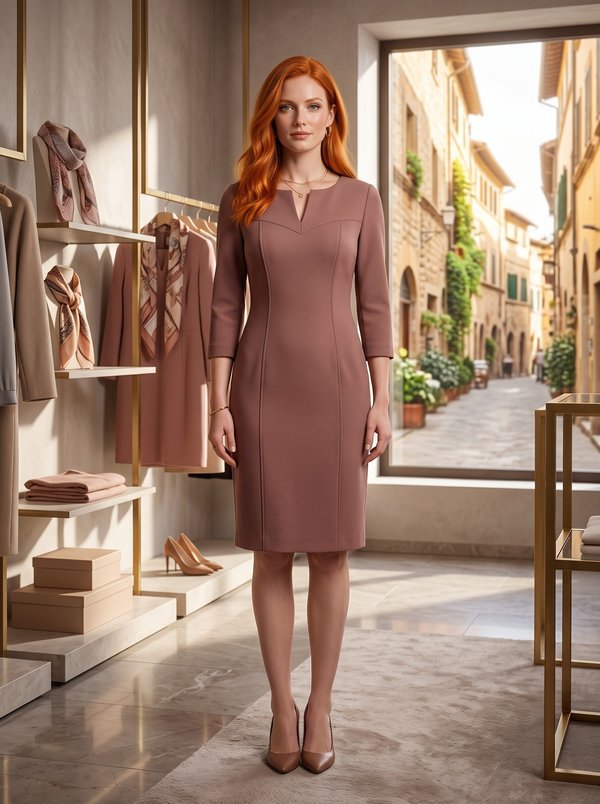
A women's knee-length fitted dress with princess seams on the front and back, two-piece raglan sleeves cut from knit fabric, and a folded collar whose long end is pleated into a jabot over a slit at the centre front neckline. The body is lined; the zip runs along the left side seam and sleeve seam.
When To Wear
- At the office and for business meetings, in autumn, winter and spring.
- For daytime events and dinners, with the sleeves in a contrasting colour or texture.
Key Design Features
Silhouette: Fitted, shaped by princess seams running from the raglan seams on the front and back, with no waist seam.
Length: Knee length.
Collar: Cut as one piece, folded in half lengthwise. One end stands at the neck, the long end falls down the front and is pleated into a jabot, the pleats tacked together. It fastens with a button under the collar and a bias rouleau loop.
Front: Centre front and two side fronts, with a slit at the centre front neckline faced by the lining.
Sleeves: Raglan, cut in two halves (front and back sleeve) from knit fabric, with a seam over the shoulder.
Back: Centre back seam and princess seams, with an interfaced vent at the hem.
Closure: Concealed zip in the left side seam, the opening starting in the sleeve underarm seam.
Finishing: Princess seams pressed towards the centre; hems of dress and sleeves 3 cm, blind-stitched.
Lining: Front and back lined, the lining cut 5 cm shorter, hemmed separately and opened around the vent.
Level Of Difficulty
Intermediate. Combining a woven body with knit raglan sleeves, a lining-faced neckline slit, a lined back vent, a side zip running into the sleeve seam and a pleated jabot collar with a rouleau loop.
Fabric Recommendations
Lightweight suiting fabrics made from natural or blended fibres for the body; knit fabric for the sleeves.
Additional Supplies
- Knit fabric (sleeves)
- Lining fabric
- Concealed zip
- 1 button
- Fusible interfacing (back vent)
Cutter's Must
- From main fabric:
- Center Back – 2 pieces
- Side Back – 2 pieces
- Center Front – 1 piece
- Side Front – 2 pieces
- Collar – 1 piece
- From knit fabric:
- Back Sleeve – 2 pieces
- Front Sleeve – 2 pieces
- From lining fabric:
- Center Back – 2 pieces
- Side Back – 2 pieces
- Center Front – 1 piece
- Side Front – 2 pieces
Lining pieces are cut from the same patterns, 5 cm shorter than the main fabric pieces. Seam allowances: all seams 1 cm; hem allowance of the dress and sleeves – 3 cm.
Sewing Instructions
- Stitch the princess seams joining the Center Back and Side Back pieces, press the seam allowances towards the center and serge. On both Center Back pieces, fuse interfacing to the vent area on the wrong side. On the right side, mark the center back seam line (the vent fold line). Serge the center back edge of each piece separately, serging the vent edges at the same time. Stitch the center back seam from the top edge down to the vent. Clip the seam allowance at the vent corner on the right piece. Press the center back seam allowances open. Fold the edge of the right vent extension under by 1 cm and topstitch. Press the vent allowances towards the left side and stitch across the top of the vent.
- Stitch the princess seams and the center back seam of the back lining. Press the seam allowances and serge. Cut out the opening for the vent and serge the edge. Press the lower edge to the wrong side twice and topstitch. Place the lining on the main back with wrong sides together, baste along the edges and then treat as one piece.
- Stitch the princess seams joining the Center Front and Side Front pieces, press the seam allowances towards the center and serge. Do the same for the front lining. Place the lining on the main front with right sides together, mark the neckline slit line and stitch 0.1 cm to the left and right of it, tapering to nothing at the bottom point. Cut the slit between the stitching lines, turn the lining to the inside and press. Press the lower edge of the lining to the wrong side twice and topstitch. Baste the lining to the main front along the edges and then treat as one piece.
- Stitch the Back Sleeves to the back and the Front Sleeves to the front. Press the seam allowances towards the sleeves and serge.
- Stitch the upper (shoulder) seams of the sleeves. Press the seam allowances towards the back and serge.
- Serge the lower edges of the left sleeve and the left side edges. Stitch the sleeve from the lower edge up to the upper zipper mark, and from the lower zipper mark down to the hem of the dress; press the seam allowances open, pressing the zipper opening allowances as well. Insert the invisible zipper. Stitch the right sleeve underarm seam and the right side seam in one continuous seam, press the seam allowances towards the back and serge.
- Cut a bias strip 2.5 cm wide and 5 cm long. Fold the strip in half lengthwise with right sides together and stitch 0.3 cm from the fold. Trim the seam allowances close to the stitching, turn the strip right side out and press into a rouleau. Form a loop to fit the button. Fold the Collar in half lengthwise with right sides together and stitch the ends and the inner edge up to the long mark, inserting the loop. Start and end the stitching exactly at the marked collar attachment seam line. Clip the seam allowances at the mark. Turn the collar right side out, push out the corners and press. Stitch the outer edge of the collar to the neckline and press the seam towards the collar. Turn under the open inner edge of the collar and topstitch it into the collar attachment seam. Try the dress on, form the jabot and tack the pleats together. Sew the button under the collar to match the loop.
- Serge the hem allowances of the dress and the sleeves, press them to the wrong side and hem with blind stitches.