Tie-Neck Tunic with Gathered Sleeves
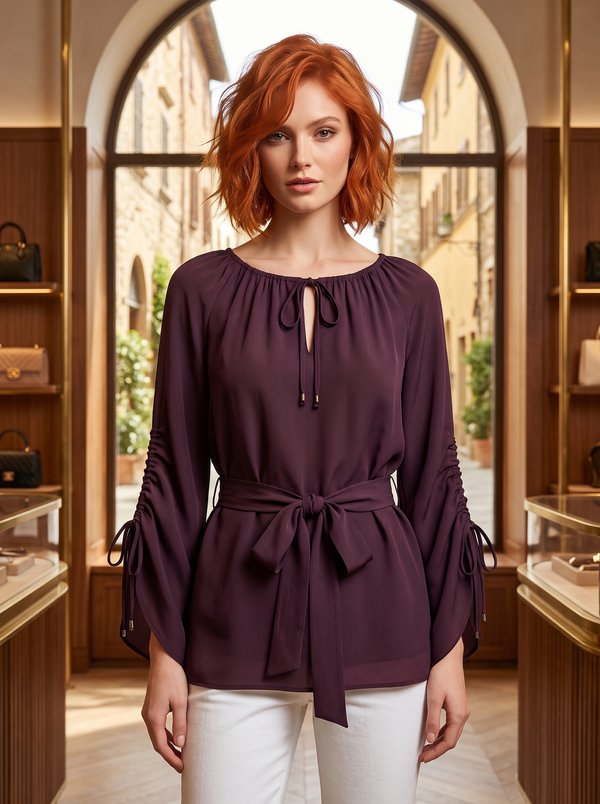
A women's long tunic with a high waist seam and a high-low hem, open at the front below the bust. The neckline is gathered on a tie threaded through a bias casing, short ties close the front at the waist seam, and the short puff sleeves are gathered on elastic.
When To Wear
- In summer over a slip dress, a camisole with trousers, or swimwear.
- Open, as a light layer over a fitted dress for an evening out.
Key Design Features
Silhouette: Short bodice joined to the lower part by a high waist seam; the lower part flares and falls in cascades along the open front edges.
Length: Long, with a high-low hem: shorter at the front, longest at the back.
Neckline: Round neckline finished with a bias casing; a tie threaded through the casing gathers the neck and ties at the centre front.
Sleeves: Short set-in sleeves, eased into the armhole, with elastic in a casing at the lower edge that forms a puff.
Front: Cut in two halves, edges finished with a narrow rolled hem. Two 10 cm ties sewn into the waist seam tie the front together under the bust.
Back: One piece above the waist seam, shaped with darts; one piece below.
Finishing: Narrow rolled hem on the lower edge and on the centre front edges; ties folded and edgestitched 0.1 cm from the edge.
Level Of Difficulty
Beginner. A few straight seams, a bias casing, an elastic sleeve casing and rolled hems; the long curved rolled hem needs patience on light fabric.
Fabric Recommendations
Lightweight fabrics of natural or blended fibres.
Additional Supplies
- Thin hat elastic (sleeve hems)
Cutter's Must
- From main fabric:
- 1. Upper back – 1 piece
- 2. Upper front - 2 pieces
- 3. Lower back – 1 piece
- 4. Lower front - 2 pieces
- 5. Sleeve - 2 pieces
Sewing Instructions
- Stitch darts on the back. Press darts towards the center of the piece.
- Stitch shoulder seam allowances of the upper back and front, press seam allowances towards the back and overlock. Overlock the center edge of the upper front with a narrow rolled hem.
- Cut a bias binding from the main fabric, 4.5 – 5.0 cm wide. The approximate length is indicated on the pattern piece for the upper front. Press the trim strip in half lengthwise, right side out, align with the right side of the neckline and stitch, folding the short sides outwards. Trim the seam allowances, fold the trim strip to the wrong side and topstitch onto the front 0.1 cm from the fold, creating a casing.
- Stitch the side seam allowances of the upper back and front. Press the seams towards the back and overlock.
- Stitch the sleeve seam, press and overlock. Overlock the lower edge, press to the wrong side and topstitch, leaving a small opening. Insert elastic into the bottom of the sleeves.
- Set the sleeves into the armholes, easing the cap. Overlock the seams.
- Stitch the side seam allowances of the lower back and front, press seam allowances towards the back and overlock. Overlock the lower edge and the center edge of the front with a narrow rolled hem.
- Attach the lower of the tunic to the upper, press seam allowances towards the upper and overlock.
- Cut a tie from the main fabric of desired length and 4 cm width. Press the tie in half lengthwise, right side out. Then unfold and press the longitudinal edges towards the marked center line. Fold the tie along the center line, aligning the folds and topstitch 0.1 cm from the edge. Insert the tie into the neckline casing. Similarly, finish two ties, each 10 cm long, and sew them to the seam joining the upper and lower parts of the back and front.