Professional made-to-measure digital sewing patterns — PDF · PLT · DXF AAMA

Minervainervabeta
#5693
#5695

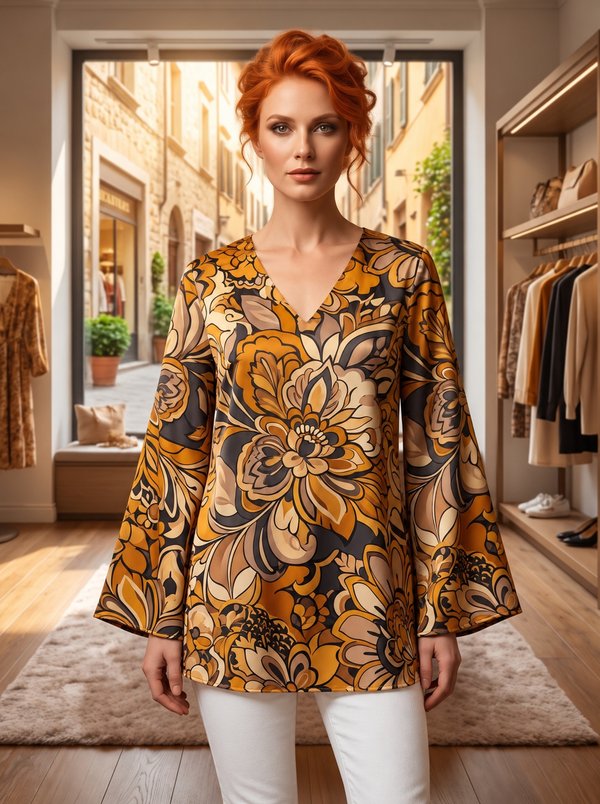
Laced V-neck Tunic

Pattern #5694

A women's tunic to the upper thigh with a deep, bias-bound V-neck and a gathered centre front seam drawn up with a tie through a casing strip. Wide set-in sleeves are slit open along their length and finished with a narrow rolled hem, and the back closes with a zip in the centre back seam. Drafted to your own measurements. Recommended fabric: lightweight fabrics from natural or blended fibres.

Tech. Description

Laced V-neck Tunic

A women's tunic to the upper thigh with a deep, bias-bound V-neck and a gathered centre front seam drawn up with a tie through a casing strip. Wide set-in sleeves are slit open along their length and finished with a narrow rolled hem, and the back closes with a zip in the centre back seam.

When To Wear

  • In summer over slim trousers, leggings or shorts.
  • On holiday as a beach cover-up.

Key Design Features

Silhouette: Straight, lightly shaped with waist darts on the front and back.

Length: Upper thigh, with side slits at the hem topstitched 0.5 cm from the edge.

Neckline: Deep V-neck, clipped at the point and bound with a 4 cm bias strip folded into a binding.

Front: One piece with a seam at the centre front from a mark below the neckline down. The seam is gathered to the length of a casing strip topstitched over it; a narrow tie runs through the casing, is pulled up to the gathering wanted and secured, with the ends hanging down.

Sleeves: Wide, set-in, cut open along a marked line so they fall open in two loose panels.

Back: Centre back seam with an invisible zip.

Finishing: Hem, sleeve hems and sleeve slits finished with a narrow rolled hem.

Level Of Difficulty

Intermediate. An invisible zip, a bias-bound V-neck with a sharp point, a gathered centre seam with a casing, and rolled hems on lightweight fabric.

Fabric Recommendations

Lightweight fabrics from natural or blended fibres.

Additional Supplies

  • Invisible zip

Cutter's Must

  • From main fabric:
  • Back – 2 pieces
  • Front – 1 piece
  • Sleeve – 2 pieces
  • Trim strip – 1 piece

Sewing Instructions

  1. Mark and stitch the waist darts on the back and front. Press the waist darts towards the center of the pieces.
  2. Overlock the center back edge. Stitch the center back seam up to the notch for the zipper. Insert the zipper.
  3. Stitch the shoulder edges. Press the shoulder seams towards the back and overlock.
  4. Cut a bias binding 4 cm wide and the length indicated on the front pattern piece. Press the bias binding in half lengthwise, right side out. Then unfold and press the longitudinal edges towards the marked center line. Clip the front neckline at the corner and bind the tunic neckline with the bias binding.
  5. Fold the front in half lengthwise, wrong side in, and stitch the center seam from the mark on the neckline downwards with loosely tensioned stitches. Trim the excess seam allowance to 0.5 cm and press open. Gather the center seam to the length of the trim strip, distributing the gathers evenly.
  6. Press the short edges of the trim strip to the wrong side and topstitch. Mark the center line on the trim strip. Place the trim strip on the front, aligning the center lines, and topstitch in the center. Fold the longitudinal edges of the trim strip to the wrong side and topstitch 0.1 cm from the fold.
  7. Overlock the side edges. Stitch the side seams up to the notch for the slit and press open, pressing the slits. Topstitch along the slits at a distance of 0.5 cm from the edge of the slit.
  8. Stitch the sleeve edge. Press the sleeve seam towards the elbow and overlock. Set the sleeves into the armhole according to the notches.
  9. Cut the sleeve along the marking. Overlock the bottom of the garment, the bottom of the sleeve, and the sleeve slit with a narrow rolled hem.
  10. Cut a tie of the desired length and 4 cm wide. Press the tie in half lengthwise, right side out. Then unfold and press the longitudinal edges towards the marked center line. Fold the tie along the center line, aligning the folds, and topstitch at 0.1 cm. Thread the tie through the trim strip, gather to the desired length, and secure.

Order Pattern

Standard Sizes

Individual Measurements

Please double-check the file format and paper size. Your pattern is drafted in exactly the format you select; a different format or paper size later is a new order.

Similar patterns

View all
Support

Minerva Support

Online
Support
Hi! I'm Minerva's AI assistant. What can I help you with?