Professional made-to-measure digital sewing patterns — PDF · PLT · DXF AAMA
A women's cropped halter vest with princess seams front and back, a deep V front fastened with two buttons, and bias-tape binding along the front edges that continues into 40 cm ties fastened behind the neck. The back is cut straight across under the arms, leaving the shoulders bare. Drafted to your own measurements. Recommended fabric: fabrics made from natural or blended fibres.
A women's cropped halter vest with princess seams front and back, a deep V front fastened with two buttons, and bias-tape binding along the front edges that continues into 40 cm ties fastened behind the neck. The back is cut straight across under the arms, leaving the shoulders bare.
Silhouette: Close-fitting, shaped by princess seams on the front and back.
Length: Cropped, ending around the waist, with pointed front hems.
Neckline: Halter V-neckline. The front edges are bound with bias tape from the hem upwards, and the tape is carried on as ties 40 cm long that knot at the back of the neck.
Closure: Two buttons, buttonholes on the right front, with the button area interfaced.
Front: Centre front panels cut double and faced along the lower edge, then joined to side front panels.
Back: Centre back seam and princess seams; straight upper edge bound with bias tape; the hem dips to an inverted V at the centre back.
Finishing: Armholes and back upper edge bound with bias tape folded in half; seams overlocked; hem turned up and topstitched 1.5 cm from the edge.
Intermediate. Princess seams, a faced pointed front hem, continuous bias binding that forms the ties, and buttonholes.
Fabrics made from natural or blended fibres.

#5635
Tie Neck Halter Top with Gathered Ruffled Hem
#5637
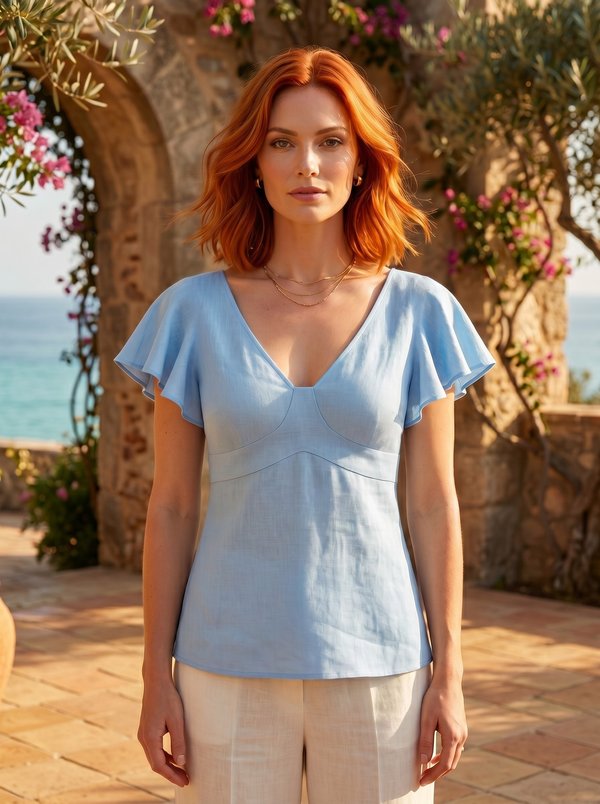
V-Neck Shaped Bodice Flutter Sleeve Top

#5634
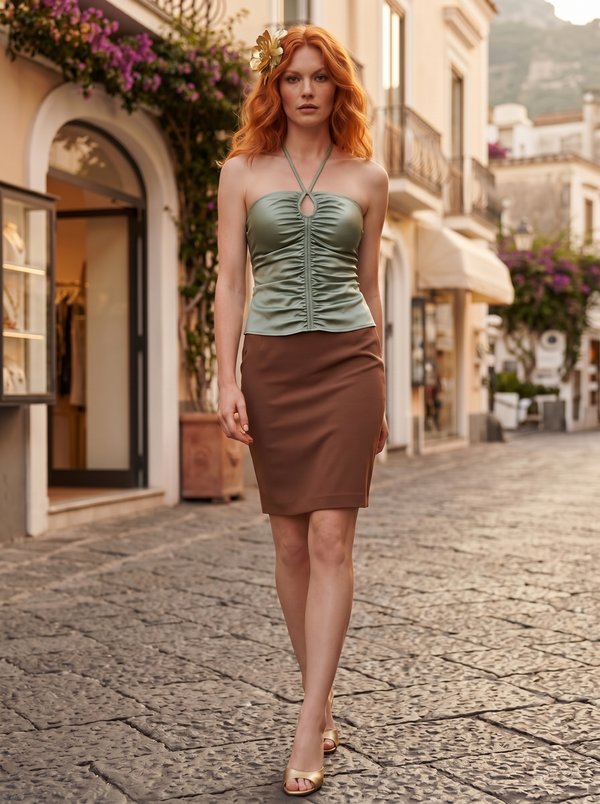
Fitted Strapless Jersey Top with Soft Side Pleats
#5633
Laced Front Halter Corset Top

#5631
Halter Collared Wrap Front Blouse
#5630
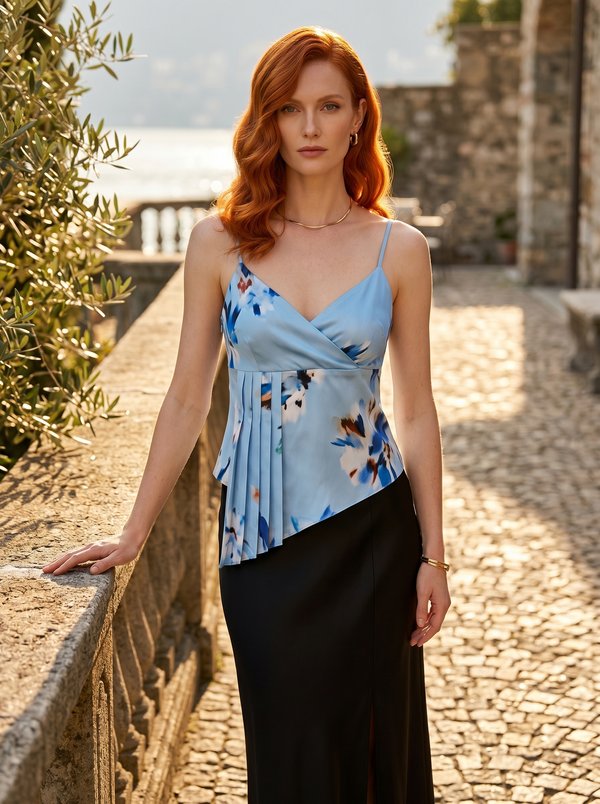
Pleated Wrap Front Asymmetrical Top

#5642
Cotton Stretch Jersey Stand Collar Scoop Neck Top with Sleeve Options
#5629
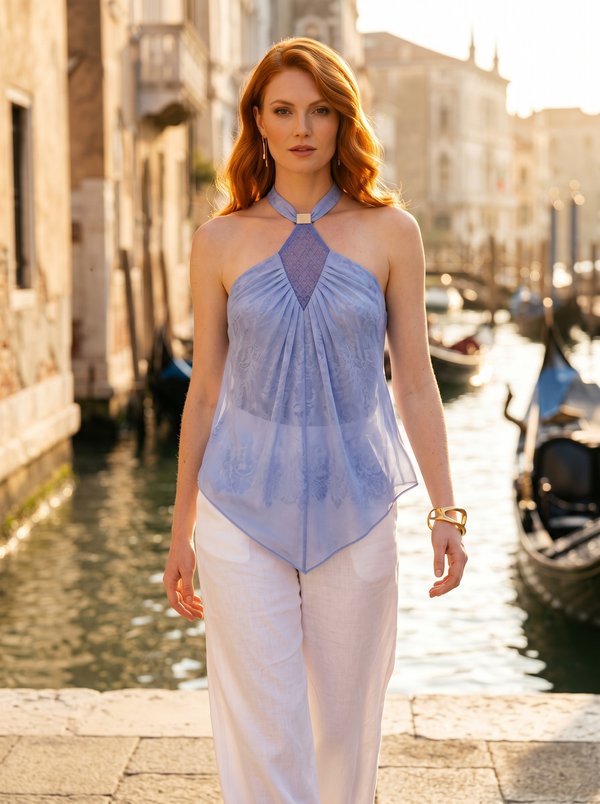
Halter Neck Top with Pointed Hem

Minerva Support
Online