Professional made-to-measure digital sewing patterns — PDF · PLT · DXF AAMA
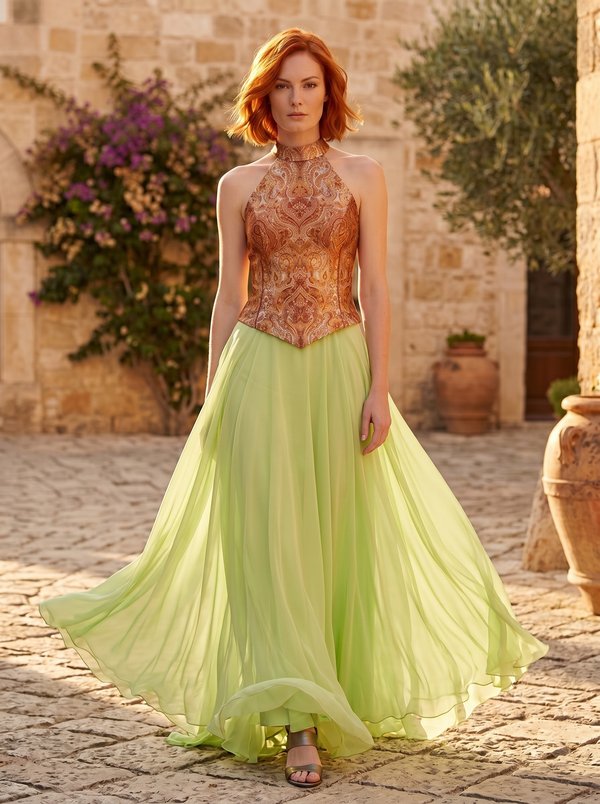
A women's fitted halter bustier top with princess seams front and back and a wide pointed collar: the side front panels extend upwards, wrap around the neck and join at the back of the collar, leaving the shoulders and upper back bare. Invisible zip at the centre back. Drafted to your own measurements. Recommended fabric: fabric of natural or blended fibres.
A women's fitted halter bustier top with princess seams front and back and a wide pointed collar: the side front panels extend upwards, wrap around the neck and join at the back of the collar, leaving the shoulders and upper back bare. Invisible zip at the centre back.
Silhouette: Close-fitting bodice shaped by princess seams on the front and back.
Length: To the high hip; hem overlocked, turned up and topstitched 1.5 cm from the edge.
Neckline: Curved front neckline between the collar panels, finished with an interfaced centre front facing.
Collar: Wide halter collar with pointed corners, cut in one with the side front panels and joined by a seam at the collar centre line behind the neck. Faced with interfaced side front facings; the collar and armhole edges are turned in and topstitched 0.2 cm from the edge.
Front: Centre front panel and two side front panels joined by princess seams.
Back: Strapless straight top edge; centre back panels and side back panels joined by princess seams, with a centre back seam. The top edge is finished with an interfaced back facing understitched 1–2 mm from the seam.
Closure: Invisible zip in the centre back seam, with the facing secured to the zip tape.
Advanced. Matching princess seams on a close-fitting bodice, a collar cut in one with the front panels and faced with a clipped corner, and an invisible zip set into a faced top edge.
Fabric of natural or blended fibres.
From Main Fabric:
From Fusible Interfacing:
Before cutting your fabric:
Apply fusible interfacing to the Back Facing, Center Front Facing, and Side Front Facing.
Stitch the neckline edge of the Center Front with the Center Front Facing.
Turn the seam and press.
Stitch the Back Facing to the Side Front Facing along the side edge.
Overlock the seam allowances and press open.
Overlock the lower edges of all facing pieces.
Stitch the shaping seams joining the Center Back and the Side Back.
Overlock the seam allowances and press toward the center.
Stitch the side seams.
Overlock the seam allowances and press toward the back.
Overlock the center back edges.
Stitch the center back seam up to the zipper notch.
Press the seam allowances open, also pressing the allowances of the zipper opening.
Insert the zipper.
Stitch the shaping seams joining the Center Front and the Side Front, matching notches.
Stitch the Side Front Facing pieces together along the center line of the collar.
Stitch the Side Front pieces together along the center line of the collar.
Overlock the seam allowances and press.
Place the Side Front Facing on the Side Front right sides together.
Stitch along the outer edge of the collar and the collar corners, then continue stitching the facing to the shaping seam of the front.
Clip the seam allowance at the corner.
Overlock the seam from the corner to the hemline and press toward the Side Front.
Turn the collar right side out and press.
Place the back and the Back Facing right sides together.
Stopping 5 mm short of the concealed zipper edges, fold the facing back and pin it to the upper edge of the top.
Fold the seam allowances along the zipper to the right side of the top and pin them to the upper edge over the facing.
Stitch the upper edges of the back.
Turn the seam allowances along the zipper to the wrong side.
Fold the facing upward and understitch it to the seam allowance 1–2 mm from the seam.
Turn the facing to the wrong side and secure it to the zipper tape.
Press the pieces.
Press the seam allowances along the front armhole and along the collar to the inside.
Topstitch the layers together 0.2 cm from the edge.
Overlock the lower edge of the top, turn under, and topstitch 1.5 cm from the edge.

#5621
Sleeveless V-Neck Twisted Front Top
#5620
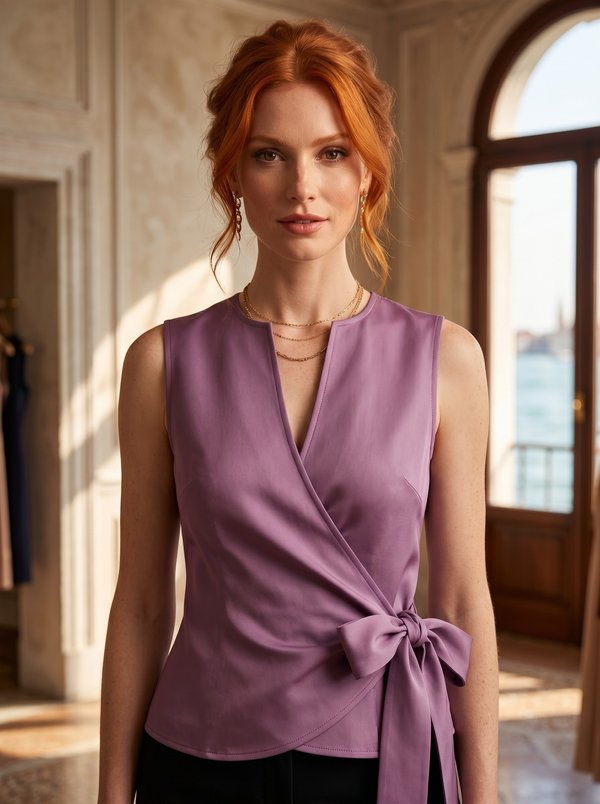
Wrap Top with a Side Tie
#5624
American Armhole Top with a Stand Collar
#5619
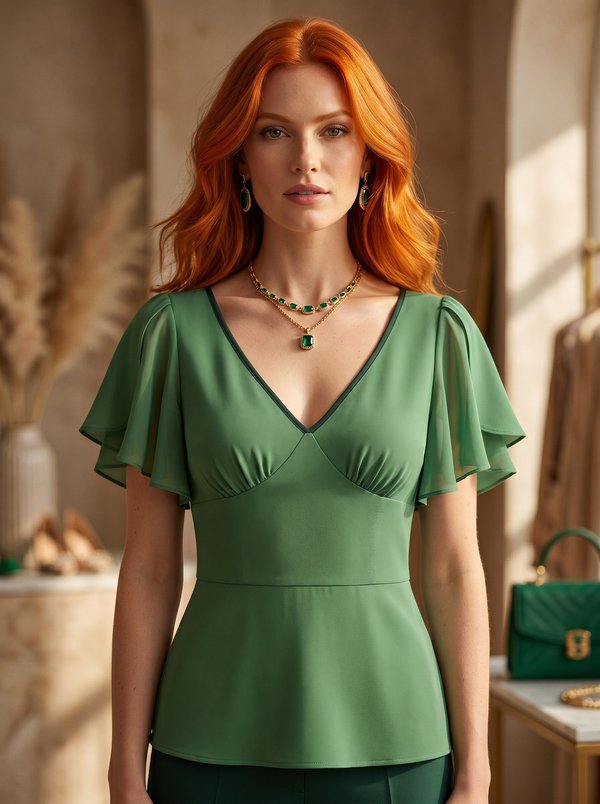
V-Neck Gathered Bust Flutter Sleeve Blouse
#5625
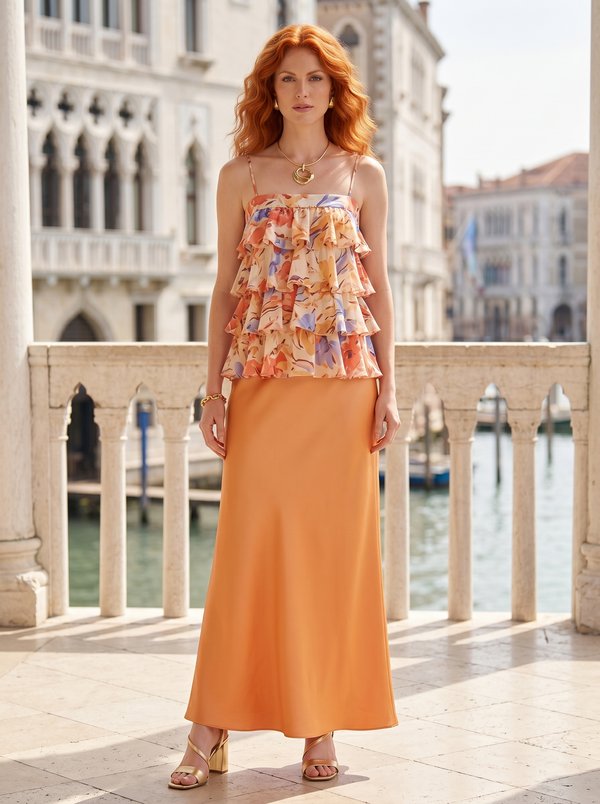
Spaghetti Strap Tiered Ruffle Top

#5618
Draped V-Neck Sleeveless Blouse

#5626
Open-Back Lace-Up Corset Top

#5627
Keyhole Halter Top With Shaped Hem

Minerva Support
Online