Straight Leg Pants without Waistband
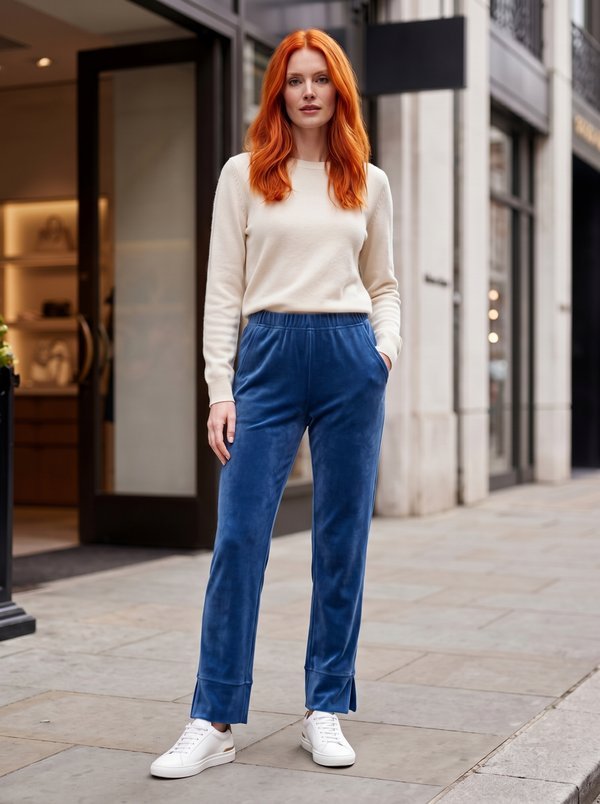
Full-length women's trousers with straight legs and no waistband: the top edge is finished with a shaped facing. Front zip fly with a button catch and one button, darts at the back waist.
When To Wear
- For the office with a tucked-in blouse or a short jacket.
- In spring and summer, made up in light stretch trouser fabric.
Key Design Features
Silhouette: Straight legs falling from the hip to the hem.
Length: Full length.
Waist: No waistband; the top edge is faced with front facings and a back facing cut on the fold, joined at the sides and topstitched 1 mm from the edge.
Closure: Zip fly with cut-on fly facings, topstitched on the right front along the markings, and a separate button catch on the left; fastened at the top with one button and a buttonhole.
Back: Darts at the waist, pressed towards the centre; centre back seam.
Legs: Side and inside leg seams overlocked and pressed open; hem turned up and topstitched.
Level Of Difficulty
Intermediate. A zip fly with cut-on facings and a button catch, a faced waistline instead of a waistband.
Fabric Recommendations
Light stretch trouser fabrics of natural or blended fibres.
Additional Supplies
- Fusible interfacing (front and back facings, button catch)
- 1 zip
- 1 button
Cutter's Must
If the patterns have a double contour, seam allowances are included; if the contour is single, seam allowances are not included. Seam allowances: all seams – 1 cm; hem allowance – 3 cm. First print the paper patterns and lay them out on the fabric width (90–150 cm) to determine how much fabric you need (remember paired and symmetrical pieces). Match the notches when stitching!
- From main fabric:
- Front Half – 2 pieces
- Back Half – 2 pieces
- Back Facing – 1 piece on fold
- Front Facing – 2 pieces
- Button Catch – 1 piece
- From fusible interfacing: Back Facing – 1 piece on fold, Front Facing – 2 pieces, Button Catch – 1 piece.
Sewing Instructions
- Reinforce the facings and the Button Catch with fusible interfacing (thermo-adhesive interfacings are pressed onto the wrong side of the piece with a hot iron).
- Stitch the darts, press them towards the center.
- Sew side and inseam seams. Overlock seam allowances and press open.
- Stitch the front crotch seam from the zipper-opening mark downwards and, without breaking the stitch, sew the back crotch seam.
- Zipper closure: press the cut-in-one fly facings to the wrong side: on the right - along the center front line, on the left - stepping back 1 cm from the center front line (= seam allowance for the closure). Stitch the zipper under the edge of the seam allowance for the closure (left side) to the edge, positioning the teeth close to the fold. Pin the opening, aligning the center front lines. Stitch the free tape of the zipper to the cut-in-one facing of the right side of the closure, without catching the fabric of the front pant leg. Topstitch the right front pant leg along the closure according to the markings, catching the facing. Stitch the Button Catch along the short sides, turn out and press. Stitch the Button Catch to the left pant leg under the closure.
- Stitch the Front Facings and Back Facing together at the side edges. Press seam allowances open. Overlock the bottom edge. Fold the facings with the upper edge of the pants right sides together and stitch. Turn to the right side, secure the short sides and topstitch the upper edge at 1 mm.
- Press the hem allowance of the pant bottom inwards, turn under the raw edges and topstitch.
- Make a buttonhole on the right front, sew a button on the left front.