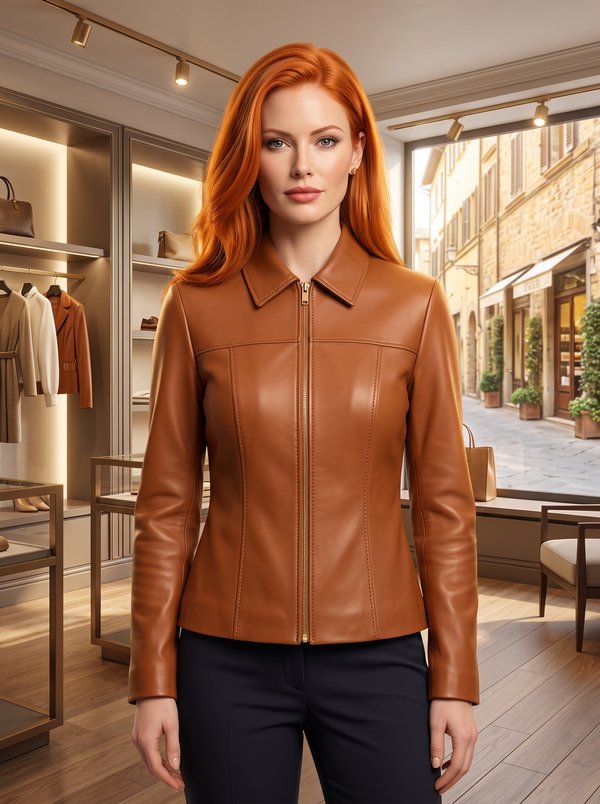
Velveteen Blouse-Jacket with Collar
A hip-length women's blouse-jacket with a collar on a stand worn open at the neck, a four-button front, side bust darts and back waist darts, and long sleeves with deep buttoned cuffs over a slit.
When To Wear
- In autumn and winter as a light jacket over a camisole or fine knit.
- With straight trousers or a pencil skirt for dressier daytime and evening occasions.
Key Design Features
Silhouette: Semi-fitted, shaped by side bust darts on the fronts and two vertical darts on the back.
Length: Hip length, with short slits at the side seams.
Collar: Collar on a separate stand, interfaced and topstitched; the neckline falls open in a V.
Sleeves: Long set-in sleeves with a slit at the lower seam, topstitched 0.1 cm from the edge, finished with a deep cuff that buttons at the slit.
Front: Single-breasted with four buttons and buttonholes on the right front; front facings, with the facings tacked at the shoulder seams.
Back: One piece without a centre back seam, with two vertical darts.
Finishing: Hem turned up 2 cm and stitched by hand. Optional decorative stitching imitating hand stitches along the cuff edges, the slits and the hem.
Level Of Difficulty
Intermediate. A collar sewn between two stand pieces, front facings stitched to the hemline, sleeve slits and two-part interfaced cuffs, buttonholes.
Fabric Recommendations
Velour or velveteen.
Additional Supplies
- Fusible interfacing (front facings, under collar, stand, under cuffs)
- 6 buttons
Cutter's Must
- From main fabric:
- 1. Collar – 2 pieces
- 2. Stand – 2 pieces
- 3. Back – 1 piece
- 4. Front - 2 pieces
- 5. Sleeve – 2 pieces
- 6. Cuff – 2 pieces
- 7. Facing – 2 pieces
Tip: If desired, you can add decorative stitching, imitating hand stitches, along the lower edge of the cuff, along the edge of the slits, and the bottom of the jacket.
Sewing Instructions
- Reinforce the facing, lower collar, stand, and lower cuff with fusible interfacing.
- Place the upper collar with the lower collar right sides together and stitch the lower collar to the upper collar. Trim, turn out the collar corners.
- Stitch the stands, inserting the collar between them.
- Stitch and press the darts on the front and back.
- Overlock the inner edge of the facing. Place the facing on the right side of the front, right side down, pin, and stitch along the front edge. Stitching is done from the front side up to the notch, which marks the end of the collar insertion. Stitch the lower edges of the facings to the front strictly along the marked hemline. Trim the seam allowances of the upper and lower front corners. Topstitch the seam allowance of the front edge: in the fastener area – onto the facing.
- Overlock the side and shoulder seams, as well as the bottom of the jacket. Stitch the side seams up to the notches and press open, pressing the slits. Stitch and press open the shoulder seams.
- Insert the stand with the collar into the neckline. Stitch the facing to the edge of the stand. Topstitch the collar. Secure the facings to the shoulder seams with a tack.
- Overlock the sleeve seams. Stitch the sleeve seams up to the notch. Press open the sleeve seam, press the slit, and topstitch the slit along the edge at 0.1 cm.
- Press under the upper edge of the lower cuff by 1 cm. Fold the cuff pieces and stitch. Trim the seam allowances at the corners and turn out the cuff. Straighten the seams and press the cuff. Stitch the upper cuff to the lower edge of the sleeve, and topstitch the lower cuff.
- Insert the sleeves according to the notches. Overlock the sleeve insertion seam.
- Turn up the bottom of the garment and hand stitch.
- Make the buttonholes on the right front and cuff. Sew buttons on the left front and cuff.