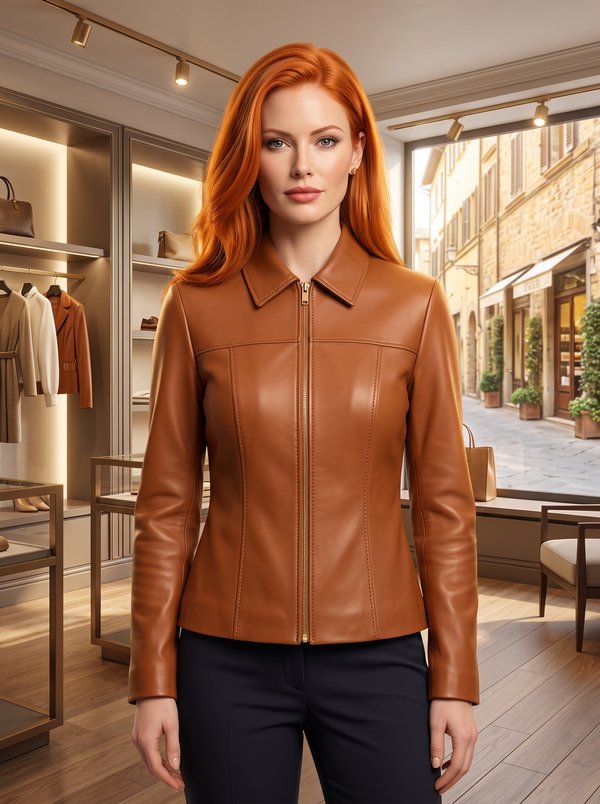
Jacket with Cut-On Collar and Curved Front Seams
A hip-length women's jacket with a one-piece collar cut in one with a wide front band that curves around the front hem into a back hem band, front and back yokes, flap pockets in the front yoke seam and buttoned cuffs. Unlined, with double topstitching throughout.
When To Wear
- In spring and autumn over a T-shirt, blouse or fine knit.
- With jeans, straight trousers or a slim skirt.
Key Design Features
Silhouette: Straight, with vertical seams on the front and back.
Length: Hip length.
Collar: Shawl-type collar with a centre back seam, cut in one with the front band and lying open to a V at the neck.
Front: Front yoke over three vertical panels on each side; the front band runs from the collar down the front edge and rounds off at the hem, leaving a curved opening at the centre front.
Closure: Single-breasted, three buttons with buttonholes on the right front.
Sleeves: One-piece set-in sleeves with a slit at the hem and a buttoned cuff.
Pockets: Pockets set into the front yoke seam, covered by flaps with a buttonhole and button.
Back: Back yoke, a centre panel with two side panels, and a hem band joined to the front band at the side seams.
Finishing: Double topstitching 0.2 cm from the seams and edges on the panels, yokes, flaps, collar and front band.
Level Of Difficulty
Intermediate. Pockets set into a yoke seam, a collar cut in one with the band, sleeve slits with cuffs, and even double topstitching on stretch velvet.
Fabric Recommendations
Stretch printed velvet.
Additional Supplies
- Fusible interfacing (front band, cuffs, flaps)
- 7 buttons
Cutter's Must
- From main fabric:
- 1. Back yoke – 1 piece
- 2. Back center – 1 piece
- 3. Back side - 2 pieces
- 4. Back lower - 2 pieces
- 5. Front yoke – 2 pieces
- 6. Front side – 2 pieces
- 7. Front center – 2 pieces
- 8. Front central – 4 pieces
- 9. Front side-center – 2 pieces
- 10. Sleeve – 2 pieces
- 11. Cuff – 2 pieces
- 12. Flap – 4 pieces
- 13. Upper pocket bag – 4 pieces
- From fusible interfacing: facing, cuff, flap.
Sewing Instructions
- Fuse fusible interfacing to the facing, cuff, and flap.
- Stitch the front side-center to the front side. Stitch the front center to the front side-center. Topstitch with a double decorative stitch 0.2 cm from the seam.
- Fold the flap with the underflap wrong sides together and stitch along the outer contour. Trim seam allowances at the corners of the flap and turn out. Topstitch with a double decorative stitch along the outer contour of the flap 0.2 cm from the edge. Align the open edges of the flap with the yoke edge, placing the flap on the right side of the front yoke, then place the upper pocket bag on top of the flap, baste all together. Place the lower pocket bag on the right side of the front lower. Stitch the flap and pocket bags. Stitch the yoke to the front. Turn the pocket bags inwards, align, and stitch. Overlock the pocket bag along the outer contour and topstitch the pocket bag to the front. Slash the seam near the pocket. Press the seam towards the yoke and topstitch.
- Stitch the back side to the back center. Stitch the yoke to the back. Topstitch with a double decorative stitch 0.2 cm from the seam.
- Stitch the shoulder and side seams.
- Stitch the center collar seam on the front upper central and front lower central. Stitch the side seams of the front lower central and back lower. Stitch the side seams of the front upper central and back upper lower. Overlock the inner edge of the front upper central with the back lower.
- Stitch the front lower central with the back lower to the front and back, simultaneously inserting the one-piece collar into the neckline. Aligning notches.
- Fold the front upper central with the back lower right sides together with the front lower central and back lower and pin to the edges of the facings, which are cut as one with the collar. Pin the edges of the upper and lower collar. Stitch the facings along the edge and collar.
- Turn the front upper with the back lower to the wrong side. Baste the edges and press. Topstitch with a double decorative stitch along the edge of the facing and collar 0.2 cm from the outer edge. Topstitch the upper collar, cut as one with the front central, 0.2 cm from the seam of the front lower central with the back lower.
- Mark the slit length on the sleeve and stitch the sleeve seams. Press the upper edge of the lower cuff by 1 cm. Fold the cuff in half right side in and stitch the side seams of the cuff. Trim seam allowances at the corners and turn out the cuff.
- Stitch the upper cuff to the lower edge of the sleeve, and topstitch the lower cuff.
- Set the sleeves into the armholes, matching notches.
- Make buttonholes on the flap and cuff and sew on buttons. On the right front, make buttonholes, on the left front, sew on buttons.