Professional made-to-measure digital sewing patterns — PDF · PLT · DXF AAMA
A women's knee-length sheath dress with princess seams and darts front and back, a faced round neckline, short set-in sleeves and a 55 cm zip in the centre back seam. Drafted to your own measurements. Recommended fabric: light silk or blended fabrics, such as silk crepe.
A women's knee-length sheath dress with princess seams and darts front and back, a faced round neckline, short set-in sleeves and a 55 cm zip in the centre back seam.
Silhouette: Fitted sheath, shaped with princess seams and darts on the front and back; darts are pressed towards the centre and princess seams towards the side seams.
Length: Knee length.
Neckline: Round neck finished with an interfaced facing and topstitched along the edge.
Sleeves: Short one-piece set-in sleeves, eased slightly over the cap; hems turned under and topstitched.
Front: Cut in one piece on the fold.
Back: Two backs with a centre back seam running to the hem and a 55 cm zip set so that the teeth are not visible, stitched 0.5 cm from the opening edges.
Finishing: Seam allowances serged and pressed open; hem turned under twice and topstitched.
Intermediate. Princess seams, a centred zip with covered teeth, a neckline facing and sleeves eased into the armhole, all in fine silk.
Light silk or blended fabrics, such as silk crepe.
From Main Fabric:
From Fusible Interfacing:
Before cutting your fabric, print and lay out the paper patterns according to your fabric width (90–150 cm) to determine required yardage.
Remember to account for paired and symmetrical pieces.
When sewing, pay close attention to all notches — they must match precisely to ensure correct construction and fit.
When working with silk fabrics, careful pressing and precise seam handling are essential for achieving a clean professional finish.
Apply fusible interfacing to the Back Neckline Facing and Front Neckline Facing.
(Fusible interfacing is pressed onto the wrong side of the pieces with a hot iron.)
Stitch the center back seam from the zipper marking to the hem.
Overlock and press the seam allowances open, press the slit edges for the zipper closure.
Stitch the darts and princess seams on the Back and Front.
Press the darts toward the center and the princess seams toward the side seams.
Stitch the shoulder and side seams.
Overlock and press the seam allowances open.
Baste the zipper so that the teeth are not visible and stitch at 0.5 cm.
Attach the Back Neckline Facing to the Front Neckline Facing, overlock the outer edge.
Place the facings and garment right sides together and stitch along the neckline.
Turn the facing to the wrong side, baste and press.
Turn under the facing edges near the zipper and sew by hand.
Topstitch along the neckline.
Stitch the sleeve seams.
Overlock and press the seam allowances open.
Press the sleeve hem allowances to the wrong side, turn the edges inward and topstitch.
Set in the sleeves.
Ease each sleeve cap between the markings.
For this, sew two rows of long machine stitches on both sides of the marked sleeve attachment line and slightly draw the fabric using the bobbin threads.
Place the sleeve and dress right sides together and pin first only at the lower part of the armhole, matching the sleeve seam with the side seam and the notches on the front and sleeve.
Do not ease either the armhole or the sleeve in this section.
Pin the sleeve above the shoulder seam of the dress, matching the notch on the sleeve cap with the shoulder seam.
Then pin the sleeve into the upper part of the armhole, easing evenly and slightly.
Baste and stitch the sleeve from the sleeve side, beginning at the sleeve seam.
Overlock the seam allowances together.
At the sleeve cap, press the seam allowances toward the sleeve.
Press the hem allowance of the dress to the wrong side, turn the edge inward and topstitch.

#5171
Halter V-Neck Seamed A-Line Dress

#5160
Bias Cut Strap Maxi Dress

#5172
Short Sleeve Lace Bodice Dress with Eight-Panel Flared Skirt

#5147
V-Neck Gathered Bust A-Line Dress with Cut-In Armholes
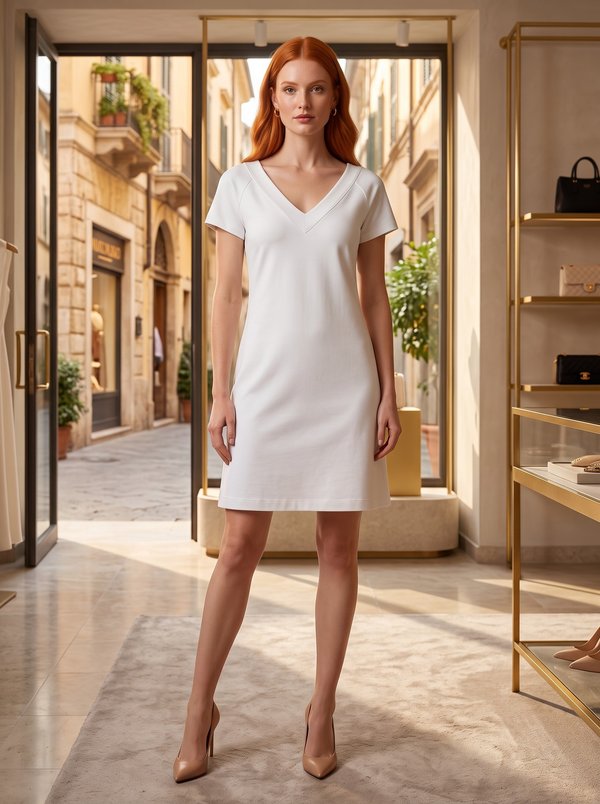
#5144
V-Neck Short Raglan Sleeve Dress

#5188
Collared Princess Seam Dress

#5189
Strappy Cupped Boned Dress

#5190
Criss-Cross Halter Maxi Dress

Minerva Support
Online