Professional made-to-measure digital sewing patterns — PDF · PLT · DXF AAMA
A women's A-line midi skirt with pleats meeting at the centre front, side-seam pockets and an interfaced waistband with a button extension. A concealed zipper closes the centre back, and the pattern includes three versions of the back panel, among them one with darts and one pleated like the front. Drafted to your own measurements. Recommended fabric: skirt fabrics of natural or blended fibres.
A women's A-line midi skirt with pleats meeting at the centre front, side-seam pockets and an interfaced waistband with a button extension. A concealed zipper closes the centre back, and the pattern includes three versions of the back panel, among them one with darts and one pleated like the front.
Silhouette: A-line, widening from the waist to the hem.
Length: Midi.
Front: One front panel with pleats folded towards the centre and held at the waist seam, opening into a deep inverted pleat at the centre front.
Back: Centre back seam; three back panel options: panel 1 with darts, panel 2, and panel 3 pleated in the same way as the front.
Pockets: In-seam pockets in the side seams, with pocket bags sewn into the side seam.
Waist: Straight waistband folded in half and interfaced, with an extension at one end, fastened with one button and buttonhole.
Closure: Concealed zipper in the centre back seam plus the waistband button.
Finishing: Hem turned up 3 cm and sewn by hand with blind stitches.
Beginner. Pleats marked and basted at the waist, in-seam pockets, a concealed zipper and a straight waistband with a buttonhole.
Skirt fabrics of natural or blended fibres.
If the patterns have a double contour, they include seam allowances. If the contour is single, the patterns do not include seam allowances. Seam allowances: all seams 1 cm. Hem allowance – 3 cm. Attention! First, print out the paper patterns and lay them out on the fabric width (fabric width can be from 90cm to 150cm) to determine how much material you will need. When stitching pieces, pay attention to the notches - they must match! Attention! The layout of this model provides for three options for the back!
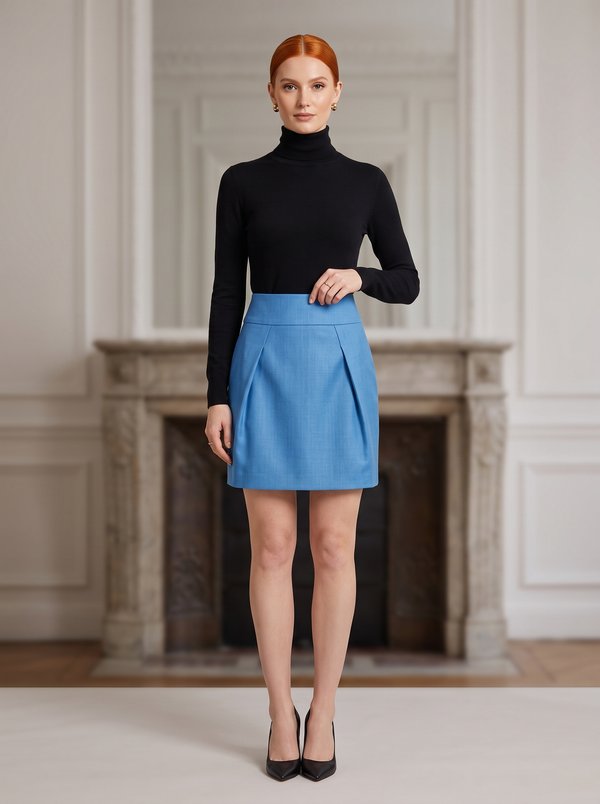
#4945
Straight Mini Skirt with Front Folds
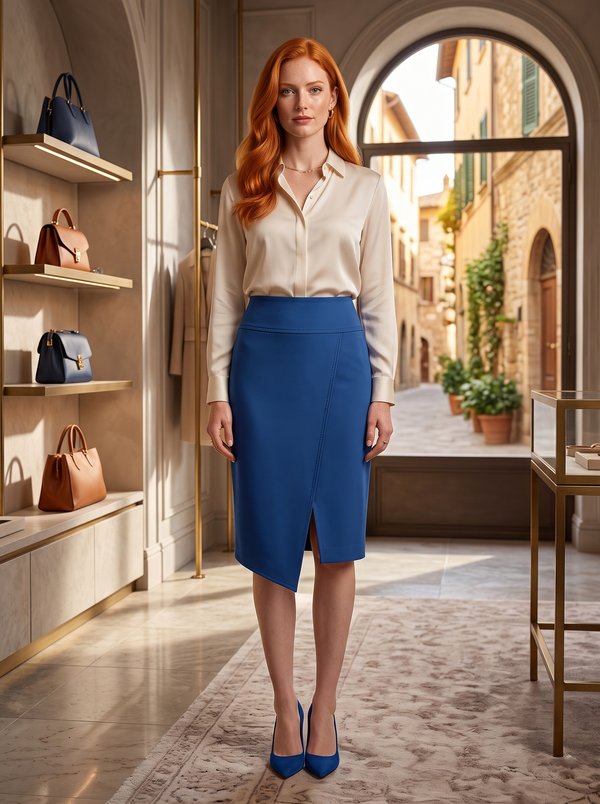
#4927
Yoke Waist Asymmetrical Faux Wrap Skirt
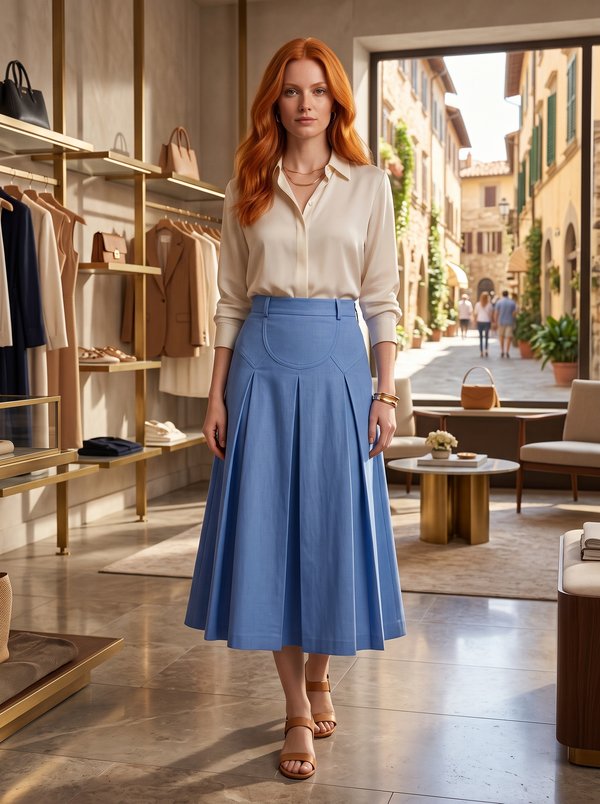
#4897
Inverted Pleat Skirt With Yokes And Insert
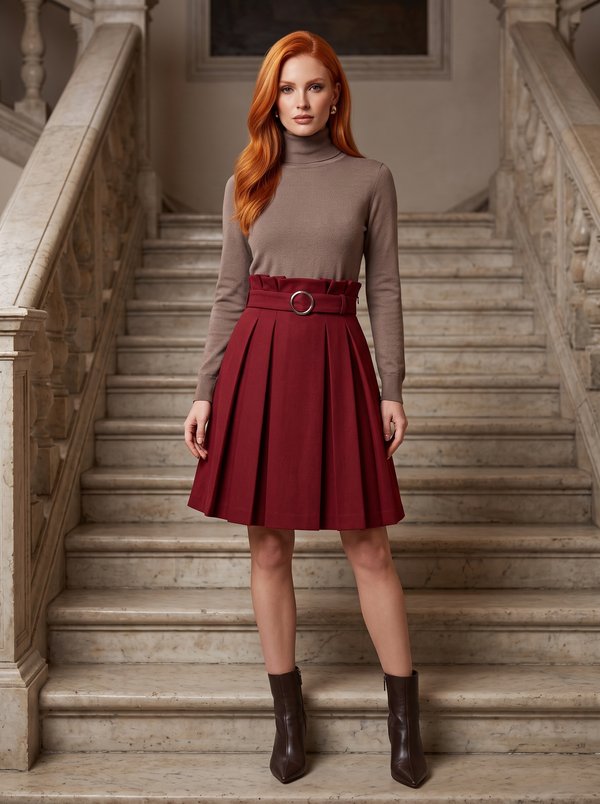
#4895
Pleated Midi Skirt Paper Bag Waist Belt
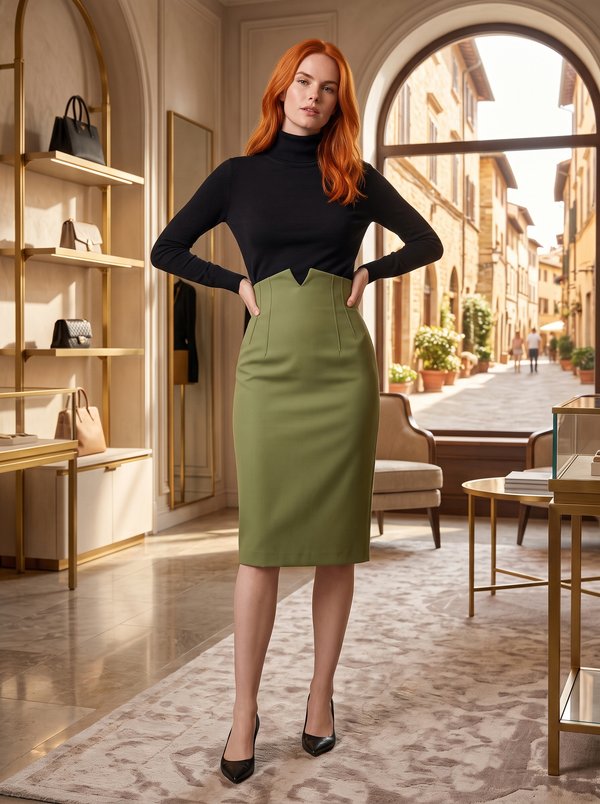
#4877
Tailored Skirt with Back Vent
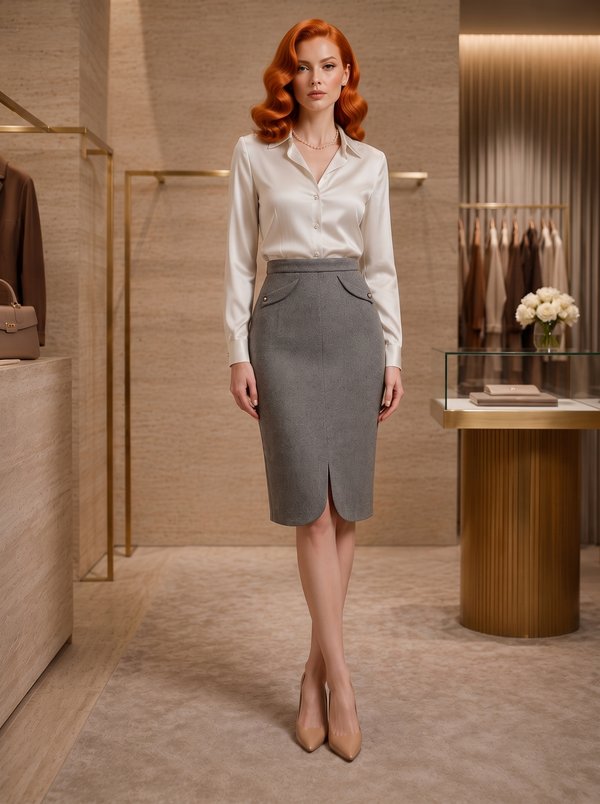
#5023
Straight Skirt with Cut-On Side Seam

#5024
Maxi Skirt with Wrap Front and Buttons
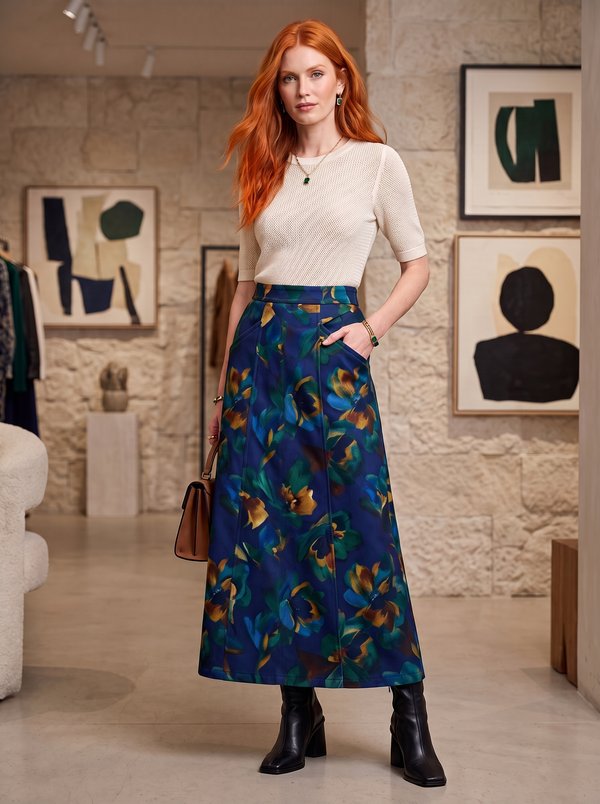
#5025
Maxi Paneled Skirt with Pockets

Minerva Support
Online