Professional made-to-measure digital sewing patterns — PDF · PLT · DXF AAMA
A women's A-line dress with a lined front and back yoke, a V-neckline ending in ties that knot at the centre front, princess seams below the yoke and a buttoned centre front with cut-on facings. Drafted to your own measurements. Recommended fabric: dress fabrics of natural or blended fibres.
A women's A-line dress with a lined front and back yoke, a V-neckline ending in ties that knot at the centre front, princess seams below the yoke and a buttoned centre front with cut-on facings.
Silhouette: A-line, flaring from the yoke through princess seams on the front and back.
Length: Around the knee.
Neckline: V-neckline with tie ends cut in one with the front yoke; tied in a knot at the centre front.
Sleeves: Short set-in sleeves with a 2 cm hem.
Front: Front yoke in two layers; below it, centre and side front panels joined by princess seams.
Closure: Centre front opening with 7 buttons and buttonholes, finished with cut-on facings interfaced with fusible interfacing.
Back: Back yoke cut on the fold in two layers; centre back panel cut on the fold, with princess seams.
Finishing: Yokes faced with a second layer stitched in the ditch of the yoke seam; seam allowances overlocked; 2 cm hems.
Intermediate. Princess seams, a self-lined yoke with ties, cut-on facings with clipped corners and buttonholes.
Dress fabrics of natural or blended fibres.
If the patterns have a double contour, they include seam allowances. If the contour is single, the patterns do not include seam allowances. Seam allowances: all seams 1 cm. Hem allowance for the bottom of the garment and sleeve hem – 2 cm. Attention! First, print out the paper patterns and lay them out on the fabric width (fabric width can be from 90 cm to 150 cm) to determine how much material you will need. When stitching pieces, pay attention to the notches - they must match!

#4937
Raglan Sleeve Ruffled Neckline Dress with Tie
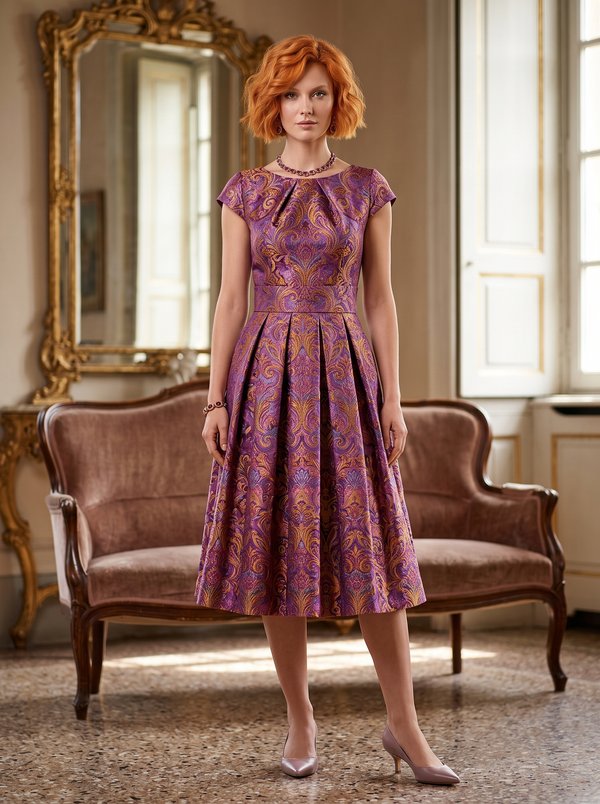
#4934
Dress with neck folds and skirt folds

#4932
Strappy Button Front Gathered Midi Dress
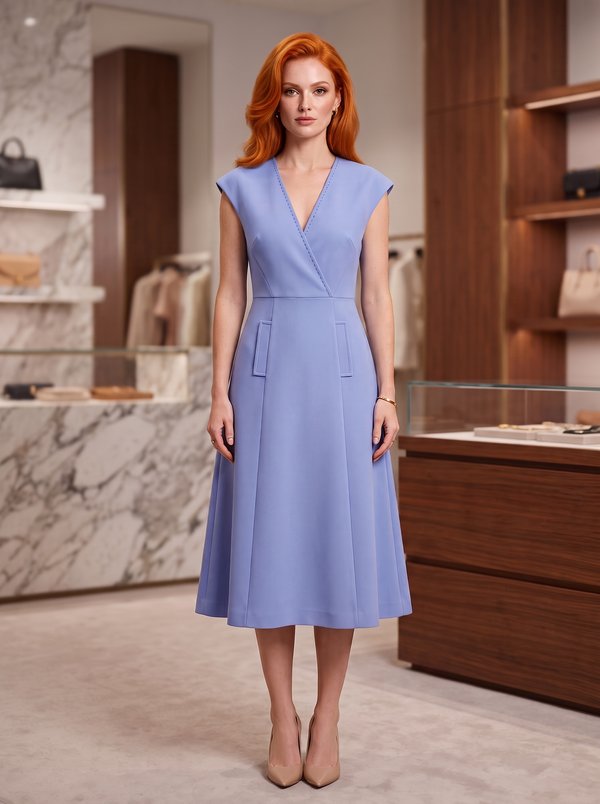
#4942
Wrap Front Dress

#4929
Half-Zip Drawstring Waist Safari Shirt Dress
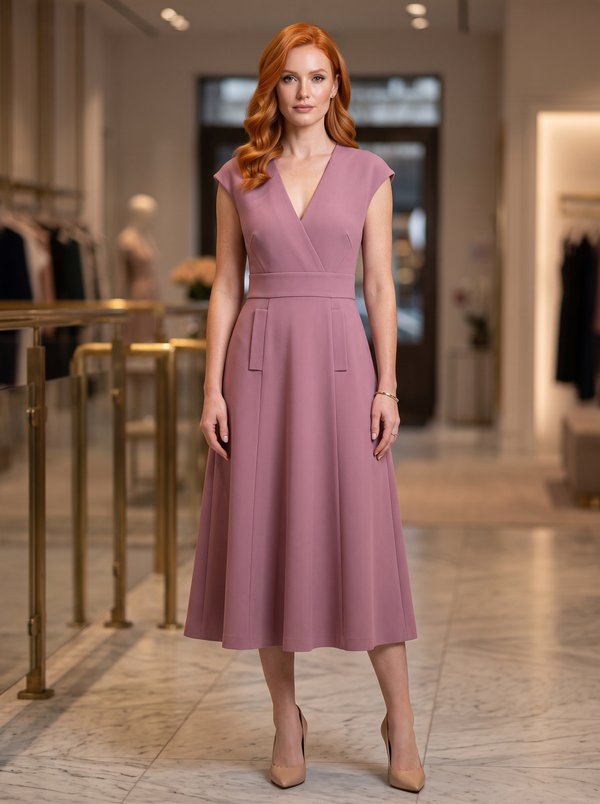
#4943
Wrap V-Neck Dress
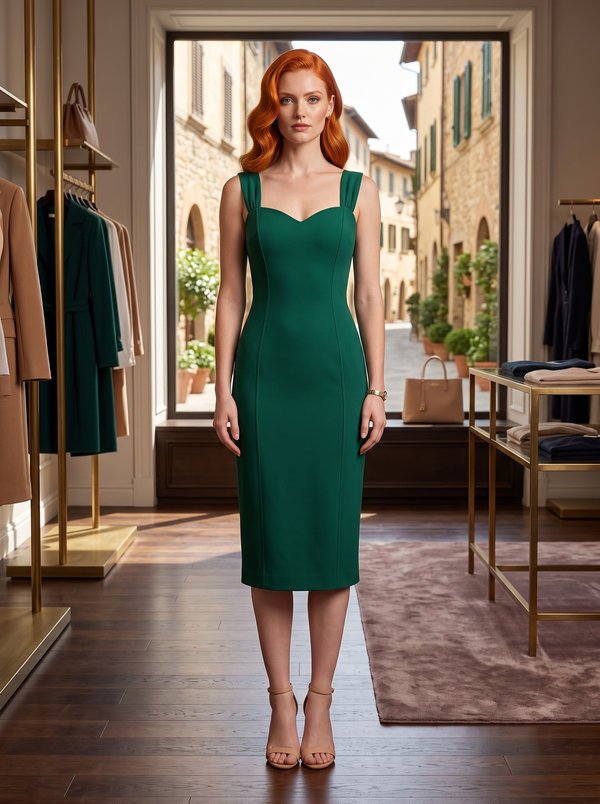
#4944
Fitted Strap Dress with Back Vent

#4926
V-Neck Midi Dress with Balloon Sleeves

Minerva Support
Online