Professional made-to-measure digital sewing patterns — PDF · PLT · DXF AAMA
A women's knee-length dress for low-stretch knit fabric, with a fitted bodice, a wide front waist insert and a flared panelled skirt. The shoulders extend into short cut-on cap sleeves, and the front bodice has small pleats under the bust. Drafted to your own measurements. Recommended fabric: low-stretch knit fabrics from natural or blended fibres.
A women's knee-length dress for low-stretch knit fabric, with a fitted bodice, a wide front waist insert and a flared panelled skirt. The shoulders extend into short cut-on cap sleeves, and the front bodice has small pleats under the bust.
Silhouette: Fitted to the waist, then flaring to the hem.
Length: About knee length.
Neckline: Wide round neckline finished with interfaced front and back facings.
Sleeves: Short cap sleeves cut in one with the bodice; armholes bound with a 4 cm bias strip folded in half and topstitched.
Front: Upper front cut on the fold with pleats under the bust, turned away from the centre; a separate wide insert at the waist; the skirt has a centre panel cut on the fold and two side panels joined by shaped seams, with pleats on the side panels.
Closure: Invisible zip in the centre back seam.
Back: Upper back with darts, joined to the lower back at the waist; centre back seam from neckline to hem.
Finishing: Hem overlocked, turned up 2 cm and topstitched.
Intermediate. An invisible zip, pleats and a waist insert that must line up across the front, shaped skirt seams and bias-bound armholes.
Low-stretch knit fabrics from natural or blended fibres.
If the patterns have a double contour, seam allowances are included. If the contour is single, seam allowances are not included. Seam allowances: all seams 1 cm. Hem allowance – 2.0 cm. Attention! First, print out the paper patterns and lay them out on the fabric width (fabric width can be from 90cm to 150cm) to determine how much material you will need (don't forget to account for paired and symmetrical pieces).
When stitching pieces, pay attention to the notches - they must match!

#4831
Knit Sheath Dress with Diagonal Pocket

#4835
Short Sleeve Henley Dress Pockets Shoulder Tabs
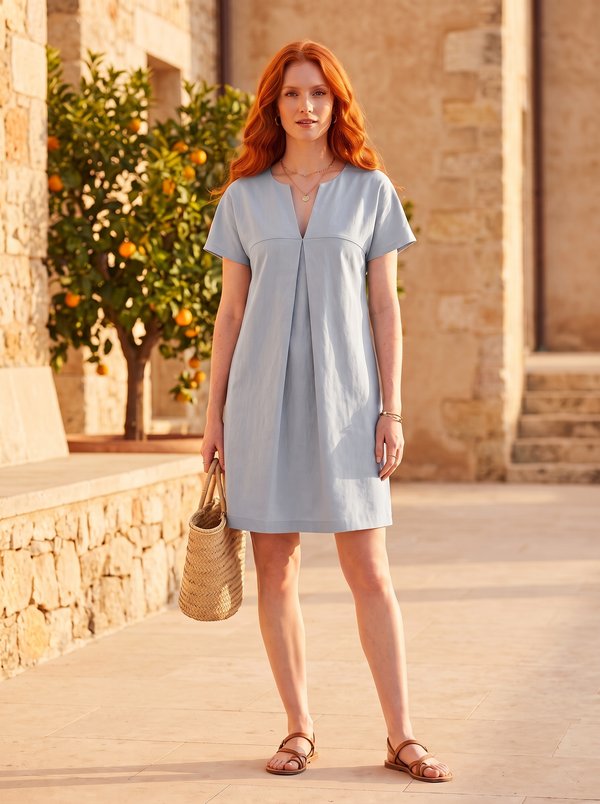
#4827
Short Sleeve Front Pleat Dress with Neck Slit
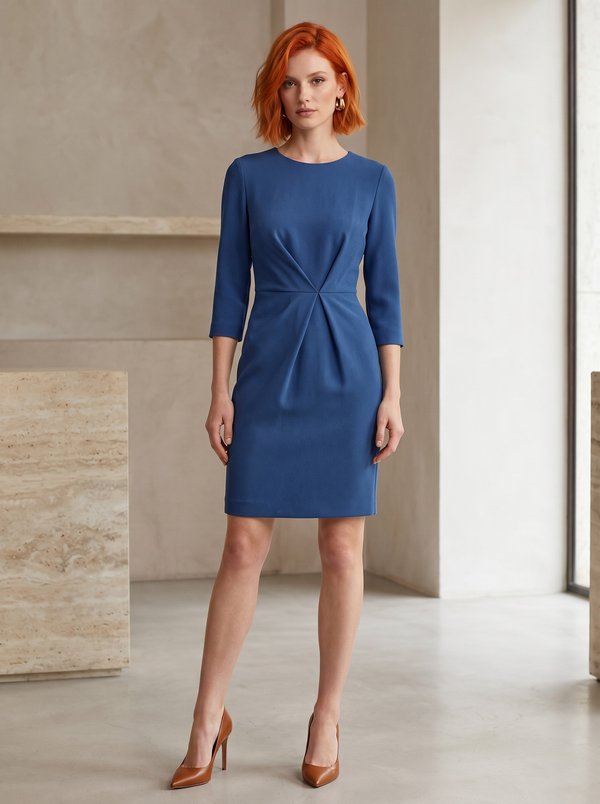
#4837
Draped Twisted Waist Sheath Dress Three-Quarter Sleeves

#4826
Shift Dress Three-Quarter Sleeves Button Panel
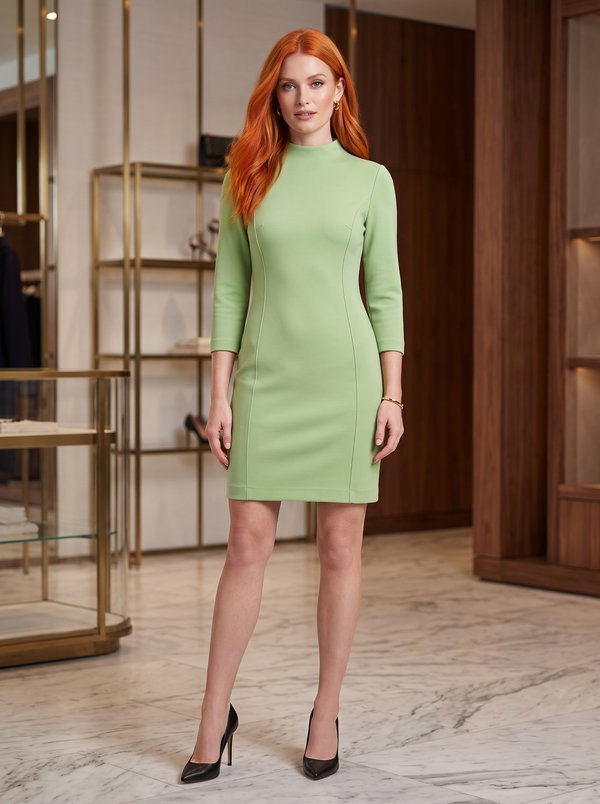
#4838
Mock Neck Sheath Dress 3/4 Sleeves

#4824
Dolman Sleeve Dress with a Waist Tie
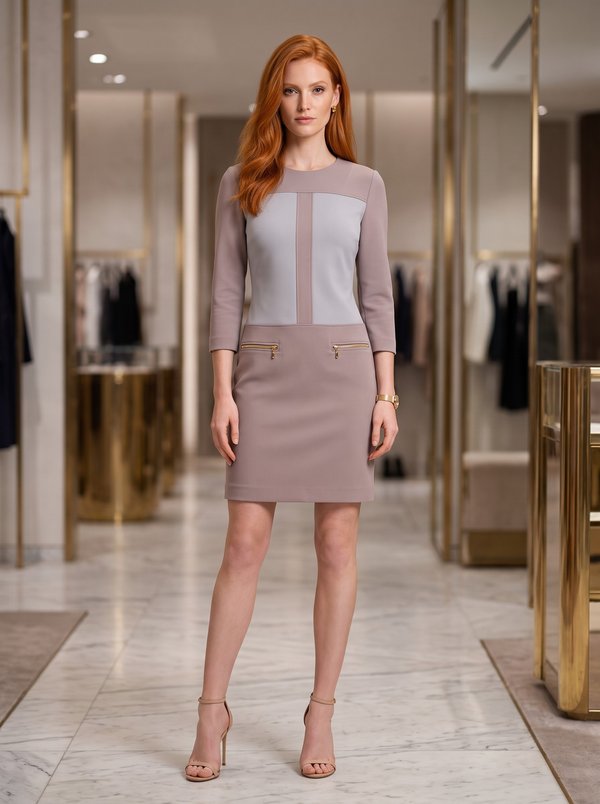
#4823
Color-Blocked Dress With Zipper Pockets

Minerva Support
Online