Professional made-to-measure digital sewing patterns — PDF · PLT · DXF AAMA
A women's tunic-length blouse in two fabrics: the front, sleeves and back yoke in the main fabric, the lower back and sleeve cuffs in a contrast fabric such as lace. The front has an inverted centre pleat with three decorative buttons and folded darts from the neckline. Drafted to your own measurements. Recommended fabric: blouse fabrics of natural or blended fibres, with a companion fabric (such as lace) for the lower back and cuffs.
A women's tunic-length blouse in two fabrics: the front, sleeves and back yoke in the main fabric, the lower back and sleeve cuffs in a contrast fabric such as lace. The front has an inverted centre pleat with three decorative buttons and folded darts from the neckline.
Silhouette: Loose, falling straight from the pleated front.
Length: Below the hip; the back is longer than the front and curves at the sides.
Neckline: Round neckline with an interfaced facing, understitched 0.2 cm from the seam.
Front: Cut on the fold. Folded darts radiate from the neckline on each side of an inverted pleat at the centre; three decorative buttons are sewn onto the pleat below the neck.
Sleeves: Set-in sleeves to below the elbow, with a deep cuff in the contrast fabric.
Back: Yoke in the main fabric; lower back cut on the fold from the contrast fabric.
Finishing: Hem and sleeve hems turned up 2 cm and topstitched. No fastening: the blouse goes on over the head.
Beginner. Folded darts and one inverted pleat, a back yoke, set-in sleeves with cuffs and a faced neckline. Lace needs careful handling at the seams.
Blouse fabrics of natural or blended fibres, with a companion fabric (such as lace) for the lower back and cuffs.
If the patterns have a double contour, they include seam allowances. If the contour is single, the patterns do not include seam allowances. Seam allowances: hem allowance, sleeve hem allowance – 2 cm, other seams 1 cm. Attention! First, print out the paper patterns and lay them out on the fabric width (fabric width can be from 90 cm to 150 cm) to determine how much material you will need. When stitching pieces, pay attention to the notches – they must match!
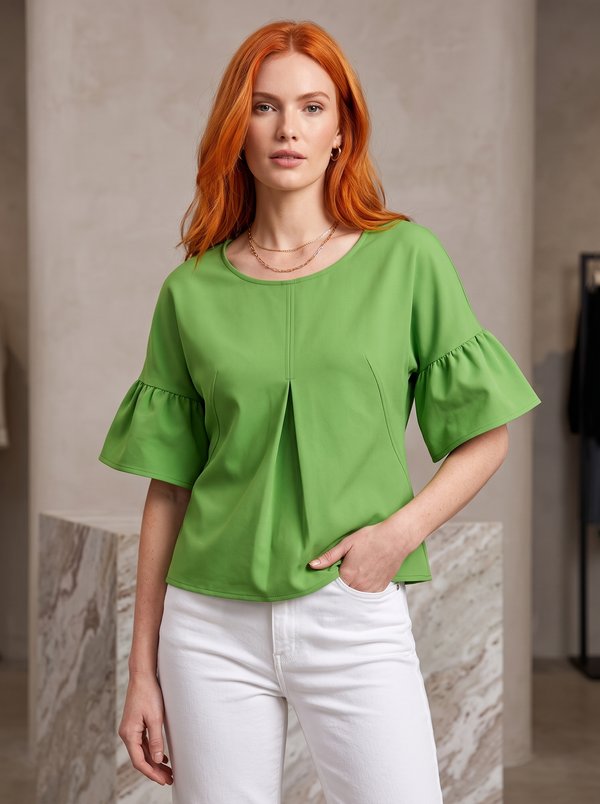
#4767
Relaxed Fit Front Pleat Blouse
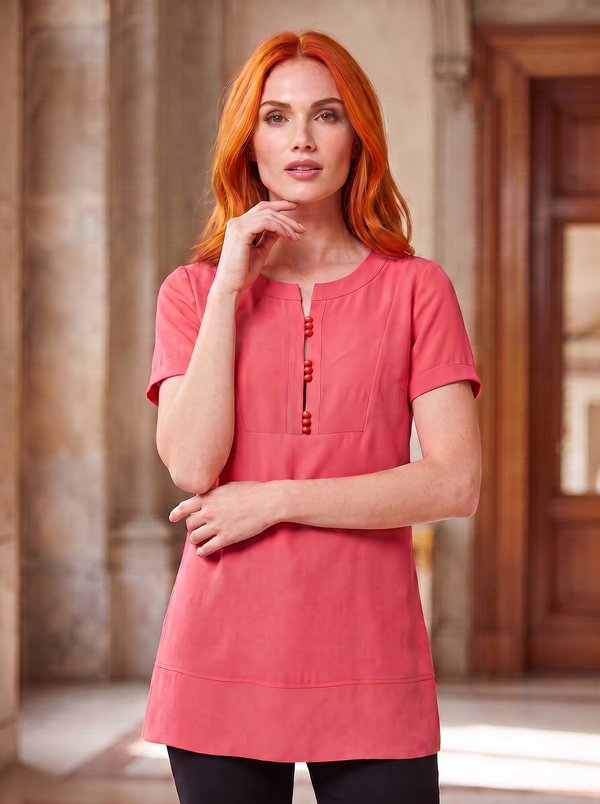
#4774
Rounded Neck Structured Placket Tunic
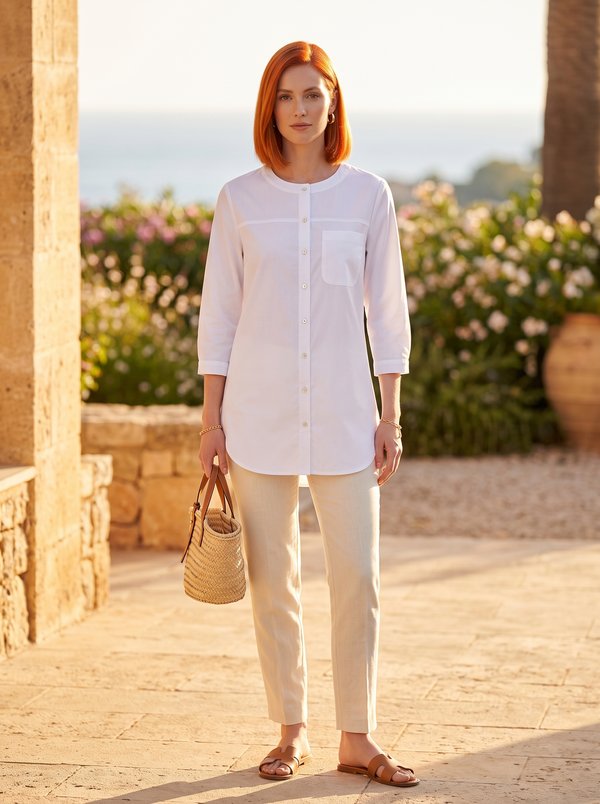
#4764
Collarless Button Front Yoke Blouse
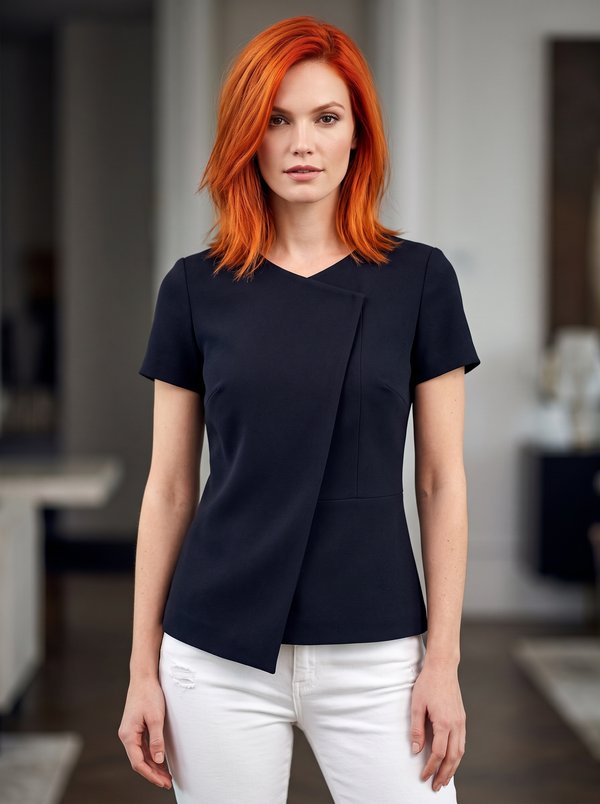
#4761
Asymmetric Fold Front Short Sleeve Blouse

#4779
Pussy-Bow Blouse with Tiered Flounce Sleeves

#4780
Trimmed Neck Blouse with Bloused Hem
#4759
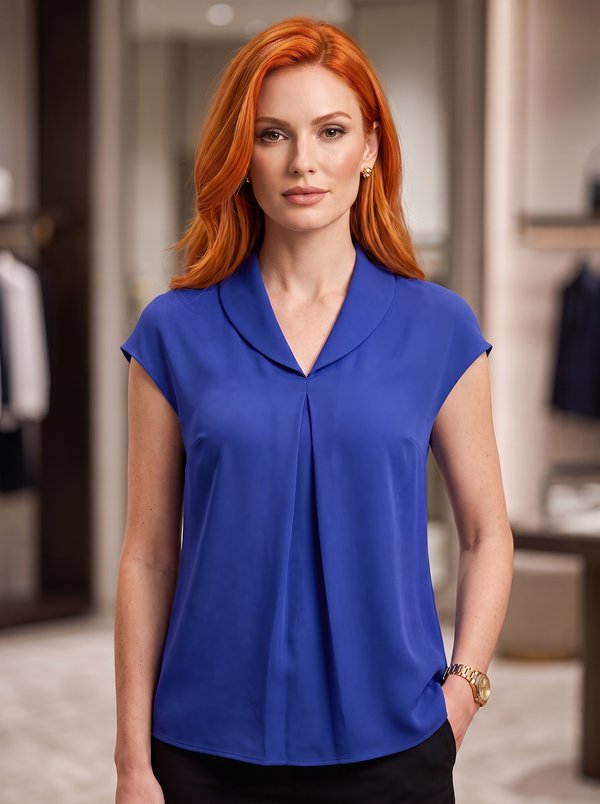
Inverted Pleat V-Neck Cap Sleeve Blouse

#4781
Mock Neck Gathered Bodice Bell Sleeve Blouse

Minerva Support
Online