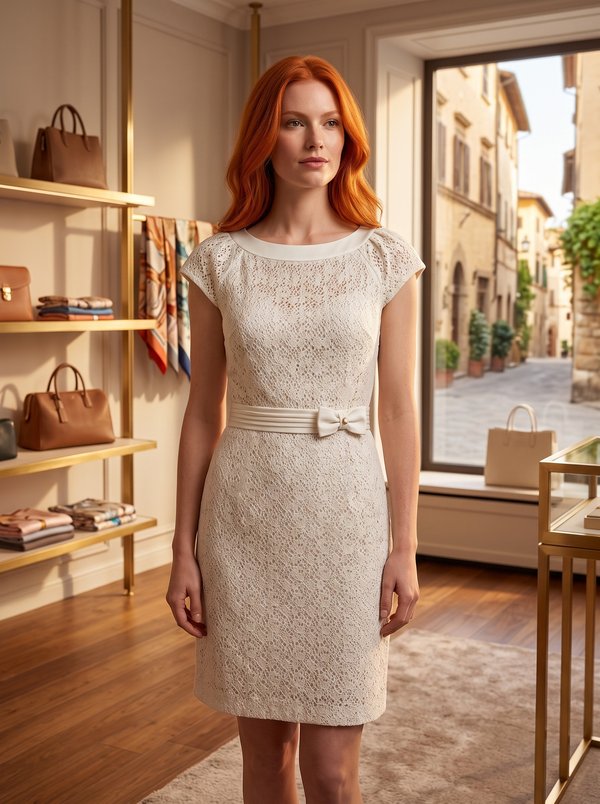
Sheath Dress with Pleated Neckline and Asymmetric Collar
A sleeveless, knee-length women's sheath dress with a waist seam, pleats at the front neckline and an asymmetric flat collar that runs from a front pleat over the shoulder into a back panel seam. Worn with a separate gathered belt that fastens with buttons.
When To Wear
- To the office and business events, with a jacket in cooler months.
- For receptions and daytime celebrations in summer.
Key Design Features
Silhouette: Fitted sheath with a waist seam; darts in the lower front and lower back.
Length: Knee length.
Collar: Asymmetric flat collar cut in two layers; one end is set into the first front pleat, the other into the left back panel seam.
Neckline: Round neckline with pleats on the front, finished with the lining.
Closure: Invisible zip in the left side seam.
Back: Upper back cut as a centre panel and two side panels; lower back with darts and a centre seam with a slit at the hem.
Waist: Separate wide belt, gathered at both ends and along a centre line, fastened with three buttons and rouleau loops.
Finishing: Hem (2 cm) and slit allowances hand-finished with blind stitches.
Lining: Bodice lined; neckline and armholes finished with the lining, which is secured at the waist seam and to the zip tape.
Level Of Difficulty
Intermediate. Setting a collar into a pleat and a panel seam, a lined bodice with the armholes turned through, an invisible side zip, rouleau loops and a gathered belt.
Fabric Recommendations
Silk dress fabrics in natural or blended fibres.
Additional Supplies
- Lining fabric
- Invisible zip
- 3 buttons
Cutter's Must
From main fabric:
- 1. Center upper back - 1 piece
- 2. Side upper back - 2 pieces
- 3. Lower back - 2 pieces
- 4. Upper front – 1 piece
- 5. Lower front - 1 piece
- 6. Collar — 2 pieces
- 7. Belt — 1 piece
From lining:
- 1. Center upper back - 1 piece (cut according to main fabric pieces)
- 2. Side upper back - 2 pieces (cut according to main fabric pieces)
- 3. Front lining - 1 piece
Sewing Instructions
- Place collar pieces right sides together and stitch the outer edge. Clip seam allowances at curves, turn the collar right side out, smooth, and press.
- Stitch the back princess seams, inserting the end of the collar into the left seam. Press seam allowances towards the side edges, serge.
- Stitch shoulder edges, press seam allowances towards the back, serge.
- On the front piece, create and secure pleats along the neckline. Slash the first pleat from the center along the marked T-shaped notch to the transverse line, insert the end of the collar, and stitch the pleat along the marking lines. Serge the seam. Attach the collar to the neckline.
- Stitch darts on the lower back pieces, press depths towards the center edge. Serge the center edges of the lower back separately. Stitch the center edge of the lower back up to the slit notch, press seam allowances open, pressing the slit.
- Stitch darts on the lower front pieces. Press darts towards the center. Stitch the upper and lower back PANELs, press seam allowances upwards and serge. Stitch the upper and lower front PANELs. Press seam allowances upwards and serge.
- On the lining pieces, stitch the back princess seams, darts on the front, and shoulder edges. Press princess seam seam allowances towards the center, shoulder seam allowances towards the back. Serge the lower edge. Place the lining and main fabric piece right sides together and stitch the neckline edge. Clip seam allowances at curves, turn pieces right side out, press. Stitch the armhole in two steps: first the back, then the front. Clip seam allowances at curves, turn, press.
- Lay the lining flat with the main fabric piece. Serge the left side edges and lining edges separately. Stitch the left side edge of the lining and main fabric piece between the armhole notches and from the second notch to the hem. Press seam allowances open, pressing the slit. Insert the zipper. Stitch the right side edge of the lining, continuing the stitch onto the main fabric piece, press seam allowances towards the back and serge. Attach the lining to the zipper tape. Secure the lining to the garment at the waist seam.
- Serge the hem allowance of the dress, press to the wrong side, and hem with blind stitches. Hem the slit allowances with blind stitches.
- Cut a bias binding 2.5 cm wide and 15 cm long. Fold the strip in half lengthwise, right sides together, and stitch 0.3 cm from the fold. Trim seam allowances close to the stitching, turn the strip right side out and smooth the rouleau loop. Cut loops.
- Along the short sides of the belt, on the outer wide side from the notch to the edge and along the marked vertical line, stitch with loosely tensioned stitches and gather to the length of the inner side of the belt. Fold the belt in half lengthwise, wrong sides together, and stitch along three sides, inserting the rouleau loops into one of the short sides, and leaving an opening for turning on the long side. Turn the belt right side out, smooth. Stitch a reinforcing vertical stitch into the gathering seam. Adjust the belt length and sew on buttons.