Asymmetrical Button Front Pencil Skirt
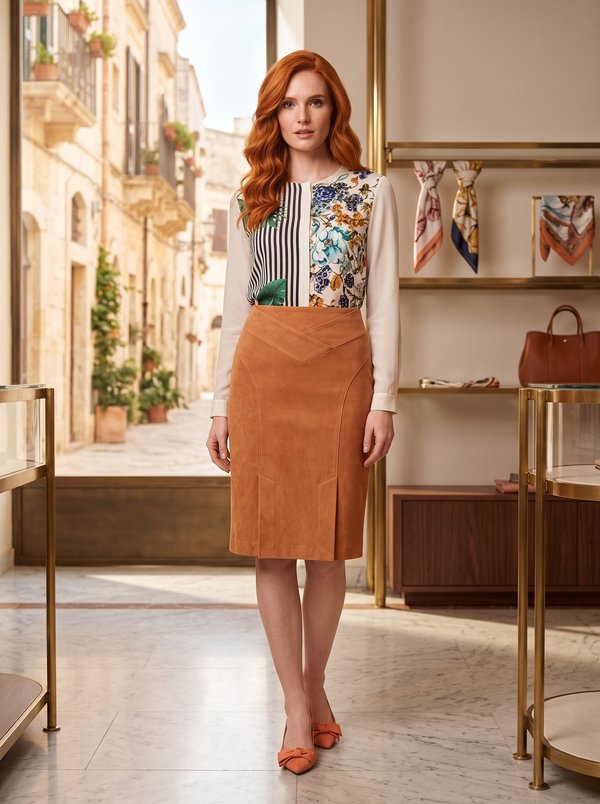
A women's straight skirt with an asymmetrical front: the right front panel overlaps the left along a diagonal line that ends in a slit at the hem. A shaped yoke replaces the waistband and fastens with buttons that continue down a topstitched fly.
When To Wear
- At the office with a plain blouse or a fine knit tucked in, so the buttoned yoke stays visible.
- In spring and autumn with tights and a short jacket.
Key Design Features
Silhouette: Straight, close-fitting skirt.
Waist: No waistband. Interfaced front and back yokes with an inner yoke; the front yoke ends in a tab on the right front. The yoke is topstitched 0.8 cm from the edge all round.
Front: Two front panels with pleats at the waist folded towards the side seams. The right panel lies over the left along a diagonal line; the fly extension is topstitched first through the right panel only, then along the diagonal through both panels.
Closure: 6 buttons: on the yoke tab and down the fly of the right front panel, plus one buttonhole and button on the inner yoke.
Back: One piece without a centre back seam, with darts below the back yoke.
Finishing: Interfaced hem facings at the front and back, topstitched 5 cm from the lower edge; the overlap opens into a slit at the hem.
Level Of Difficulty
Intermediate. An asymmetrical overlap with a cut-on facing and fly, clipping at the slit mark, a faced yoke with a tab, hem facings joined to the slit, and buttonholes.
Fabric Recommendations
Thin suiting fabrics with good drape, from natural or blended fibres.
Additional Supplies
- Fusible interfacing (yokes, hem facings, cut-on front facing)
- 6 buttons
Cutter's Must
- From main fabric:
- Back Yoke – 2 pieces
- Back Skirt – 1 piece
- Front Yoke – 4 pieces
- Right Front Panel – 1 piece
- Left Front Skirt – 1 piece
- Back Hem Facing – 1 piece
- Front Hem Facing – 2 pieces
- From fusible interfacing:
- Back Yoke – 1 piece
- Front Yoke – 2 pieces
- Back Hem Facing – 1 piece
- Front Hem Facing – 2 pieces
Sewing Instructions
- Fuse interfacing to the pieces listed above and to the cut-on facing of the front panel.
- Stitch the darts on the Back Skirt. Press them towards the center.
- Fold and secure the pleats on the front panels at the markings, with the pleat depths turned towards the side seams. On the Left Front Skirt, overlock the cut-on allowance of the center edge and press it to the wrong side. On the Right Front Panel, clip the seam allowance at the fly extension and at the slit mark. Overlock the fly extension, the edge between the marks and the slit allowance. Press the fly extension and the slit allowance to the wrong side.
- Place the Right Front Panel on the Left Front Skirt, right sides together, aligning the long mark on the left panel with the marked center seam on the right panel, and stitch. Turn the pieces right side out. Topstitch the fly extension along the markings: from the upper edge to the diagonal line through the right panel only, then along the diagonal line through both panels.
- Stitch the side seams, press the seam allowances towards the back and overlock.
- Stitch the side seams of the outer and inner yokes (Back Yoke and Front Yoke), press the seam allowances open. Place the yokes right sides together and stitch the upper edge and the center front edge. Start and end the stitching strictly at the marked yoke attachment seam. Clip the seam allowances, trim corners. Turn the piece to the right side, press. Attach the outer yoke to the upper edge of the skirt, press the seam allowances upwards. Fold under the lower edge of the inner yoke and topstitch into the attachment seam.
- Stitch the side seams of the Back Hem Facing and Front Hem Facings, press the seam allowances open. Overlock the upper edge. Stitch the facings to the slit allowances, press the seam allowances towards the facing, stitch the lower edge. Clip the seam allowances, turn the facing to the wrong side, straighten corners, press. Topstitch along the hem 5 cm from the lower edge.
- Stitch a decorative topstitch 0.8 cm from the edge around the perimeter of the yoke.
- Mark and make the buttonholes on the Right Front Panel. Make a buttonhole on the inner yoke. Sew on the buttons.