Professional made-to-measure digital sewing patterns — PDF · PLT · DXF AAMA
A women's relaxed-fit sweatshirt for low-stretch knit fabric, with a curved front yoke seam, dropped shoulders and long two-piece sleeves. The neckline, cuffs and hem are finished with folded rib-knit bands. Drafted to your own measurements. Recommended fabric: low-stretch knit fabric of natural or blended fibres.
A women's relaxed-fit sweatshirt for low-stretch knit fabric, with a curved front yoke seam, dropped shoulders and long two-piece sleeves. The neckline, cuffs and hem are finished with folded rib-knit bands.
Silhouette: Relaxed fit with dropped shoulders, hip length.
Neckline: Round neckline finished with a rib-knit band, cut as a ring and folded in half.
Front: Front yoke joined with a curved seam, cut on the fold; the seam allowance is pressed onto the yoke and topstitched 0.5 cm from the seam.
Sleeves: Long sleeves cut in two parts (upper and lower), with the joining seam topstitched 0.5 cm from the seam; folded rib-knit cuffs.
Back: One piece cut on the fold.
Waist: Folded rib-knit hem band, stretched slightly as it is sewn on.
Finishing: Sleeve and side seams stitched in one continuous seam; seams sewn with a stretch or narrow zigzag stitch or on an overlocker.
Beginner. Straight overlocked knit seams and three folded rib bands; the curved yoke seam needs care with the notches.
Low-stretch knit fabric of natural or blended fibres. Rib knit for the cuffs, neckband and hem band.
If the patterns have a double contour, seam allowances are included. If the contour is single, seam allowances are not included. Seam allowances: All seams 1 cm. Attention! First, print out the paper patterns and lay them out on the fabric width (fabric width can be from 90cm to 150cm) to determine how much material you will need (don't forget to account for paired and symmetrical pieces). When stitching pieces, pay attention to the notches - they must match!
Tip: Knit fabric pieces are stitched with a special elastic or narrow zigzag stitch. When serging, trim seam allowances to 0.8 cm. The hem allowance is topstitched with a twin needle or on a coverstitch machine to maintain elasticity. You can also stitch pieces directly on a 3- or 4-thread overlock machine.
Tip: You can use ready-made rib bands of the required width for the stand collar, waistband and cuffs.
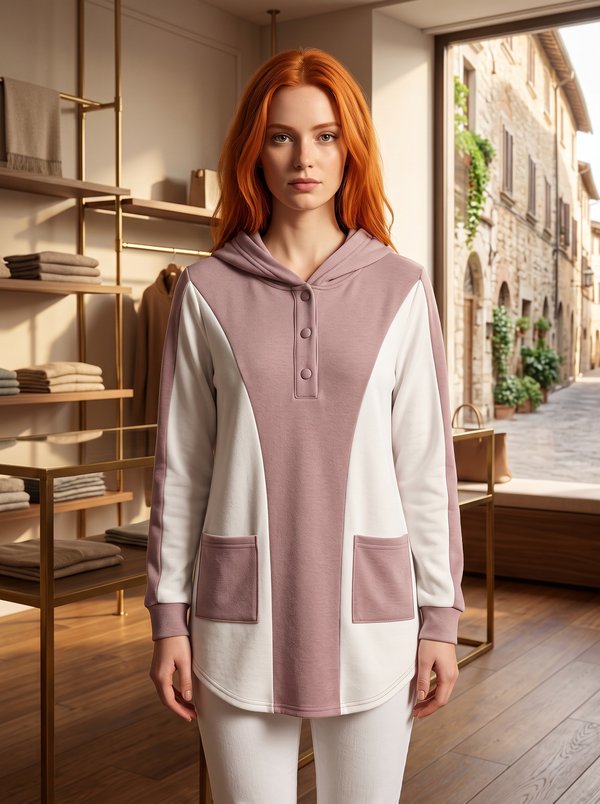
#2867
Color Block Hooded Sweatshirt
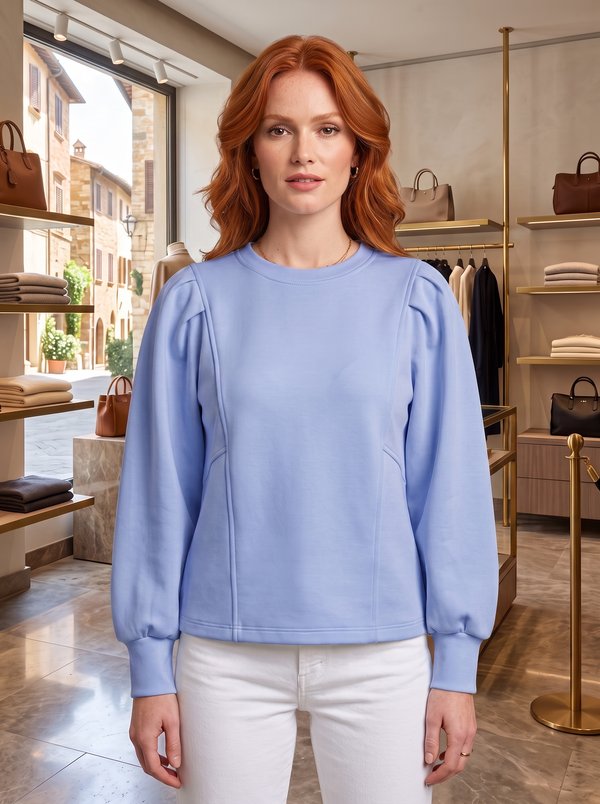
#2875
Paneled Sweatshirt with Pleated Sleeves
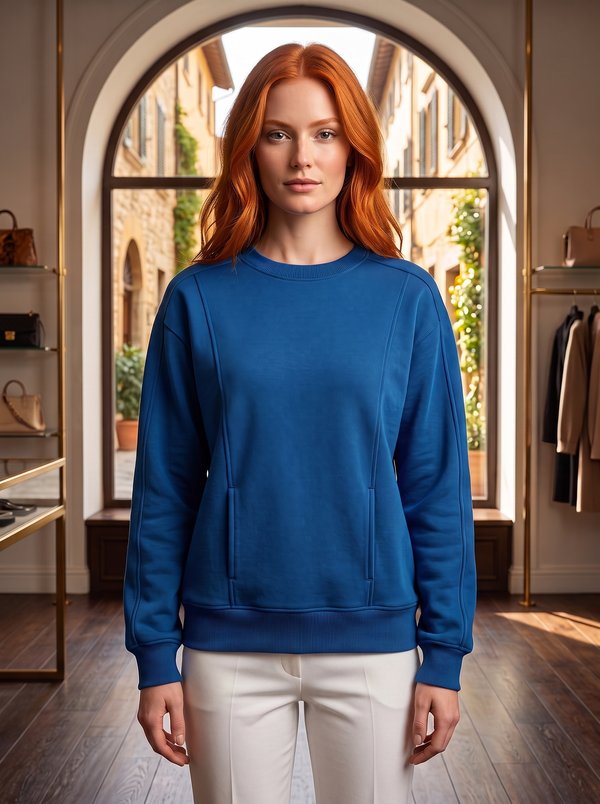
#2785
Crew Neck Panelled Sweatshirt with Pockets
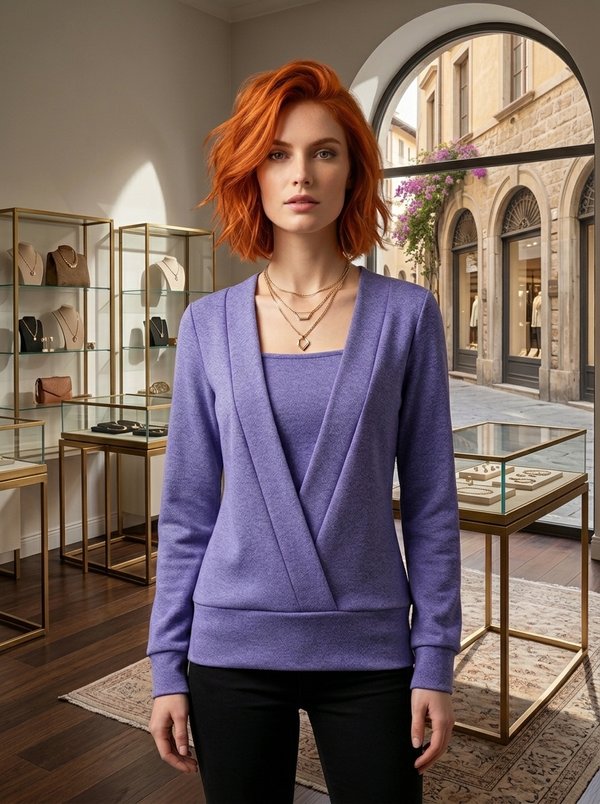
#2619
Sweatshirt with Deep V-Neck Panels
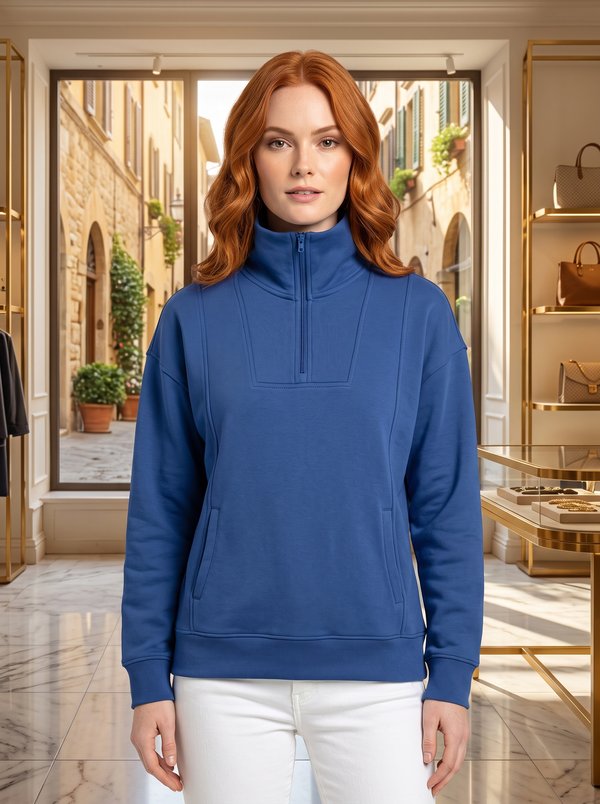
#2520
Half-Zip Sweatshirt with Yoke and Pocket
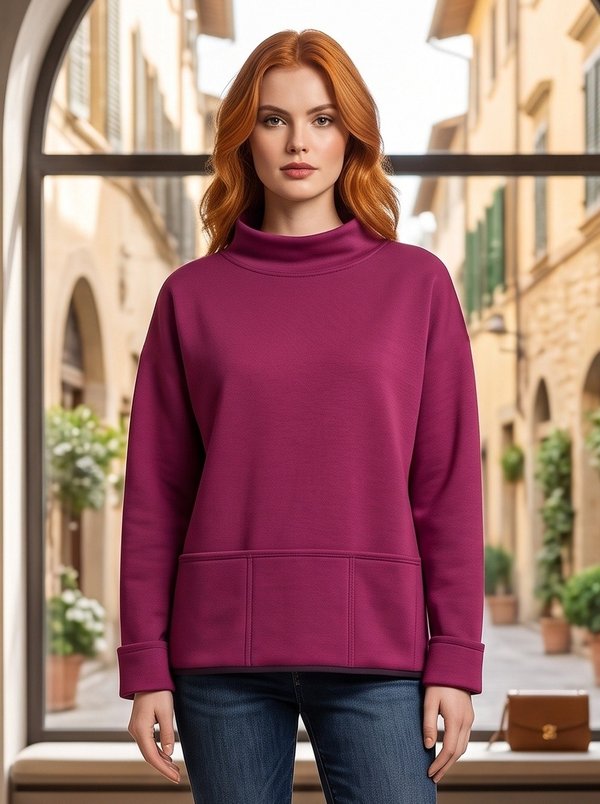
#2387
Knit Sweatshirt with Integrated Pocket and Cuffs

#2367
Raglan Puffed Sleeve Sweatshirt
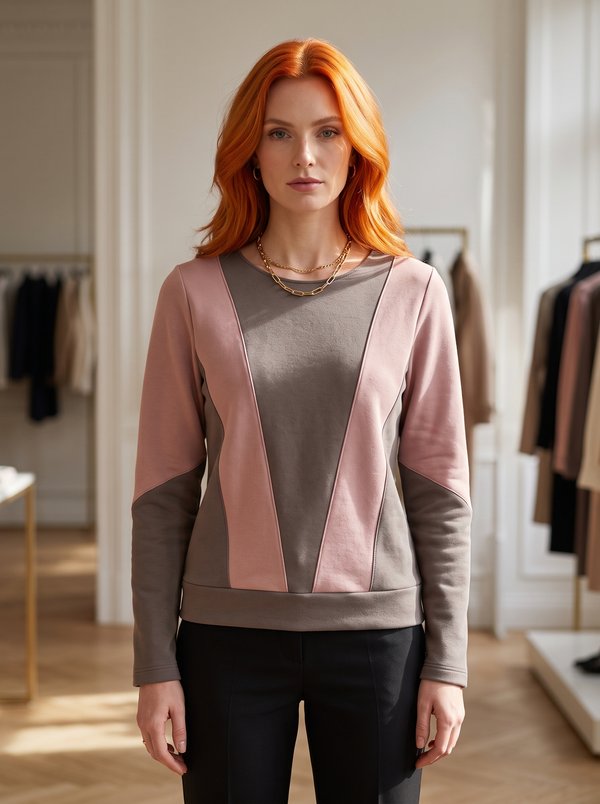
#2266
Color Block V-Panel Sweatshirt

Minerva Support
Online