Professional made-to-measure digital sewing patterns — PDF · PLT · DXF AAMA
A women's short-sleeved wrap blouse with a V-neck formed by the overlapping fronts, closed by a tie at the left side and a hidden button inside. Front and back are shaped with darts. Drafted to your own measurements. Recommended fabric: blouse fabrics of natural or blended fibres.
A women's short-sleeved wrap blouse with a V-neck formed by the overlapping fronts, closed by a tie at the left side and a hidden button inside. Front and back are shaped with darts.
Silhouette: Semi-fitted, shaped with darts on the fronts and back; hip length.
Neckline: V-neck formed by the wrap fronts, finished with interfaced front facings joined to a back neckline facing and topstitched to the garment.
Closure: Wrap front tied at the left side: one tie is caught in the left side seam, the other in the right front edge. A buttonhole on the left front and a hidden button on the inside of the right front hold the underlap.
Sleeves: Short set-in sleeves.
Back: Centre back seam and two darts.
Finishing: Hem and sleeve hems turned 1 cm and then 2 cm and topstitched; seams overlocked.
Intermediate. Darts, set-in sleeves, joined front and back neck facings with a tie caught in the front edge, and a hidden button closure.
Blouse fabrics of natural or blended fibres.
If the patterns have a double contour, seam allowances are included. If the contour is single, the patterns are without seam allowances. Seam allowances: all seams 1 cm. Hem allowance for the garment bottom and sleeve hem - 3 cm. Attention! First of all, print out the paper patterns and lay them out on the fabric width (fabric width can be from 90 cm to 150 cm) to determine how much material you will need (do not forget to account for paired and symmetrical pieces).
When stitching pieces, pay attention to the notches - they must match!

#2683
Pussy Bow Bishop Sleeve Blouse

#2685
Blouse With Asymmetrical Front Ruffle

#2666
Button-Down Blouse with Gathered Long Sleeves
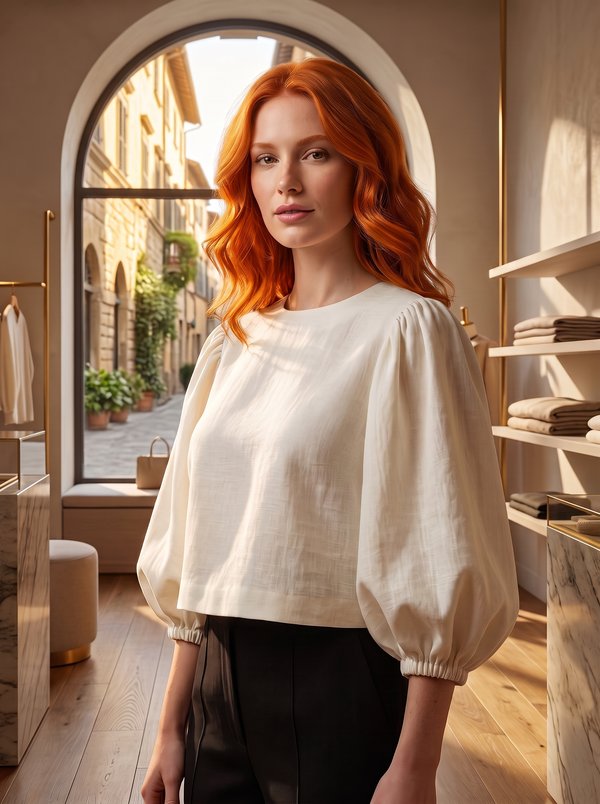
#2691
Cropped Balloon Sleeve Blouse

#2664
V-Neck Blouse with Pleated Shoulders
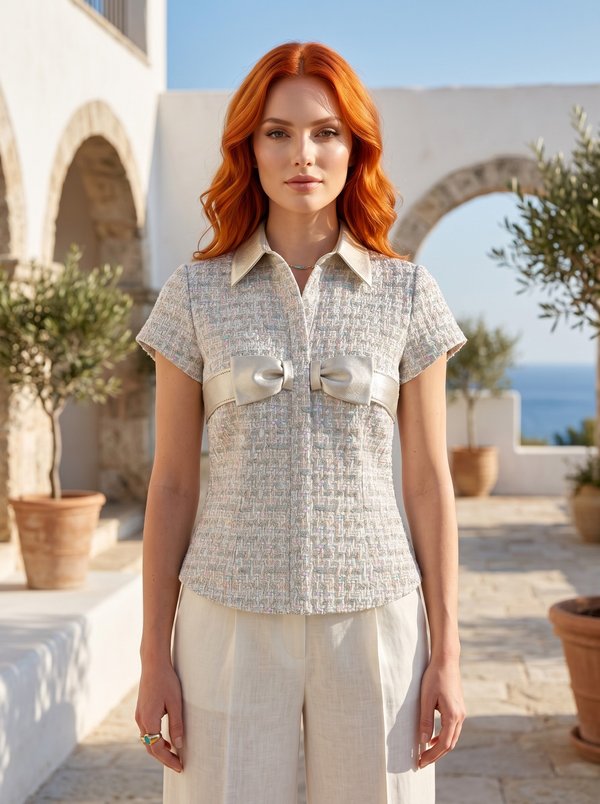
#2693
Blouse with a Decorative Bow
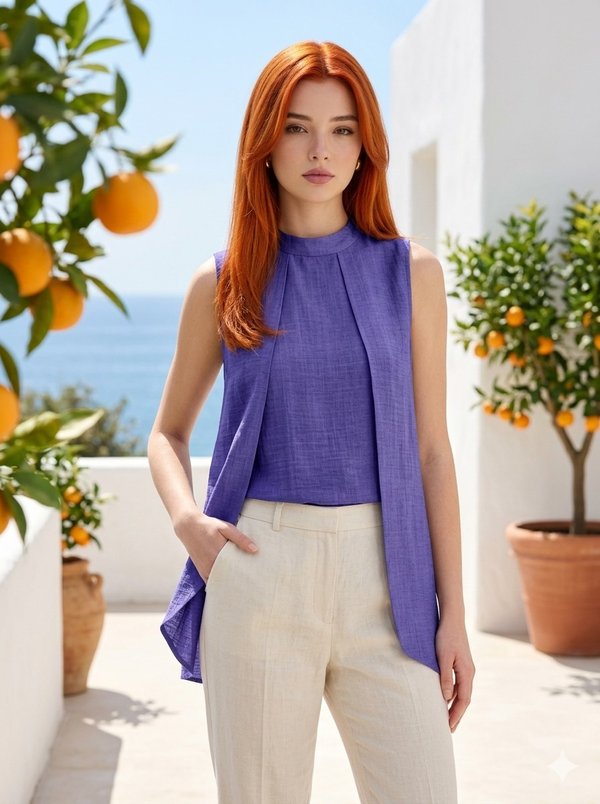
#2695
Stand Collar Sleeveless Layered Blouse

#2660
Colorblock Blouse with Dolman Sleeves

Minerva Support
Online