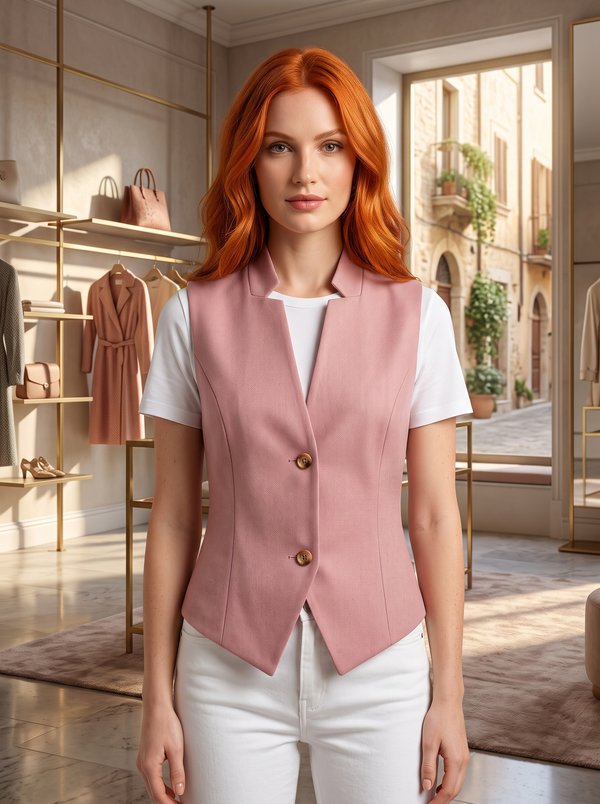
Collared Button-Up Vest with Patch Pockets
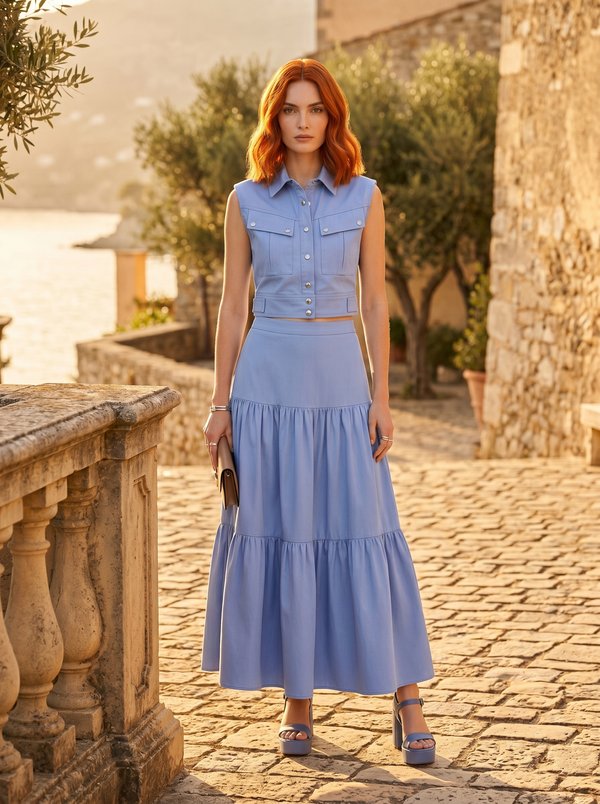
A women's sleeveless hip-length vest with a shirt-style collar, a button front and a horizontal seam across the front at mid-torso. Flaps are set into that seam over two patch pockets, and the hem is finished with a separate band.
When To Wear
- Over shirts, turtlenecks and long-sleeved tops in spring and autumn.
- With jeans or trousers for everyday wear.
Key Design Features
Silhouette: Straight, boxy fit.
Length: To the hip.
Collar: One-piece turn-down collar without a stand, set between the garment and the front and back neck facings.
Sleeves: Sleeveless; armholes bound with 4 cm bias binding turned to the inside and topstitched.
Front: Upper and lower front pieces joined by a horizontal seam topstitched 0.5 cm from the seam; button closure with front facings.
Pockets: Two patch pockets on the lower front; the buttoned flaps above them are caught in the horizontal seam and topstitched 0.5 cm from the edge.
Back: Back yoke topstitched 0.5 cm from the seam; lower back cut in one piece on the fold.
Finishing: A folded hem band cut on the fold, with finished ends at the front opening.
Level Of Difficulty
Intermediate. Collar enclosed between facings, flaps inserted into a seam, patch pockets, bias-bound armholes and a hem band.
Fabric Recommendations
Corduroy of natural or blended fibres.
Additional Supplies
- Fusible interfacing (front facings, collar, back neck facing, flaps)
- 7 buttons
- Bias binding, ready-made or cut from the main fabric
Cutter's Must
When stitching pieces, pay attention to the notches - they must match!
- From main fabric:
- Back - 1 piece on fold
- Back yoke – 1 piece
- Upper front - 2 pieces
- Lower front - 2 pieces
- Lower placket – 1 piece on fold
- Collar – 2 pieces
- Front facing – 2 pieces
- Back neckline facing – 1 piece
- Pocket – 2 pieces
- Flap – 4 pieces
- From fusible interfacing:
- Front facing – 2 pieces
- Collar – 1 piece
- Back neckline facing – 1 piece
- Flap – 2 pieces
Sewing Instructions
- Fuse interfacing to relevant pieces.
- Stitch back yoke to back. Overlock seam allowance and press upwards. Topstitch 0.5 cm from the seam.
- Fold flap pieces right sides together in pairs and stitch side and bottom edges. Trim seam allowances, turn right side out and press. Topstitch 0.5 cm from the edge. Make buttonholes.
- Overlock the top edge of the pocket. Fold under seam allowance and topstitch. Fold under and press side and bottom edges of pockets. Place pocket on front and topstitch according to markings.
- Stitch upper and lower front parts, inserting the flap. Overlock seam allowances and press upwards. Topstitch 0.5 cm from the seam.
- Stitch shoulder seams, press seam allowances towards the back and overlock.
- Cut (if not ready-made) bias binding 4 cm wide and length equal to armhole length + 4 cm. Fold bias binding in half lengthwise right side out and press. Place binding with armhole edge right sides together and stitch. Clip seam allowances. Fold binding to the wrong side and topstitch along the fold to the main piece. Press the seam. It is also recommended to use ready-made bias binding to avoid excess bulk.
- Stitch side seams, press seam allowances towards the back and overlock.
- Fold upper collar with lower collar right sides together. Stitch ends and outer edge of collar. Trim seams. Turn collar right side out, shape and press.
- Stitch shoulder seams of back neckline facing and front facings. Press seam allowances open. Overlock outer edges.
- Place front facing and back neckline facing right side down onto the main garment, align at seams and stitch front edges and neckline, inserting the collar. Turn front facing and back neckline facing to the wrong side and press front edges. Secure front facing to the top of the garment at the shoulder seams.
- Fold lower placket lengthwise right side in and stitch ends. Start and end stitching at the marked attachment line. Trim seam allowances at corners, turn placket right side out and press. Stitch outer placket to the main garment. Fold under the seam allowance of the inner placket and topstitch into the attachment seam.
- Make buttonholes on the right front. Sew buttons onto the left front and pockets.