Professional made-to-measure digital sewing patterns — PDF · PLT · DXF AAMA
A women's loose pull-on blouse with lace yokes at the front and back, a centre front slit, a bias-bound neckline whose binding continues into ties, and short cut-on sleeves finished with folded cuff bands. Drafted to your own measurements. Recommended fabric: body: blouse fabrics of natural or blended fibres.
A women's loose pull-on blouse with lace yokes at the front and back, a centre front slit, a bias-bound neckline whose binding continues into ties, and short cut-on sleeves finished with folded cuff bands.
Silhouette: Straight and loose, with no darts; hip length with a curved hem.
Neckline: Wide round neckline bound with a bias strip that is left long at the front to form ties.
Front: Front yoke in two pieces, the centre front edges finished with bias binding to make a slit; the yoke seam is clipped at the corners where it meets the body.
Sleeves: Short sleeves cut in one with the body; the armhole edge is finished with an interfaced cuff band folded in half.
Back: Body and yoke each cut in one piece on the fold, with no centre back seam or closure.
Finishing: Hem overlocked, pressed under and topstitched.
Beginner. No closure and no set-in sleeves; the main tasks are bias binding the slit and neckline and attaching the lace yokes.
Body: blouse fabrics of natural or blended fibres. Yokes: lace in a contrasting or toning colour.
Seam allowances: all seams 1 cm. Neckline seam allowance for back and front – 0 cm. Hem allowance – 1.5 cm. Attention! First, print out the paper patterns and lay them out on the fabric width (fabric width can be from 90cm to 150cm) to determine how much material you will need (don't forget to account for paired and symmetrical pieces). When stitching pieces, pay attention to the notches - they must match!
From main fabric:
From main fabric 1:
From fusible interfacing:

#2556
Puffed Sleeve Button Front Blouse

#2551
Relaxed Fit Blouse Notched V-Neck Yokes
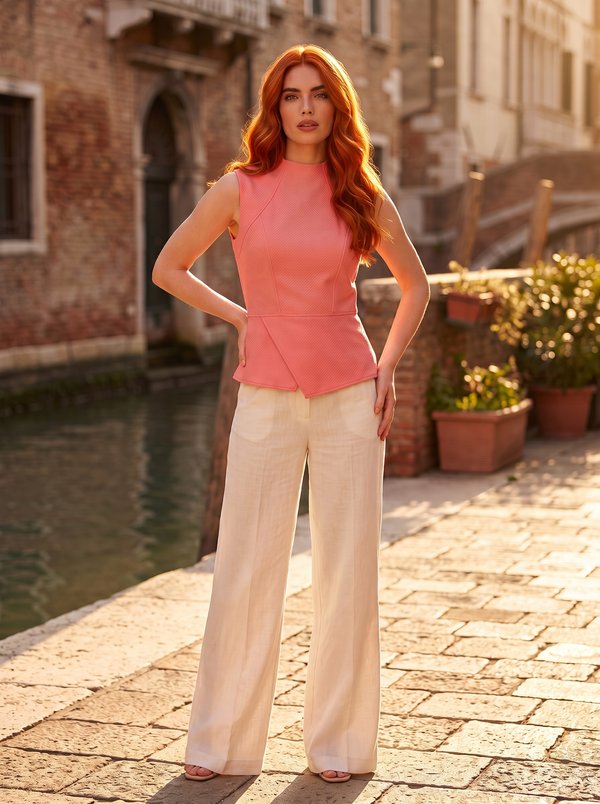
#2557
High Neck Sleeveless Asymmetric Peplum Blouse
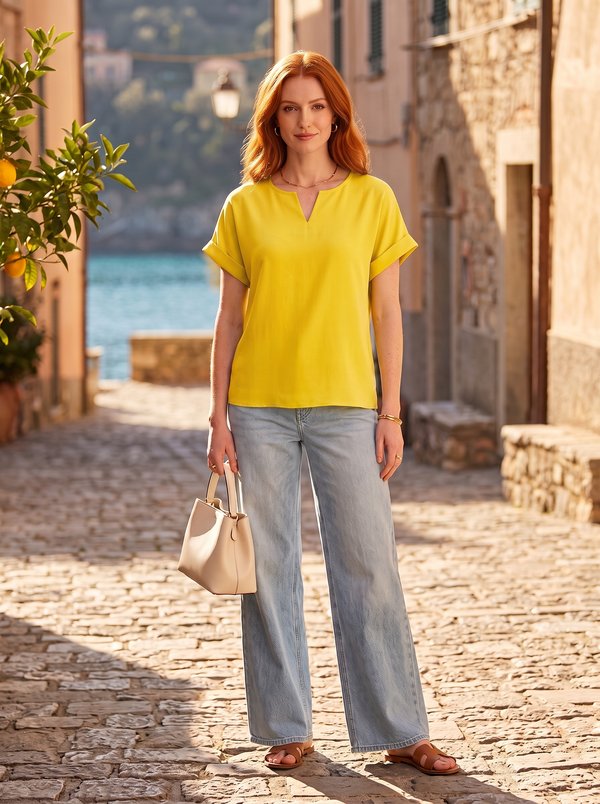
#2547
Cuffed Sleeve Notched V-Neck Blouse
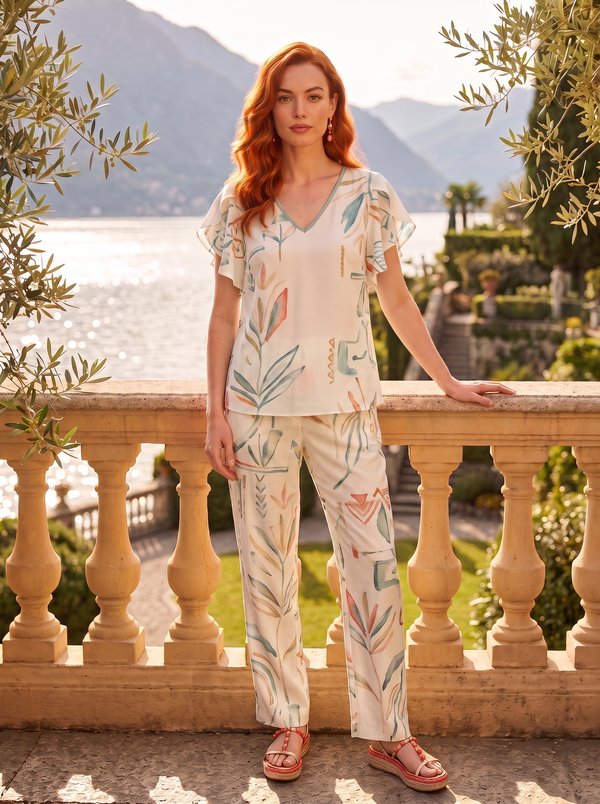
#2546
V-Neck Blouse with Flutter Sleeves
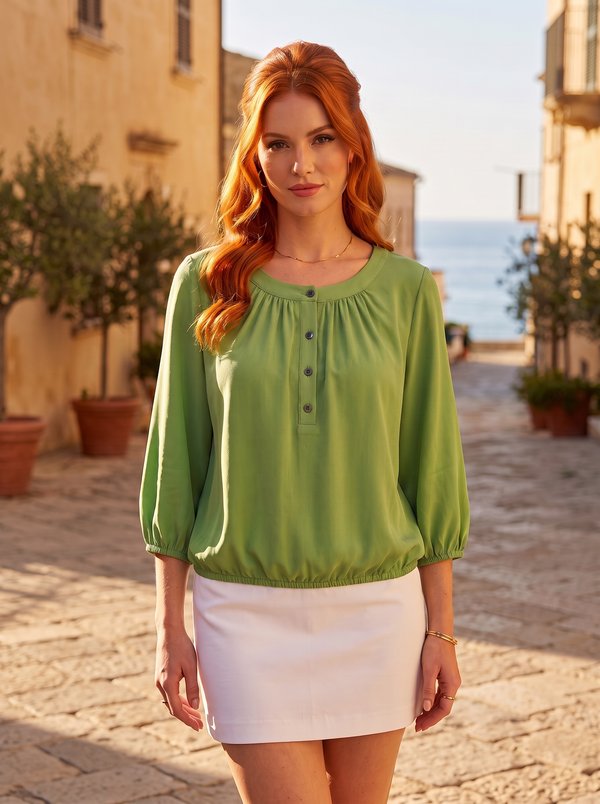
#2562
Blouson Blouse with Placket and Gathered Sleeves
#2545
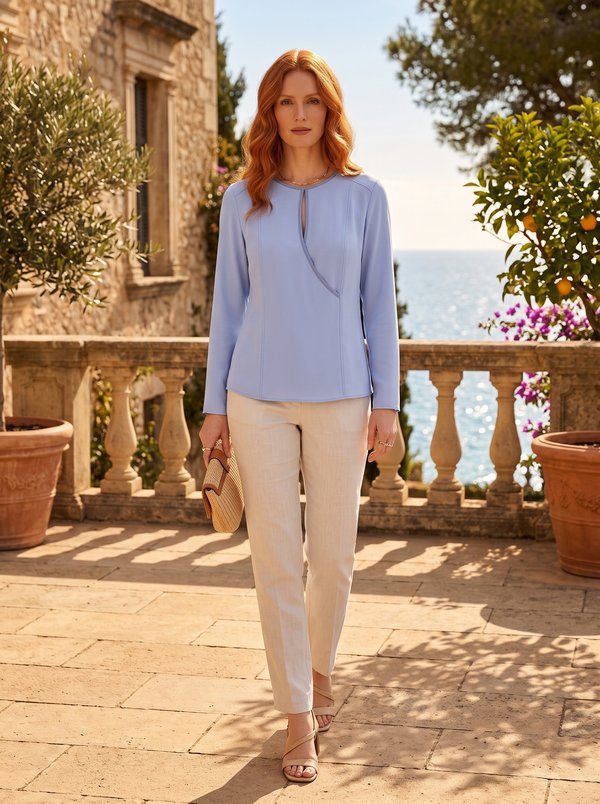
Long Sleeve Fitted Front Keyhole Blouse
#2563
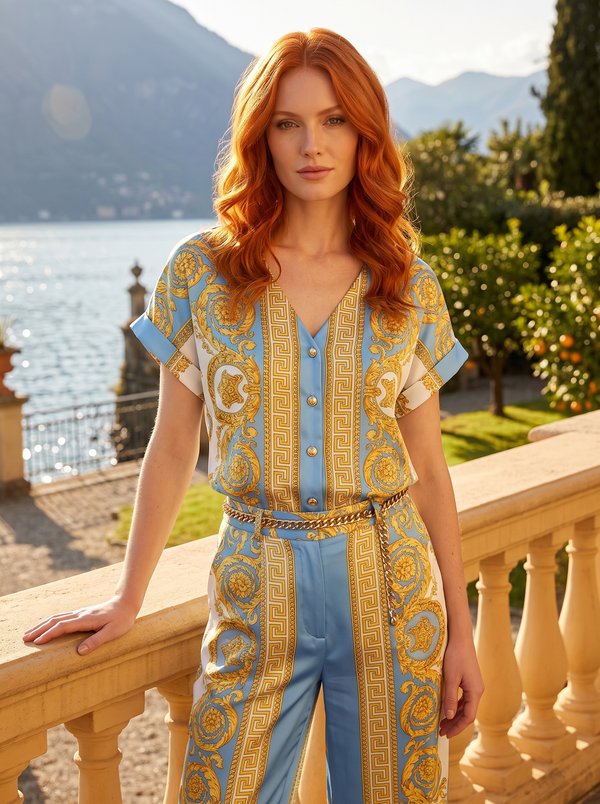
V-Neck Button-Front Cuffed Blouse

Minerva Support
Online