Professional made-to-measure digital sewing patterns — PDF · PLT · DXF AAMA
A women's pull-on blouse with a V-shaped front inset that carries a V-slit, a stand collar open at the front, and roll-up sleeves held by a buttoned tab. Curved hem. Drafted to your own measurements. Recommended fabric: blouse fabrics of natural or blended fibres.
A women's pull-on blouse with a V-shaped front inset that carries a V-slit, a stand collar open at the front, and roll-up sleeves held by a buttoned tab. Curved hem.
Silhouette: Straight, loose fit.
Length: Below the hip, with a curved hem.
Front: V-shaped inset panel at the top of the front, cut double (self-faced) and interfaced, with a V-slit at the neck; the inset is joined to the front with the front allowance clipped at the point.
Collar: Stand collar, open at the centre front, interfaced, with the inner stand topstitched into the seam.
Sleeves: Set-in, elbow length, with a tab stitched to the inside of the sleeve and a button on the outside to hold the rolled-up sleeve.
Back: One piece cut on the fold.
Finishing: Front and back hems turned under and topstitched before the side seams are sewn; sleeve hems turned under and topstitched.
Intermediate. A faced V-slit with stitching tapered to nothing, an inset with a clipped corner, a stand collar, tabs with buttonholes.
Blouse fabrics of natural or blended fibres.
If the patterns have a double contour, they include seam allowances. If the contour is single, the patterns do not include seam allowances. Seam allowances: Hem allowance for the bottom of the garment and sleeve hem – 1.5 cm, other seams – 1 cm. Attention! First of all, print out the paper patterns and lay them out on the fabric width (fabric width can be from 90 cm to 150 cm) to determine how much material you will need (do not forget to consider paired and symmetrical pieces). When stitching pieces, pay attention to the notches - they must match!

#2328
Straight Tunic with Side Slits and Casings

#2320
Stand Collar Pleated Blouse with Button Detail
#2338
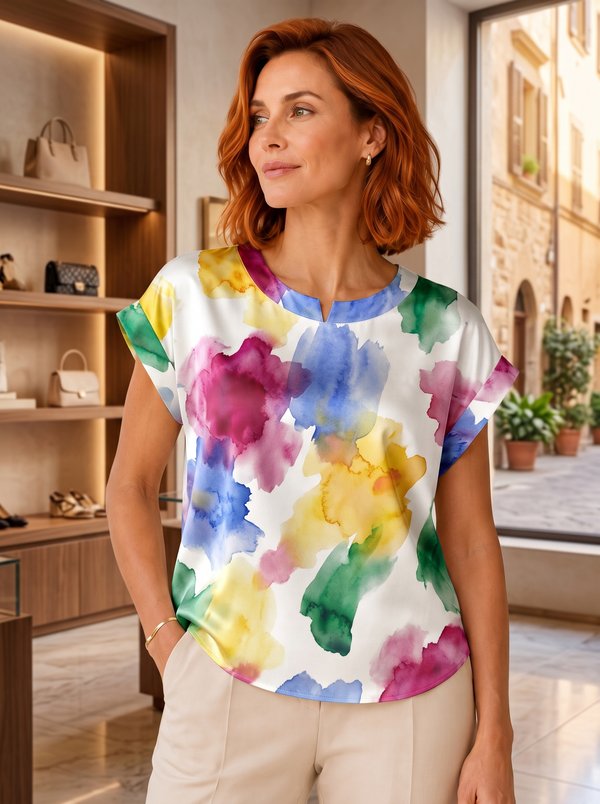
Notch Neck Rolled Sleeve Top
#2315
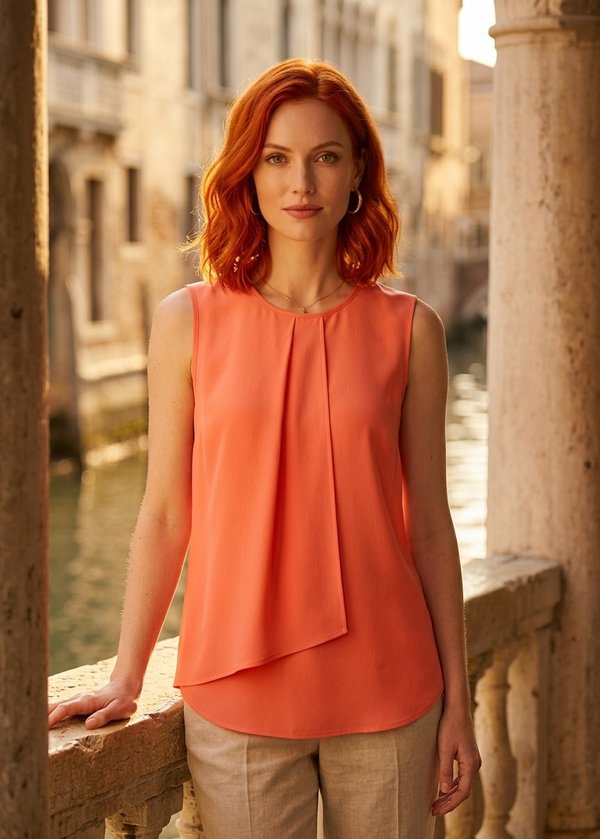
Drapey Blouse with Pleated Flying Detail
#2314
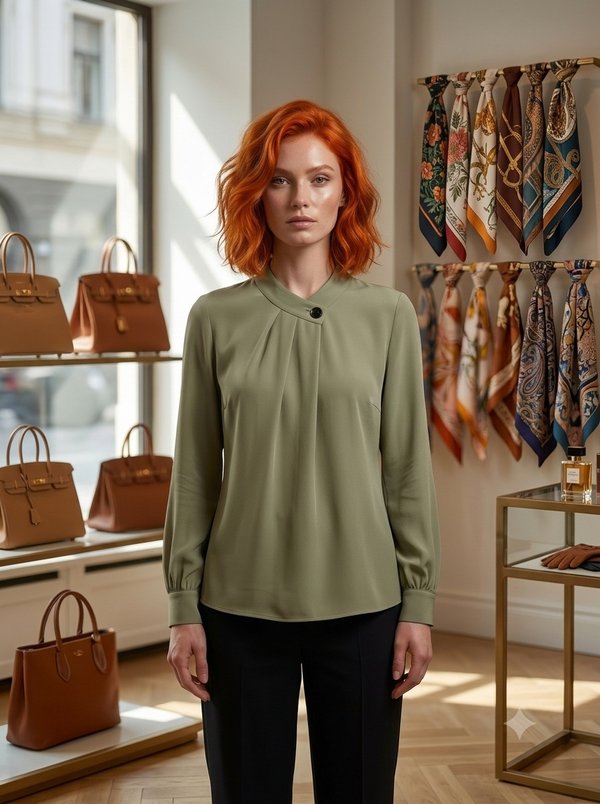
Pleated Front Blouse with Band Collar
#2313
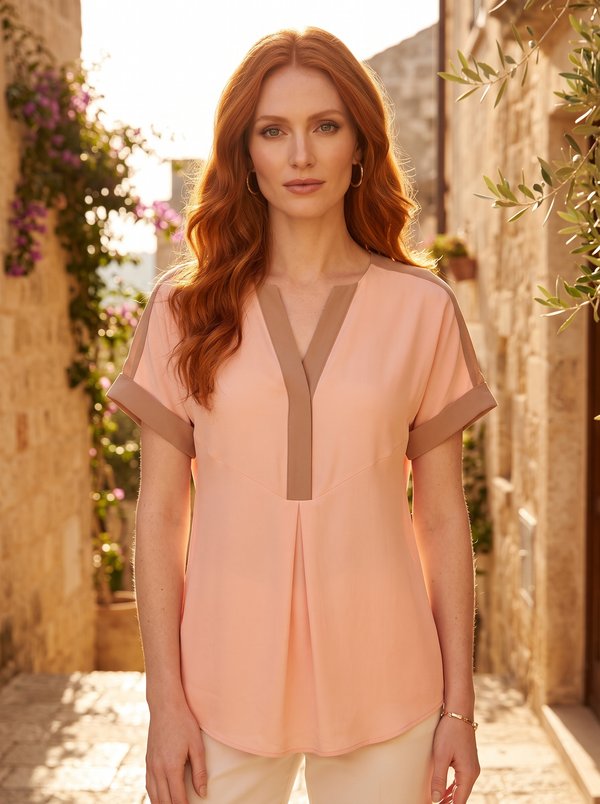
Color Block V-Neck Cuffed Blouse
#2346
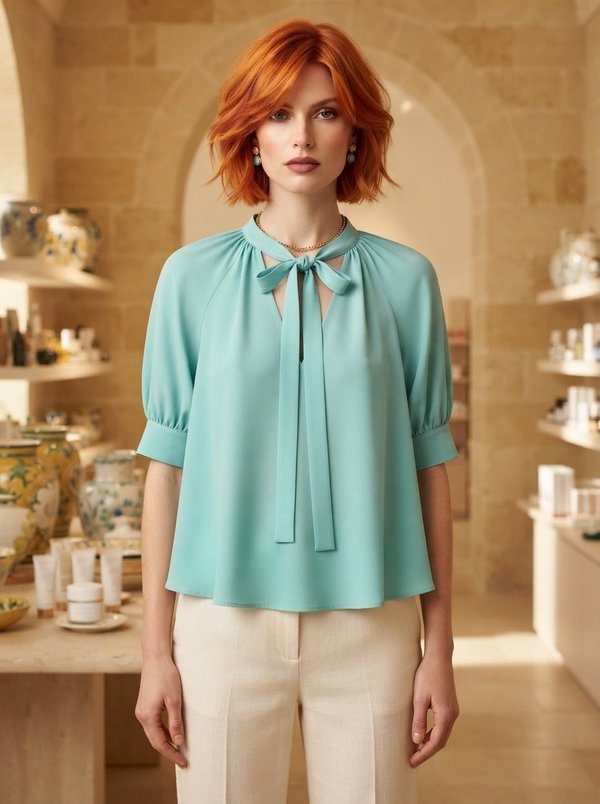
Tie Collar Blouse with Cuffed Sleeves
#2347
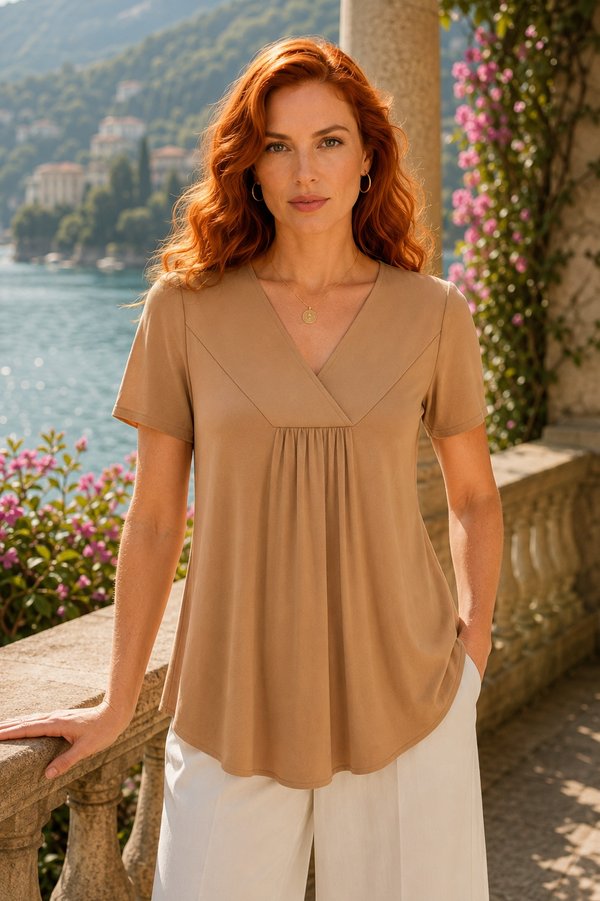
Short Sleeve Surplice Top with Gathers

Minerva Support
Online