Professional made-to-measure digital sewing patterns — PDF · PLT · DXF AAMA
A sleeveless women's blouse with a round neckline and a loose front panel (flying detail) that hangs from the neckline with a box pleat and ends in an angled hem. Fully lined, with an invisible zipper in the centre back seam. Drafted to your own measurements. Recommended fabric: well-draping blouse fabrics made from natural or blended fibres: silk, chiffon, satin.
A sleeveless women's blouse with a round neckline and a loose front panel (flying detail) that hangs from the neckline with a box pleat and ends in an angled hem. Fully lined, with an invisible zipper in the centre back seam.
Silhouette: Straight, sleeveless, to the hip.
Neckline: Round, finished by stitching the lining to the blouse along the neck edge.
Sleeves: Sleeveless; the armholes are also finished with the lining, front armhole first, then back.
Front: Cut on the fold. An extra panel is laid over it, held in the neckline, shoulder and side seams. The panel has a box pleat at the neckline, a vertical edge turned twice by 1 cm and topstitched, and a hem that slopes lower to one side than the blouse hem.
Back: Two pieces with a centre back seam and an invisible zipper at the top.
Finishing: Blouse hem overlocked, turned up 2 cm and topstitched; the lining hem is overlocked with no allowance.
Lining: Full lining of front and back, cut from the main fabric and attached to the zipper tape.
Intermediate. An invisible zipper, a lining that finishes the neckline and armholes, and handling slippery, drapey fabrics.
Well-draping blouse fabrics made from natural or blended fibres: silk, chiffon, satin.
If the patterns have a double contour, seam allowances are included. If the contour is single, the patterns are without seam allowances. Seam allowances: all seams 1 cm. Allowance for the vertical edge of the flying detail – 2 cm. Hem allowance of the flying detail – 1.2 cm. Hem allowance of the lining – 0 cm. Hem allowance of the garment – 2 cm. Attention! First of all, print out the paper patterns and lay them out on the fabric width (fabric width can be from 90cm to 150cm) to determine how much material you will need (don't forget to account for paired and symmetrical details). When stitching pieces, pay attention to the notches - they must match! Attention! Markings on the patterns are made on the right side.
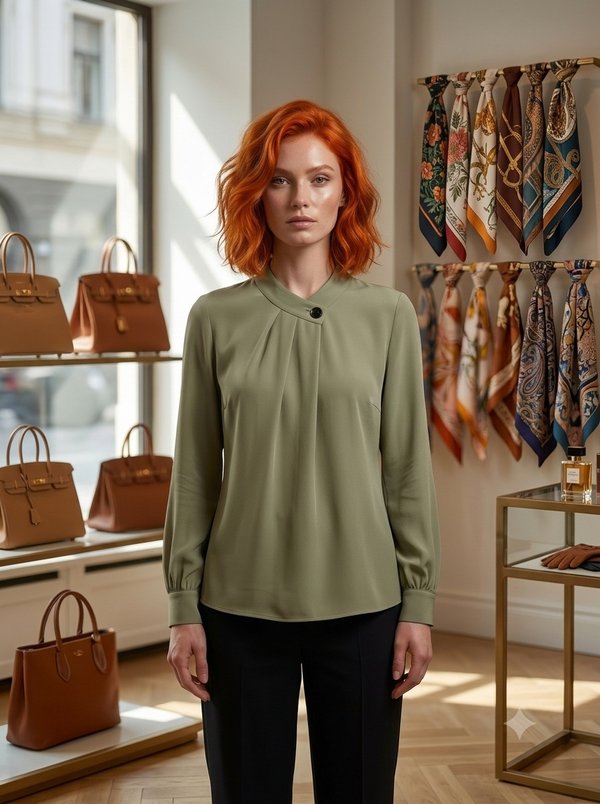
#2314
Pleated Front Blouse with Band Collar
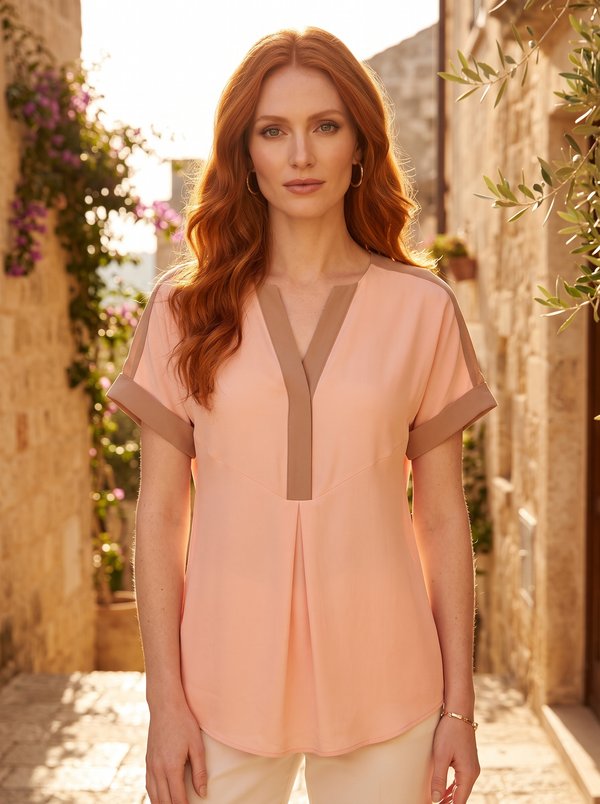
#2313
Color Block V-Neck Cuffed Blouse
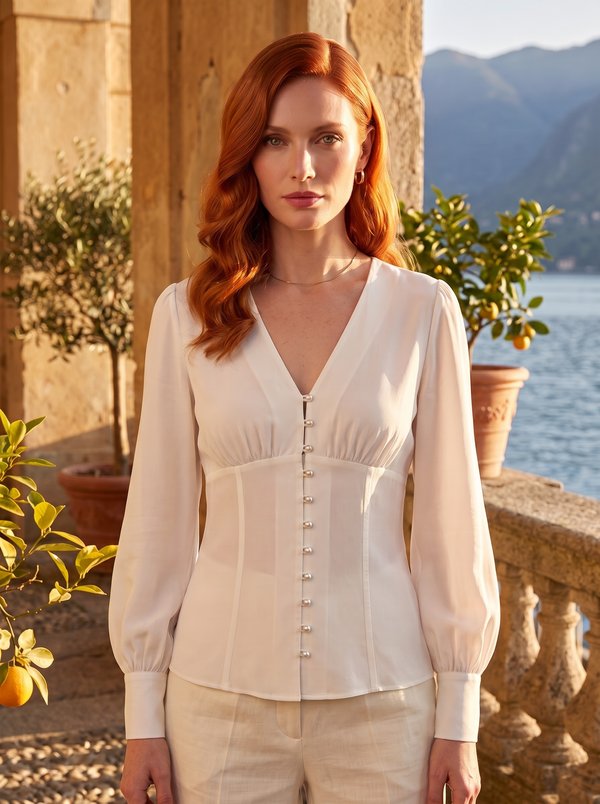
#2310
V-Neck Button-Front Blouse Gathered Bodice

#2320
Stand Collar Pleated Blouse with Button Detail
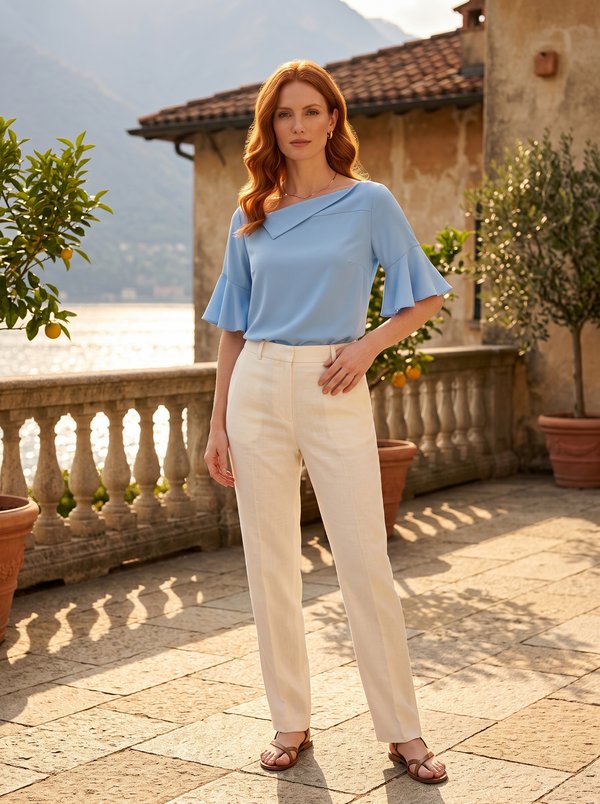
#2308
Folded Asymmetric Neckline Blouse with Flared Sleeves
#2307
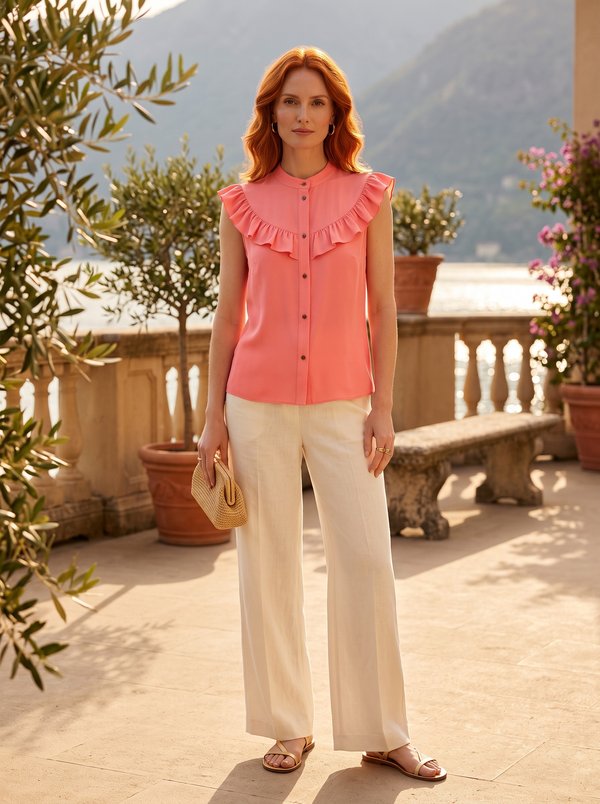
Ruffled Button-Front Blouse with Yokes

#2304
Oversized Long Sleeve Button Front Shirt

#2303
Long Sleeve Ruffled V-Neck Blouse

Minerva Support
Online