Professional made-to-measure digital sewing patterns — PDF · PLT · DXF AAMA

Minervainervabeta
#2257
#2259

Sporty Hooded Tunic

Pattern #2258

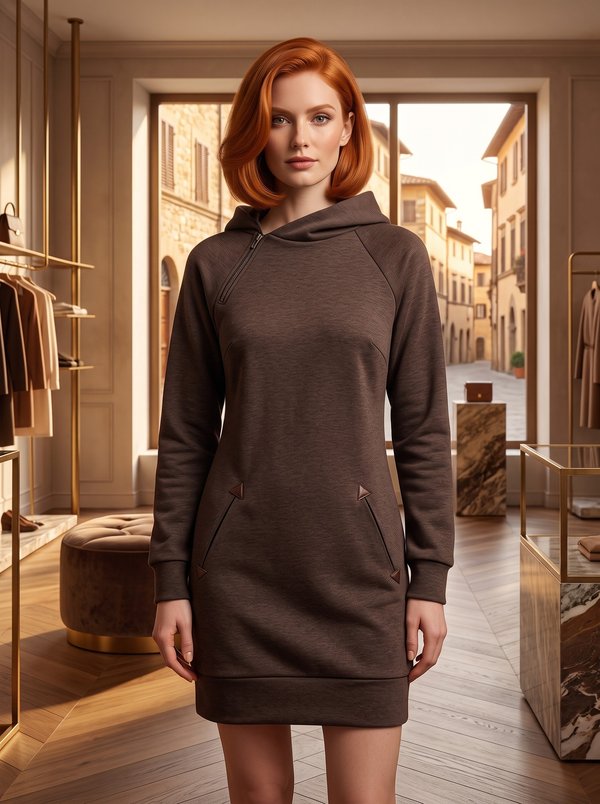
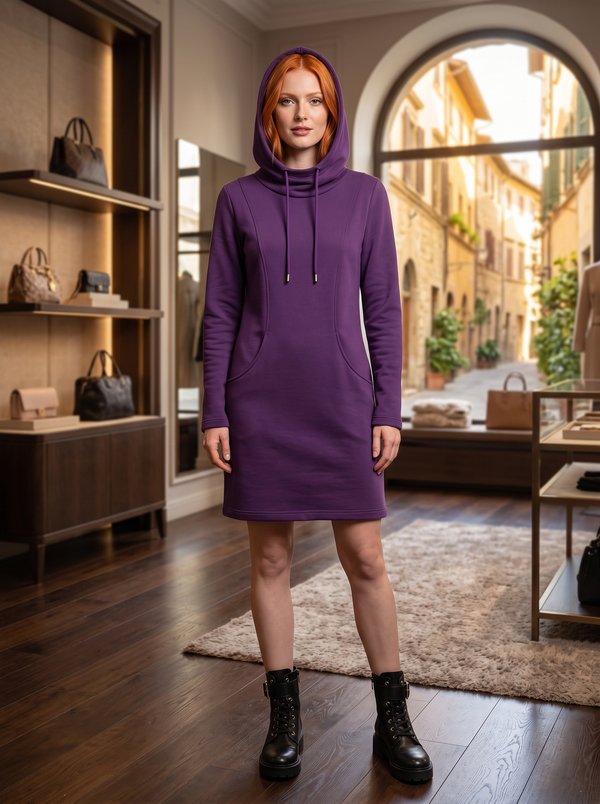
A women's straight tunic for low-stretch knit fabric, with short raglan sleeves finished with folded cuffs, a three-piece hood with a drawcord, an exposed zip in a slit at the centre front and a patch pocket on the front. Drafted to your own measurements. Recommended fabric: low-stretch knit fabrics made of natural or blended fibres.

Tech. Description

Sporty Hooded Tunic

A women's straight tunic for low-stretch knit fabric, with short raglan sleeves finished with folded cuffs, a three-piece hood with a drawcord, an exposed zip in a slit at the centre front and a patch pocket on the front.

When To Wear

  • As a short dress with leggings or slim trousers and trainers.
  • For walks, travel and weekends in spring and summer.

Key Design Features

Silhouette: Straight, loose fit; front and back each cut in one piece on the fold.

Length: Mid-thigh, with side slits at the hem.

Collar: Hood of two side pieces and a centre panel, with a cut-on stand at the front, a facing topstitched along the face edge and two eyelets for the cord.

Closure: Zip set under the edges of a slit cut at the centre front, with the teeth left visible.

Sleeves: Short raglan sleeves; the sleeve seam and side seam are stitched in one; cuffs sewn into a ring and folded in half.

Pockets: One patch pocket with sloping sides on the front, with a cut-on facing at the opening; it is stitched on upside down along the top line, turned down and topstitched along the sides and bottom.

Finishing: Seams stitched with a stretch or narrow zigzag stitch; 3 cm hem topstitched with a twin needle; slit allowances topstitched.

Level Of Difficulty

Beginner. Straight seams in knit fabric, raglan sleeves, a patch pocket and an exposed zip in a slit; the zip slit needs careful cutting.

Fabric Recommendations

Low-stretch knit fabrics made of natural or blended fibres.

Additional Supplies

  • Zip
  • Decorative cord
  • Twin needle

Cutter's Must

If the patterns have a double contour, seam allowances are included. If the contour is single, seam allowances are not included. Seam allowances: hem allowance – 3 cm, allowance along the hood stand and the short edge of the hood facing – 0 cm; all other seams 1 cm. Attention! First, print out the paper patterns and lay them out on the fabric width (fabric width can be from 90 cm to 150 cm) to determine how much material you will need (do not forget to account for paired and symmetrical pieces). When stitching pieces, pay attention to the notches - they must match!

  • From main fabric:
    • Back - 1 piece on fold
    • Front – 1 piece on fold
    • Sleeve — 2 pieces
    • Cuff — 2 pieces
    • Pocket - 1 piece
    • Hood - 2 pieces
    • Center hood - 1 piece
    • Hood facing – 1 piece

Tip: Knit fabric pieces are stitched with a special elastic or narrow zigzag stitch. When serging, trim allowances to 0.6 – 0.8 cm. The hem allowance is topstitched with a twin needle to maintain elasticity.

Sewing Instructions

  1. Serge the edge of the integrated pocket opening facing. Press the pocket opening facing to the wrong side and topstitch. Serge the pocket sides. Press the side and bottom sides to the wrong side. Place the pocket on the front, right sides together, along the upper pocket marking line (the lower edge of the pocket is directed towards the neckline) and stitch. Turn the pocket down. Topstitch the pocket to the front along the side and bottom sides.
  2. Stitch the sleeve to the back, press allowances towards the sleeve and serge. Stitch the sleeve to the front, press allowances towards the sleeve and serge.
  3. Serge the side seams and sleeve seams separately. Stitch the sleeve seam simultaneously with the side seam up to the slit mark, press allowances open. Topstitch the slit allowances to the main piece.
  4. Stitch the center to the hood pieces, press allowances towards the center and serge. Serge the buttonholes for the cord. Stitch the hood into the neckline, press allowances and serge.
  5. Cut the front in the middle, between the marked zipper attachment lines. At a distance of 1.0 – 1.5 cm from the end of the marking, make diagonal cuts. Turn the slit allowances and hood stand to the wrong side, straighten the edges. Adjust the end of the slit from the wrong side. Place the zipper under the edges of the slit so that the teeth are visible. Stitch the zipper.
  6. Serge the inner edge of the hood facing. Place the facing on the hood, right sides together, and stitch the outer edge. Clip allowances at curves, turn the facing to the wrong side, press. Topstitch the facing to the hood.
  7. Stitch the cuff into a loop, press allowances open. Press the cuff in half lengthwise, right side out. Stitch the cuff to the bottom of the sleeve, press allowances towards the sleeve and serge.
  8. Serge the bottom edge of the garment, press to the wrong side and topstitch.
  9. Thread the cord through the hood.

Order Pattern

Standard Sizes

Individual Measurements

Please double-check the file format and paper size. Your pattern is drafted in exactly the format you select; a different format or paper size later is a new order.

Similar patterns

View all
Support

Minerva Support

Online
Support
Hi! I'm Minerva's AI assistant. What can I help you with?