Professional made-to-measure digital sewing patterns — PDF · PLT · DXF AAMA
A women's sleeveless blouse with a cape overlay sewn into the neckline. At the front the cape is cut away in a deep curve that shows the bodice; at the back it hangs almost to the hem and closes with the blouse on a concealed zipper. Drafted to your own measurements. Recommended fabric: blouse fabrics from natural or blended fibres: silk, chiffon.
A women's sleeveless blouse with a cape overlay sewn into the neckline. At the front the cape is cut away in a deep curve that shows the bodice; at the back it hangs almost to the hem and closes with the blouse on a concealed zipper.
Silhouette: Straight blouse at hip level under a wider cape.
Neckline: Round neckline; the cape and the blouse are joined at the neck and finished together with bias binding topstitched along the fold.
Sleeves: None; the blouse armholes are bias-bound and covered by the cape.
Front: Front cut on the fold, with bust darts.
Back: Two back pieces with a centre back seam and a concealed zipper at the top, sewn through both the blouse and the cape.
Finishing: The cape's lower edge is faced with a front facing cut on the fold and two back facings, then topstitched. Blouse hem overlocked, turned up 1.5 cm and topstitched.
Intermediate. A faced curved cape edge, two layers joined at the neckline and centre back seam, a concealed zipper through both layers, and bias binding on fine fabric.
Blouse fabrics from natural or blended fibres: silk, chiffon.
If the patterns have a double contour, the patterns include seam allowances; if the contour is single, the patterns are without seam allowances. Seam allowances: Hem allowance – 1.5 cm, all other seams 1 cm. Attention! First of all, print out the paper patterns and lay them out on the fabric width (fabric width can be from 90cm to 150cm) to determine how much material you will need (do not forget to account for paired and symmetrical pieces).
When stitching pieces, pay attention to the notches - they must match!
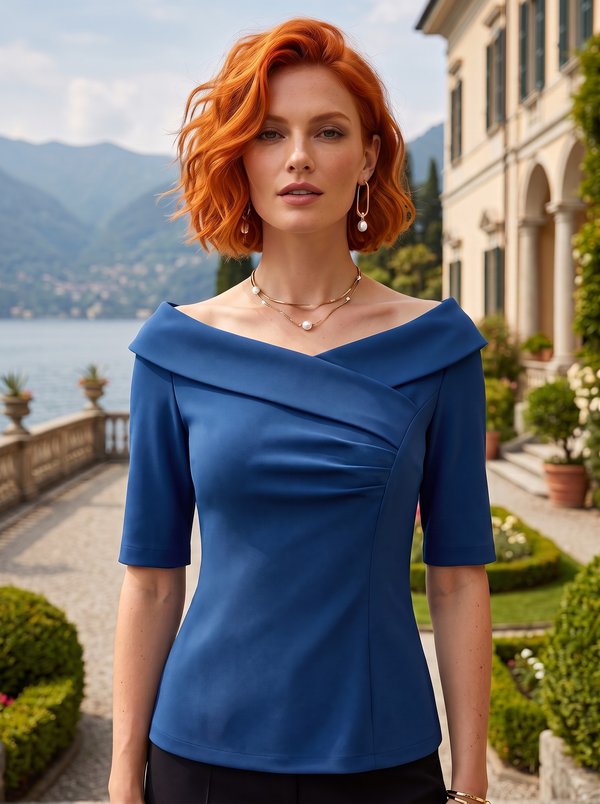
#2119
Wide Neck Draped Crossover Blouse
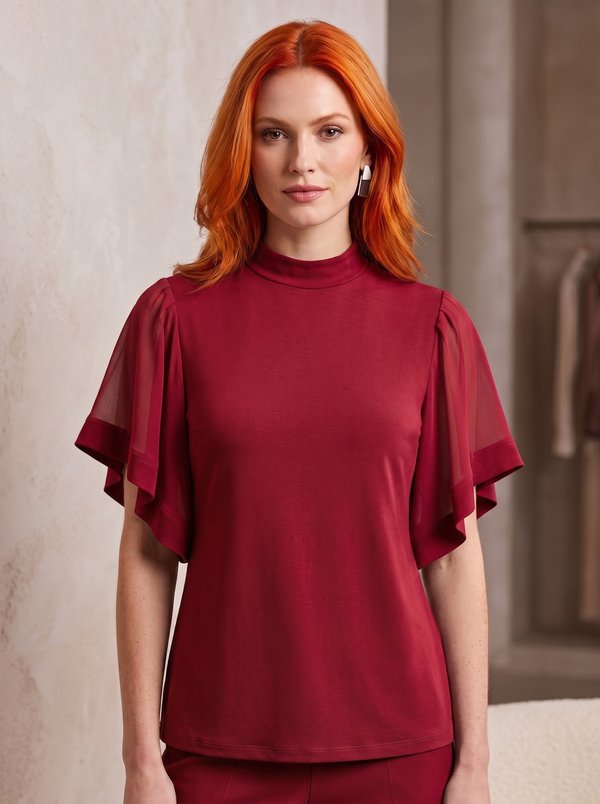
#2120
Knit Blouse With Collar Stand Chiffon Sleeves
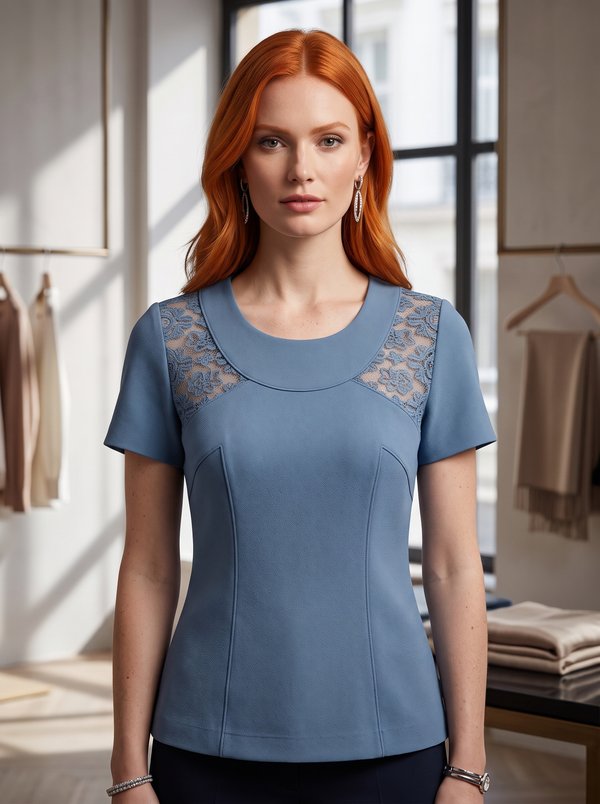
#2111
Fitted Round Neck Lace Yoke Top
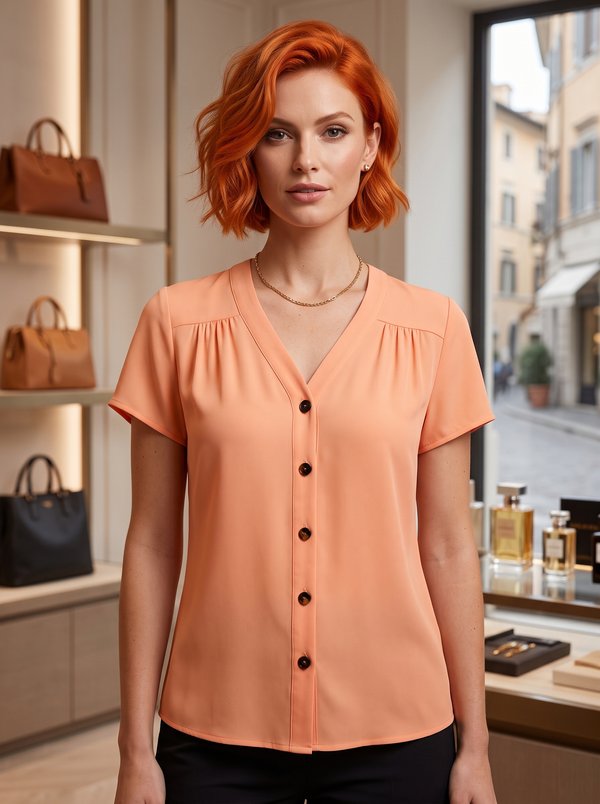
#2109
Gathered Button-Front Blouse with Yokes
#2105
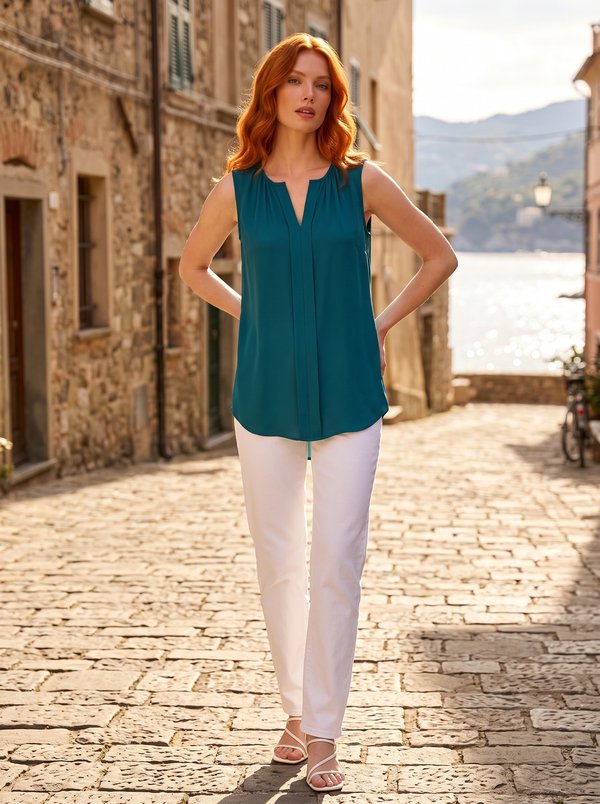
Sleeveless Gathered V-Neck Placket Blouse
#2129
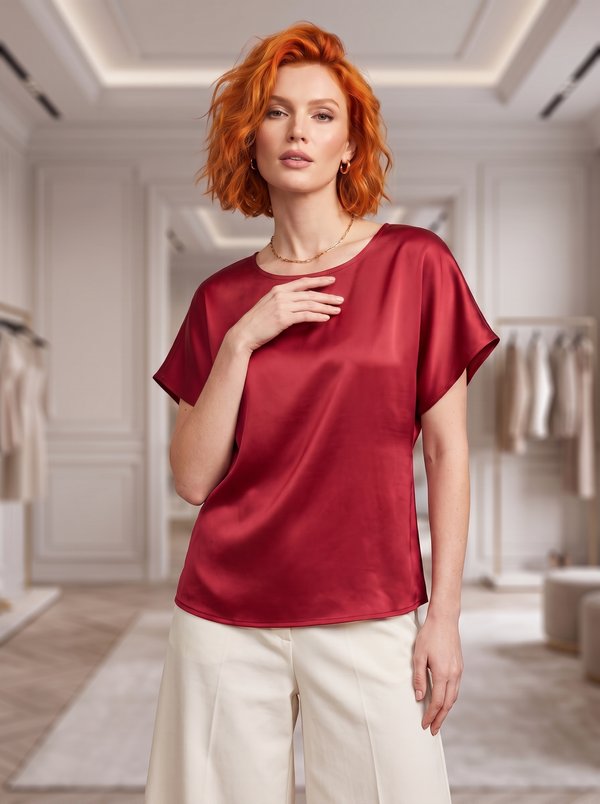
Minimalist Short Dolman Sleeve Blouse
#2104
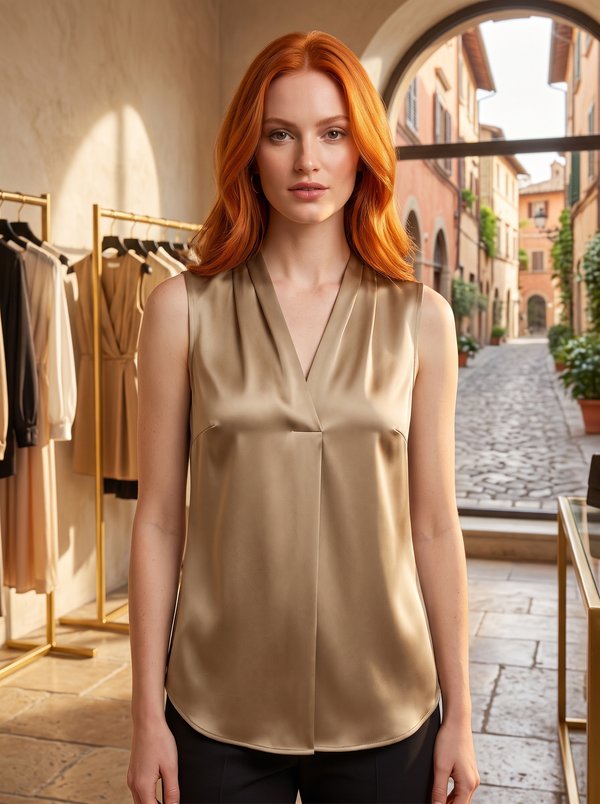
Sleeveless Pleated Wrap Blouse
#2131
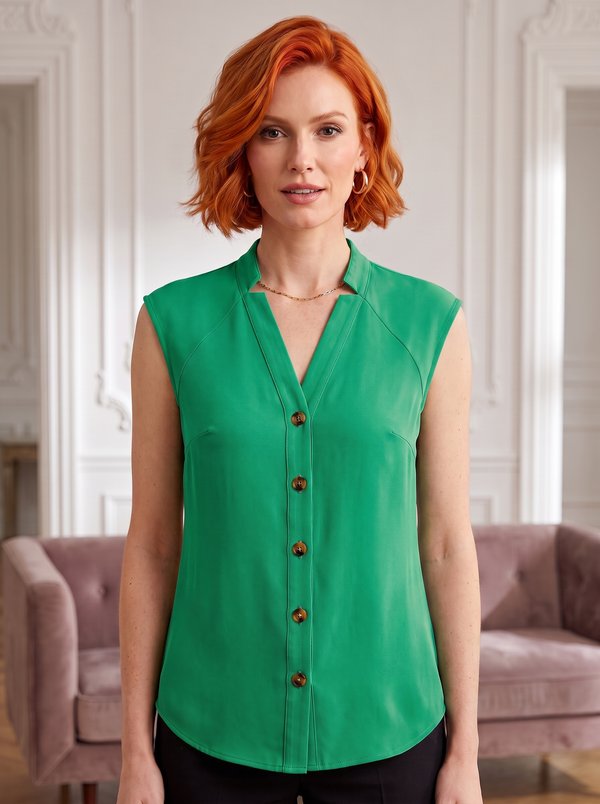
Yoked Collared Button-Front Blouse

Minerva Support
Online