Professional made-to-measure digital sewing patterns — PDF · PLT · DXF AAMA
A knee-length women's coat dress with front and back princess seams, a rounded flat collar and a nine-button front. Flared side panels are set into the lower sides, so the hem opens out at the sides while the centre panels stay straight. Drafted to your own measurements. Recommended fabric: medium-weight wovens that hold the shape of the princess seams and let the side panels flare: wool and wool-blend dress fabrics, gabardine, crepe, light tweed.
A knee-length women's coat dress with front and back princess seams, a rounded flat collar and a nine-button front. Flared side panels are set into the lower sides, so the hem opens out at the sides while the centre panels stay straight.
Silhouette: Fitted through the bust and waist by princess seams, straight over the hips, with flared inserts at the lower sides.
Length: To the knee.
Collar: Flat collar with rounded ends, cut as upper and under collar and interfaced, set into the neckline.
Sleeves: Long set-in sleeves with one underarm seam.
Front: Princess seams from the shoulder to the hem; single-breasted buttoned opening from neckline to hem, finished with interfaced front facings.
Back: Centre back seam and princess seams from the shoulder; a back neck facing joins the front facings.
Skirt: A separate lower side piece on each side, attached to the side panels with the seam allowance pressed upwards.
Finishing: Front edges, neckline and hem corners stitched with the facing; hems of the dress and sleeves turned up and topstitched.
Intermediate. Princess seams front and back, set-in flared side panels, a collar set into the neckline under the facing, set-in sleeves and a row of buttonholes.
Medium-weight wovens that hold the shape of the princess seams and let the side panels flare: wool and wool-blend dress fabrics, gabardine, crepe, light tweed.
From main fabric:
From fusible interfacing:
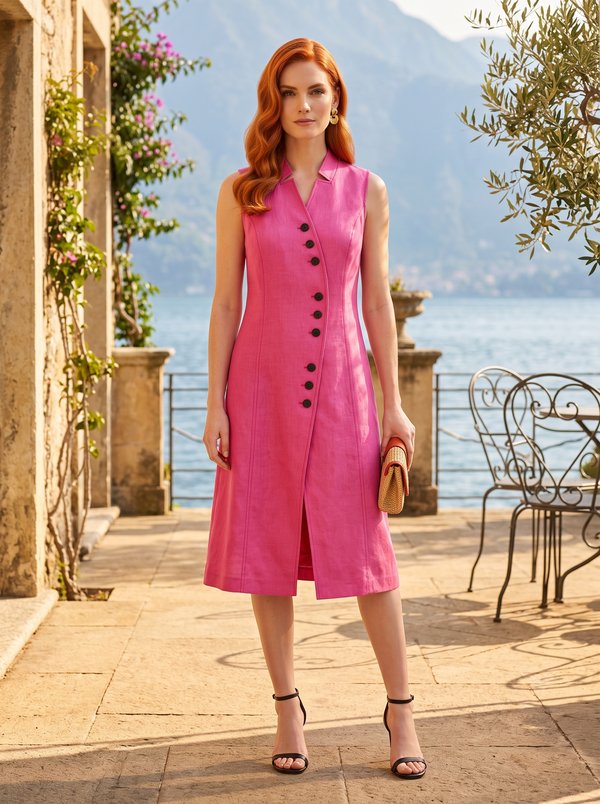
#2086
Collar Stand Asymmetrical Button Knee-Length Dress
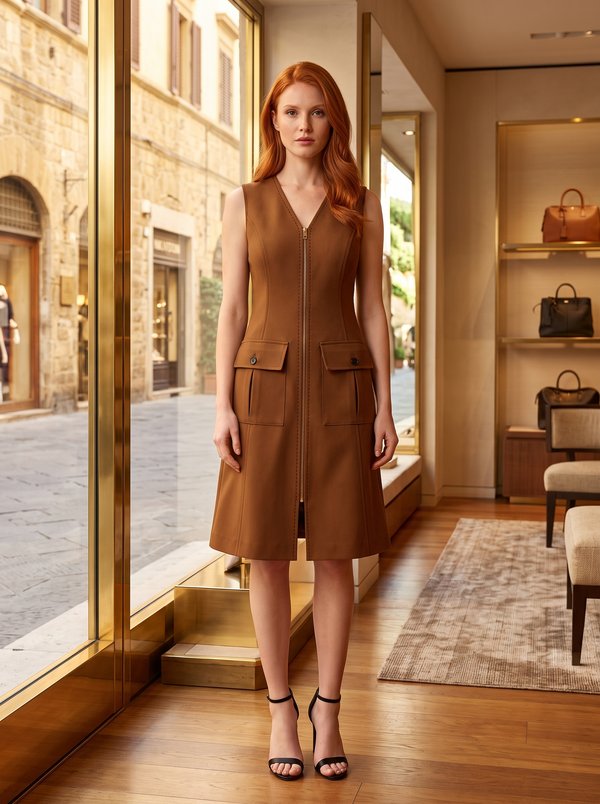
#2088
V-Neck Front Zipper Flap Pocket Dress

#2083
Three-Quarter Sleeve Crossover Lapel Dress
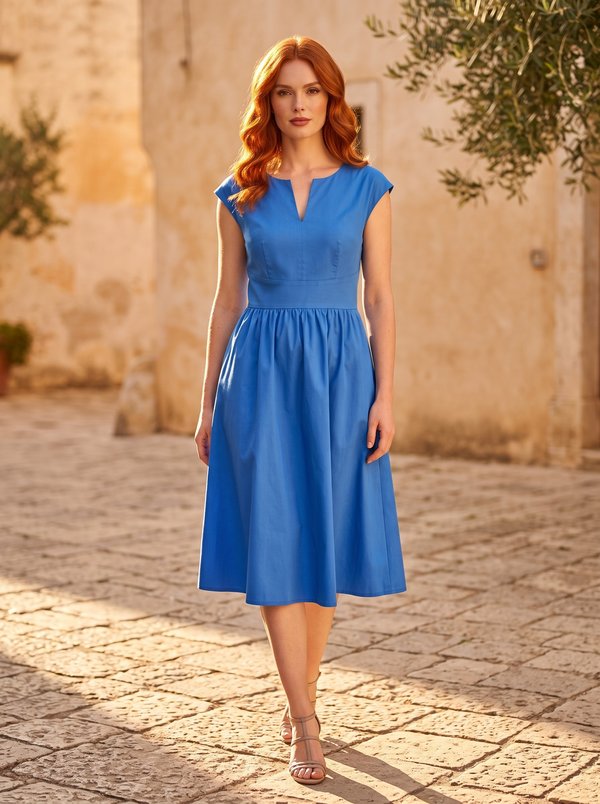
#2082
Notched Round Neck Cap Sleeve Gathered Midi Dress
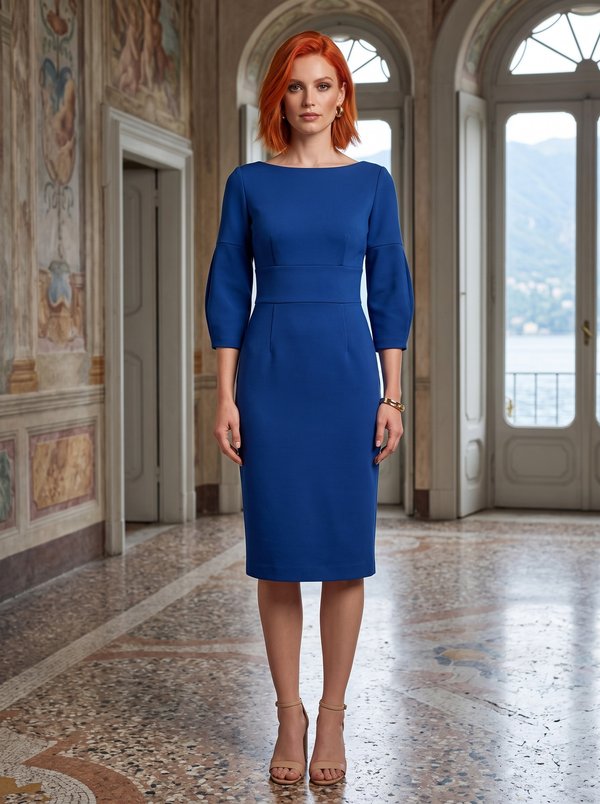
#2081
Sheath Dress Boat Neck Pleated Sleeves

#2093
Collared Dress With Ruffled Yoke And Hem
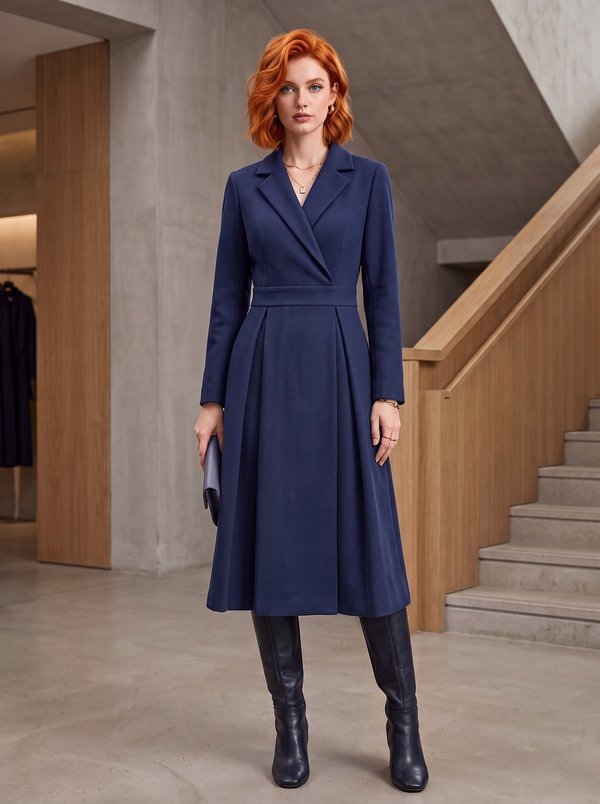
#2078
Tailored Faux Wrap Blazer Dress
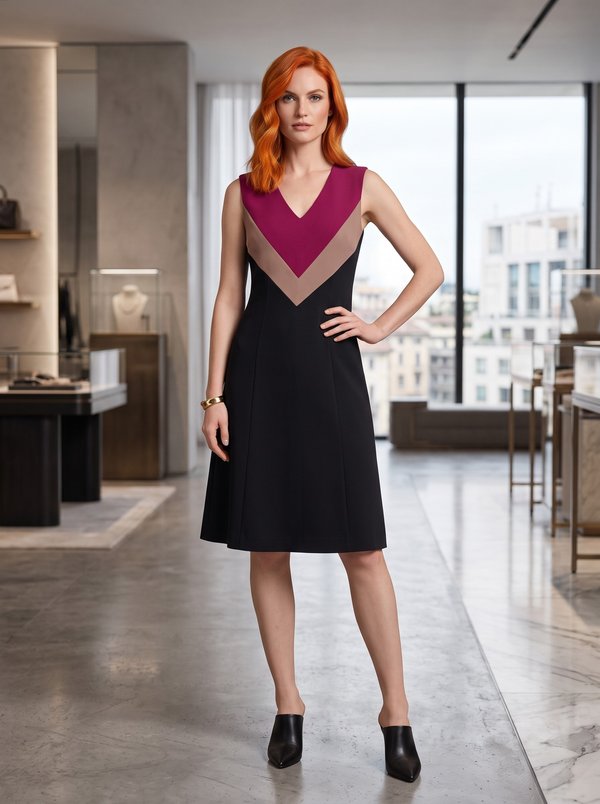
#2096
Sleeveless A-Line Dress with Front Insert

Minerva Support
Online