Tailored Blazer Dress
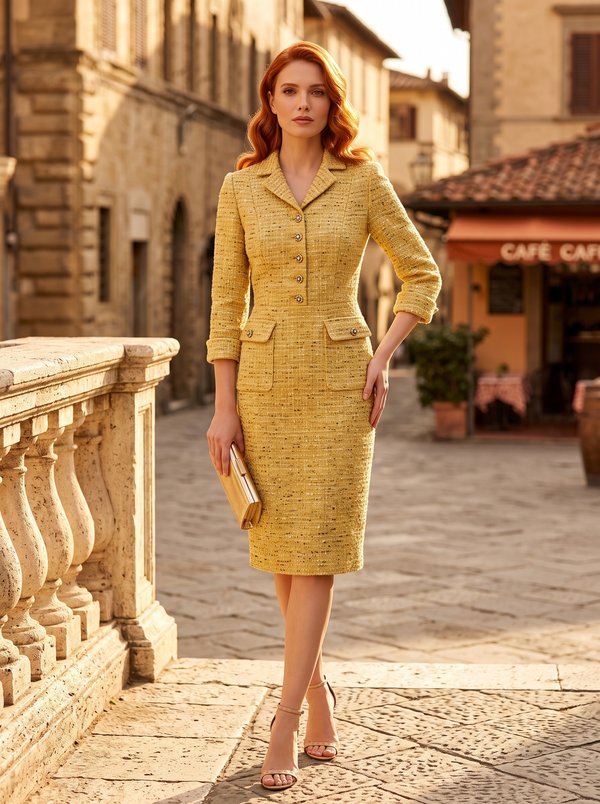
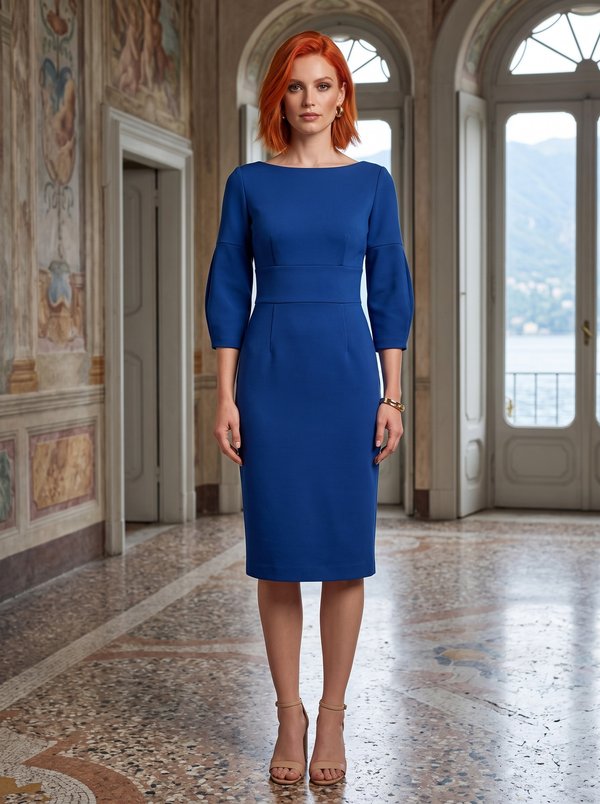
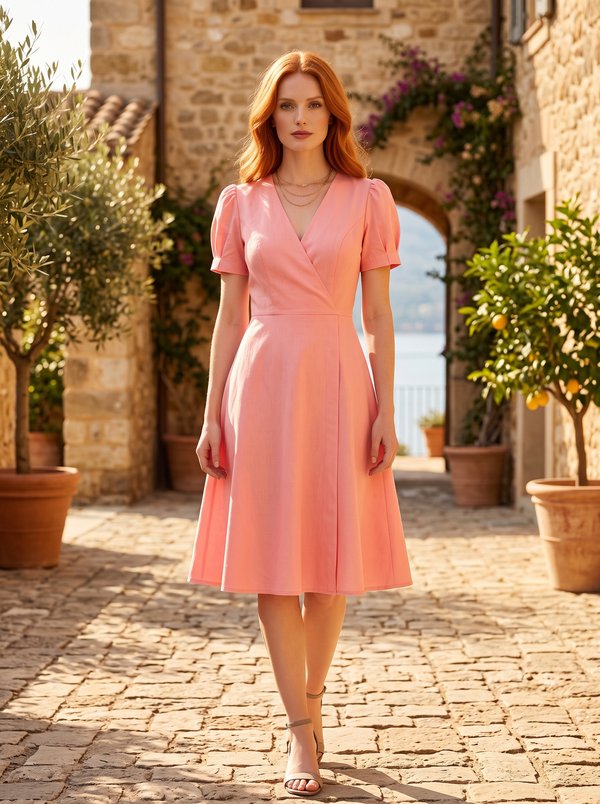
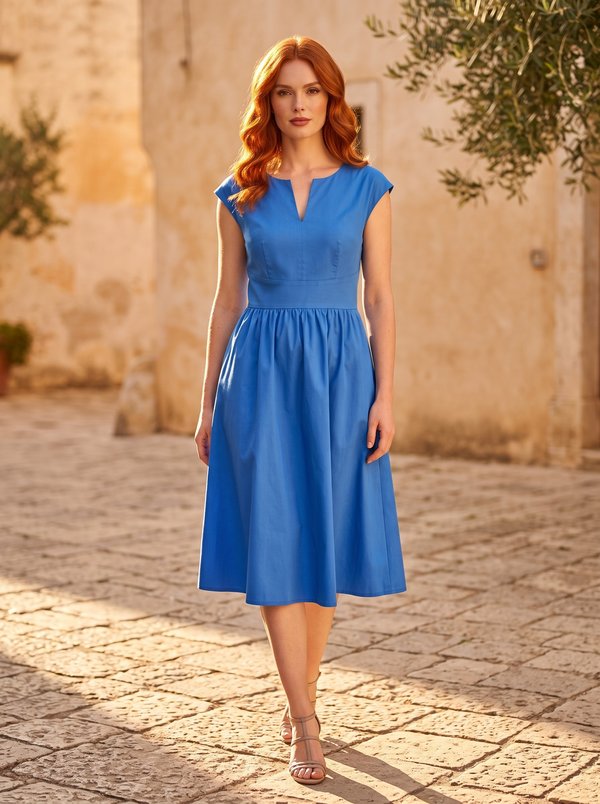
A women's below-knee dress with a faux wrap bodice, a notched lapel collar, a separate waistband and a flared skirt with inverted pleats at the front and back. Centre back zipper.
When To Wear
- At the office and for business meetings in autumn, winter and spring.
- For daytime events and dinners, with court shoes or ankle boots.
Key Design Features
Silhouette: Fitted bodice shaped with darts, a straight waistband at the natural waist and a skirt that flares towards the hem.
Length: Below the knee.
Collar: Notched lapel collar; the collar is cut in four pieces with a centre back seam, the undercollar is sewn to the dress neckline and the upper collar to the facings.
Front: The right front overlaps the left in a V and both are secured at the lower edge into the waistband seam; front facings interfaced.
Sleeves: Long, one-piece set-in sleeves.
Waist: Front waistband in one piece, back waistband in two pieces.
Skirt: Lower front cut on the fold and lower back in two pieces, each with inverted pleats below the waistband.
Back: Darts on the upper back, centre back seam with a zipper.
Finishing: Seams serged; garment and sleeve hems turned and topstitched; facings attached to the zipper tape.
Level Of Difficulty
Intermediate. A notched collar set between the dress and the facings, an overlapping faux wrap front, inverted pleats and a zipper insertion.
Fabric Recommendations
Medium-weight wovens that hold a pleat and a lapel: suiting, gabardine, wool blends, crepe.
Additional Supplies
- Fusible interfacing (collar, front facings, back neckline facing)
- Zipper for the centre back seam
Cutter's Must
From main fabric:
- Upper Back – 2 pieces
- Back Waistband – 2 pieces
- Lower Back – 2 pieces
- Upper Front – 2 pieces
- Front Waistband – 1 piece
- Lower Front – 1 piece on fold
- Sleeve – 2 pieces
- Collar – 4 pieces
- Center Front Facing – 2 pieces
- Back Neckline Facing – 2 pieces
From fusible interfacing:
- Collar – 2 pieces
- Center Front Facing – 2 pieces
- Back Neckline Facing – 2 pieces
Sewing Instructions
- Fuse interfacing to two Collar pieces, the Center Front Facings and the Back Neckline Facings.
- Stitch the darts on the Upper Back pieces and press the dart intakes towards the center. Stitch the Back Waistband to the Upper Back, press the seam allowances towards the waistband and serge.
- Fold and secure the inverted pleats on the Lower Back pieces. Stitch the Upper Back and Lower Back together, press the seam allowances upwards and serge.
- Serge the center back edges separately on each piece. Stitch the center back seam from the zipper notch to the hem and press the seam allowances open. Insert the zipper.
- Stitch the darts on the Upper Front pieces and press the dart intakes towards the center.
- Place the Collar pieces right sides together and stitch along the ends, the outer edge and the center back edges. Start and end the stitching exactly at the marked collar attachment line. Trim the seam allowances at the corners. Turn the collar right side out, shape and press.
- Stitch the shoulder seams, press the seam allowances towards the back and serge. Stitch the shoulder seams of the Back Neckline Facings and Center Front Facings and press them open. Serge the outer edge.
- Place the Center Front Facing on the right side of the Upper Front, right sides together, pin and stitch along the front edge, upwards to the notch marking the end of the collar attachment. Trim the seam allowances at the corners. Turn the front edges right side out and shape the seams.
- Stitch the undercollar to the dress neckline, and the upper collar to the neckline of the Back Neckline Facings and Center Front Facings. Clip the collar seam allowances, press them open and secure them to each other close to the seams. Tack the facings to the dress at the shoulder seams and to the zipper tape.
- Lap the right Upper Front over the left and baste them together along the lower edge. Stitch the Front Waistband to the Upper Front, press the seam allowances towards the waistband and serge.
- Fold and secure the inverted pleats on the Lower Front. Stitch the Upper Front and Lower Front together, press the seam allowances upwards and serge.
- Stitch the side seams, press the seam allowances towards the back and serge.
- Stitch the sleeve seam, press the seam allowances and serge. Set the Sleeve into the armhole, matching the notches, press the seam allowances and serge.
- Serge the lower edge of the dress and sleeves, press it to the wrong side and topstitch.