Professional made-to-measure digital sewing patterns — PDF · PLT · DXF AAMA
A plus-size women's ankle-length dress with a sweetheart neckline, cap sleeves and a waist seam. The skirt is cut in panels that stay close through the hips and flare out below the knee. Concealed zip at the centre back. Drafted to your own measurements. Recommended fabric: soft dress fabrics made from natural or blended fibres.
A plus-size women's ankle-length dress with a sweetheart neckline, cap sleeves and a waist seam. The skirt is cut in panels that stay close through the hips and flare out below the knee. Concealed zip at the centre back.
Silhouette: Fitted bodice, skirt panels close to the body through the hips and flaring from about knee level to the hem.
Length: Ankle length.
Neckline: Sweetheart neckline at the front, round at the back, finished with interfaced facings that are secured at the armholes and the zip tape.
Sleeves: Cap sleeves, hem overlocked, turned up and topstitched, set into the upper armhole; the lower armhole is bound with a 4 cm bias strip folded in half, turned to the inside and topstitched.
Front: Bodice with princess seams (a centre panel and two side panels); skirt with a centre panel and two side panels.
Back: Bodice with darts, skirt in centre and side panels; centre back seam with a concealed zip.
Waist: Waist seam joining the bodice and skirt front and back, allowances pressed up.
Finishing: Seams overlocked; hem overlocked, turned up 1.2 cm and topstitched.
Intermediate. Princess and panel seams that must match at the waist seam, a sweetheart neckline with a clipped point, a concealed zip and partially bound armholes.
Soft dress fabrics made from natural or blended fibres.
If the patterns have a double contour, the patterns include seam allowances. If the contour is single, the patterns do not include seam allowances. Seam allowances: all seams 1 cm; hem allowance – 1.2 cm. Attention! First of all, print out the paper patterns and lay them out on the fabric width (fabric width can be from 90 cm to 150 cm) to determine how much material you will need (do not forget to account for paired and symmetrical pieces).
When stitching pieces, pay attention to the notches - they must match!
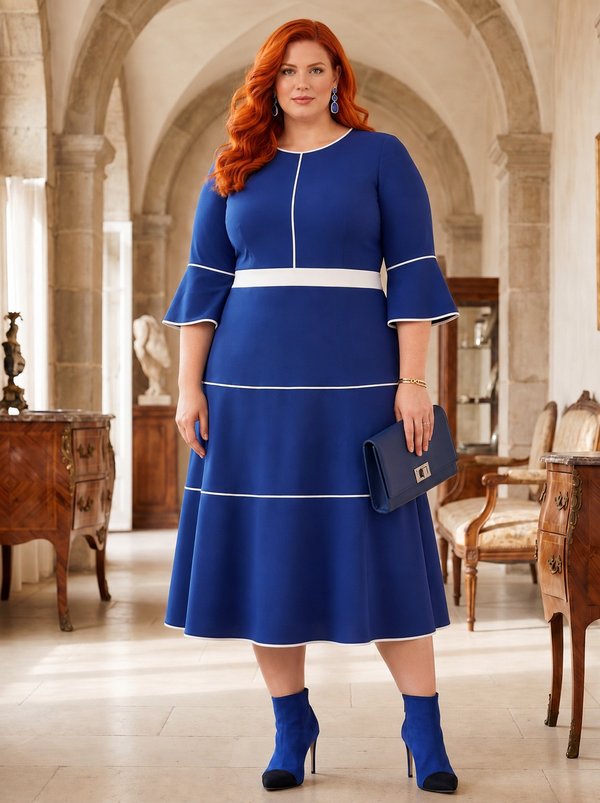
#902890
Plus Size Dress with Topstitched Trim Bands
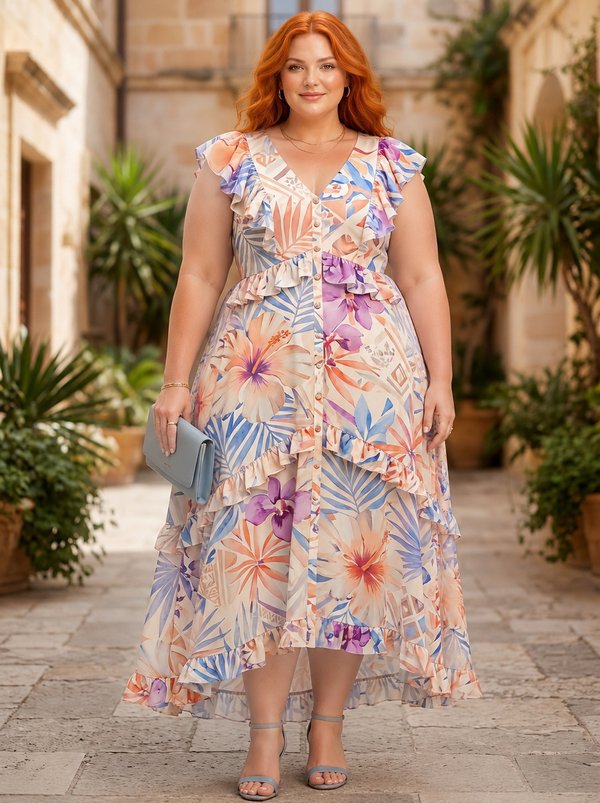
#902895
Plus Size Ruffled V-Neck Button-Front Tiered Dress
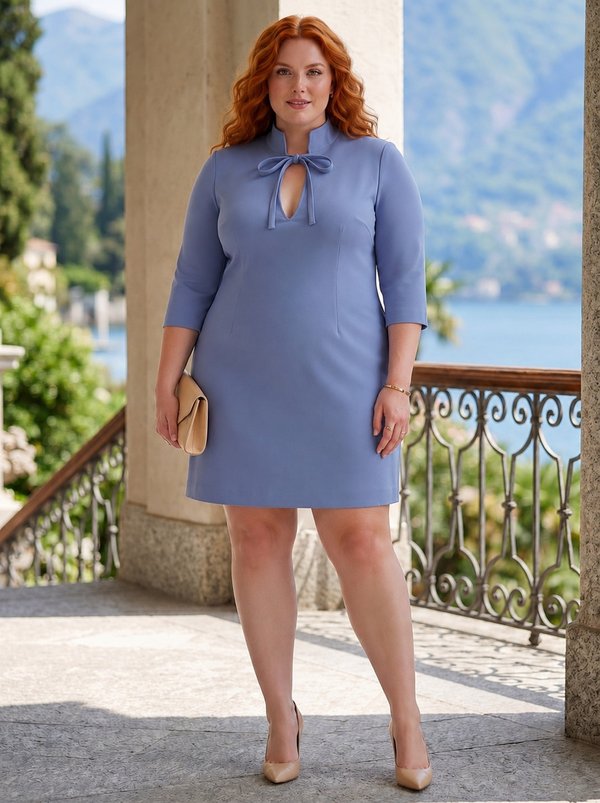
#902899
Plus Size Fitted Dress with Stand Collar
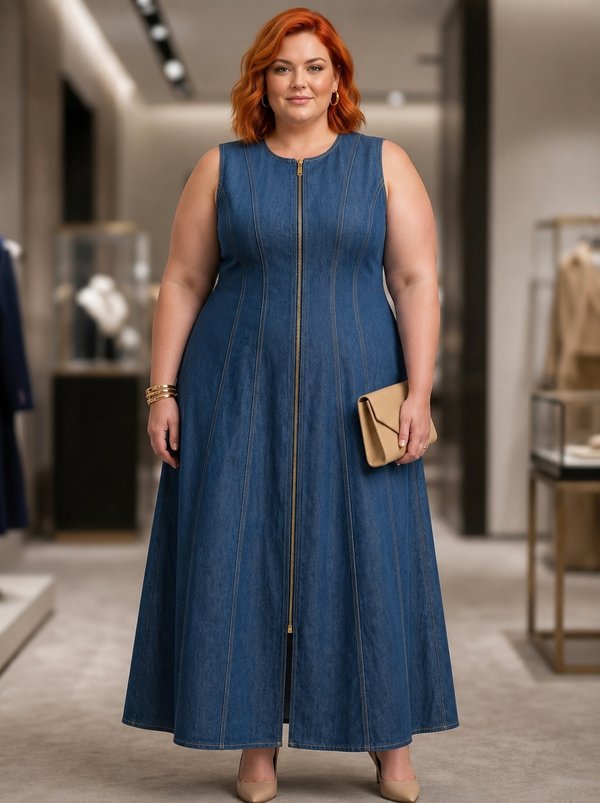
#902900
Plus Size Sleeveless Maxi Denim Dress with Front Zipper
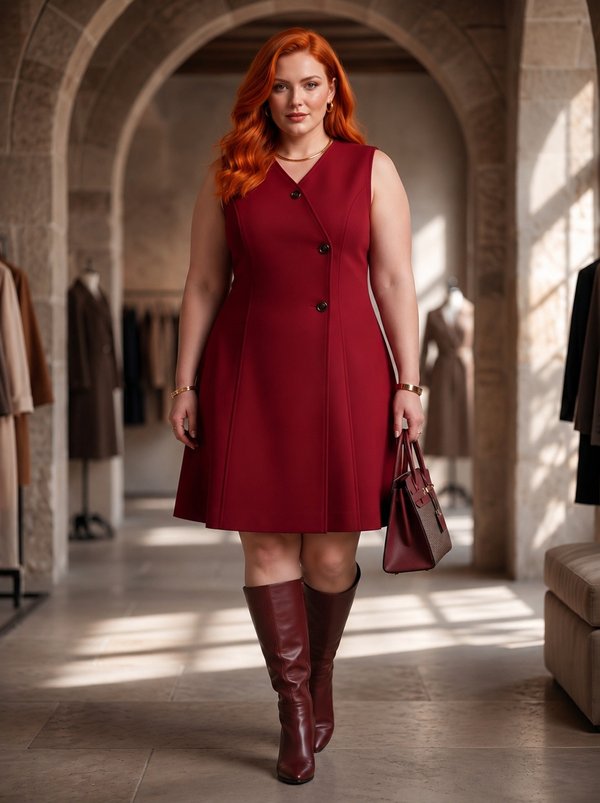
#902883
Plus Size Sleeveless Princess Seam Diagonal Button Dress
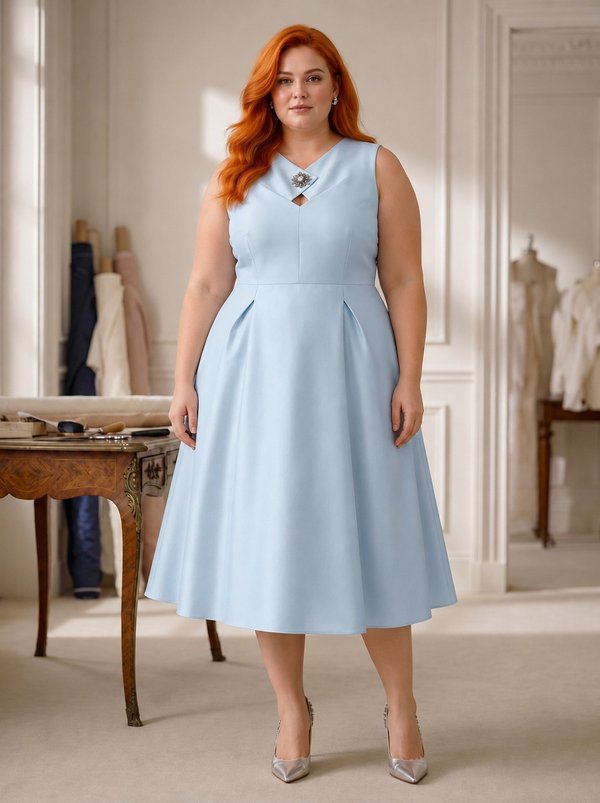
#902882
Plus Size Fit-and-Flare Dress with Crossover Pleated Neckline
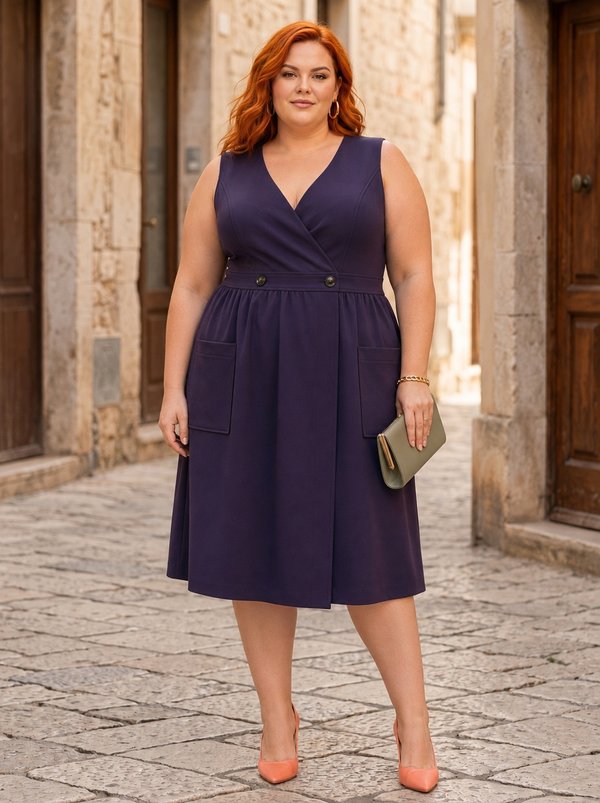
#902902
Plus Size V-Neck Wrap Dress with Patch Pockets

#905357
Plus Size Denim Dress with High-Low Hem

Minerva Support
Online