Professional made-to-measure digital sewing patterns — PDF · PLT · DXF AAMA
A plus-size women's pull-on blouse with short cut-on sleeves, a deep V-neckline edged with a stand collar and a yoke over the shoulders. The fronts are gathered into the yoke at the shoulders and the back is gathered under a back yoke; the hem is longer and rounded at the back. Drafted to your own measurements. Recommended fabric: blouse fabrics made from natural or blended fibres.
A plus-size women's pull-on blouse with short cut-on sleeves, a deep V-neckline edged with a stand collar and a yoke over the shoulders. The fronts are gathered into the yoke at the shoulders and the back is gathered under a back yoke; the hem is longer and rounded at the back.
Silhouette: Loose, straight body with fullness from the gathers at the shoulders and back yoke.
Length: Hip length, with a curved high-low hem: shorter at the front, longer at the back.
Neckline: Deep V-neckline finished with a stand collar; the neck edge and stand are faced with interfaced front and back neck facings.
Sleeves: Short dolman sleeves cut in one with the bodice, hem overlocked, turned up and topstitched.
Front: Centre front seam from the bottom of the V to the hem; gathers at the shoulder edge, joined to the yoke. No fastening: the blouse goes on over the head.
Back: Back yoke with a centre back seam; the back is cut on the fold and gathered into the yoke.
Finishing: Seams overlocked; hem overlocked, turned up and topstitched.
Beginner. Even gathers into a yoke and a faced V-neckline with a stand; no fastenings, no set-in sleeves.
Blouse fabrics made from natural or blended fibres.
If the patterns have a double contour, they include seam allowances. If the contour is single, the patterns do not include seam allowances. Seam allowances: hem allowance and sleeve hem allowance – 1.2 cm; other seams 1 cm. Attention! First, print out the paper patterns and lay them out on the fabric width (fabric width can be from 90 cm to 150 cm) to determine how much material you will need. When stitching pieces, pay attention to the notches - they must match!

#902483
Plus Size Long Sleeve Draped Crossover V-Neck Top

#902481
Plus Size Asymmetrical Draped Sleeveless Pointed Hem Top

#902468
Plus Size Sleeveless V-Neck Pleated Swing Top

#902457
Plus Size Button-Front Blouse with Bias Neckline
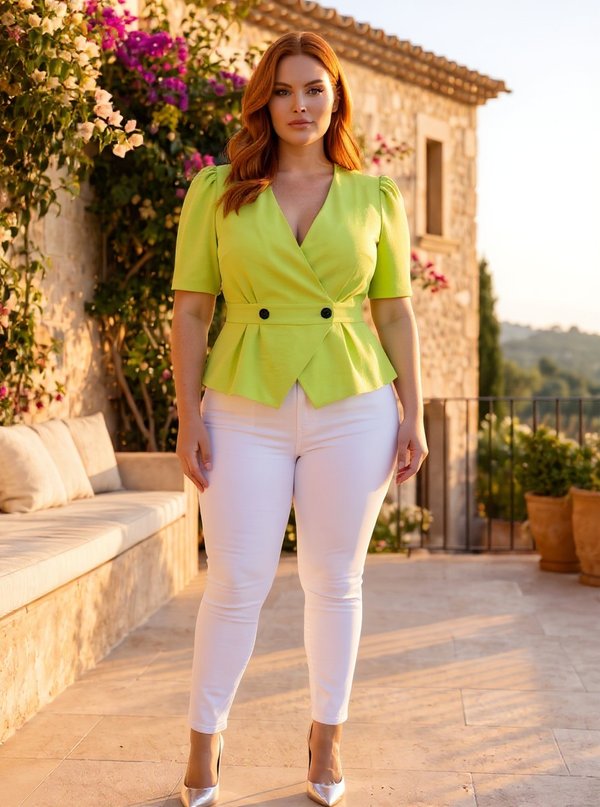
#902448
Plus Size Puff Sleeve Wrap Blouse Asymmetrical Hem
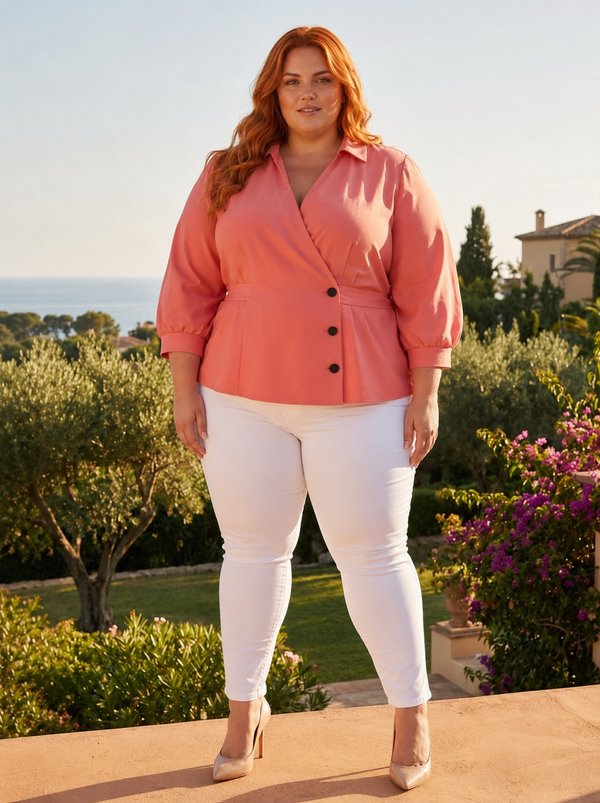
#902447
Plus Size Collared Wrap Blouse with Tie Belt
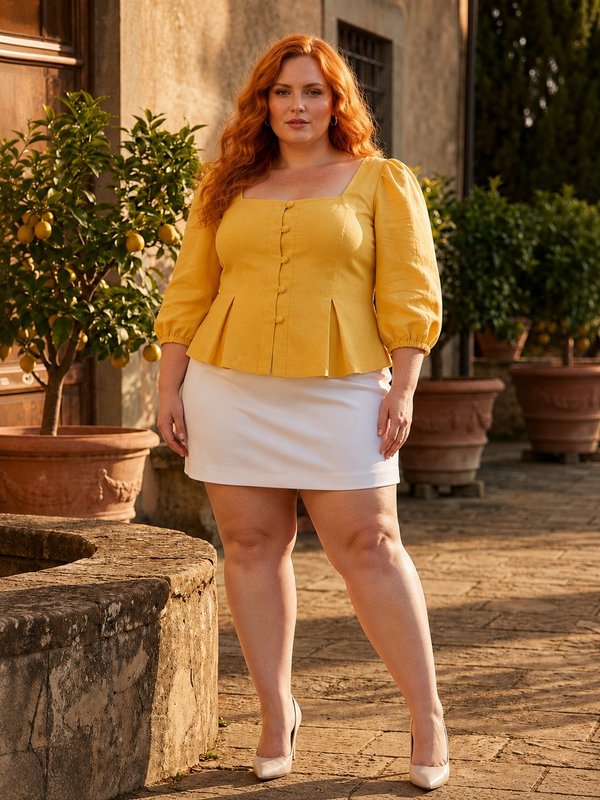
#902446
Plus Size Square Neck Puff Sleeve Blouse with Box Pleats

#902429
Plus Size Notched V-Neck Blouse Waistband Short Sleeve

Minerva Support
Online