Professional made-to-measure digital sewing patterns — PDF · PLT · DXF AAMA
A men's lined hip-length vest with a notched collar on a stand, a topstitched button placket, horizontal in-seam pockets between the upper and lower fronts, buttoned shoulder straps and a waistband fastened with a pointed tab. Drafted to your own measurements. Recommended fabric: jacket fabrics quilted with polyester wadding, of natural or blended fibres.
A men's lined hip-length vest with a notched collar on a stand, a topstitched button placket, horizontal in-seam pockets between the upper and lower fronts, buttoned shoulder straps and a waistband fastened with a pointed tab.
Silhouette: Straight and sleeveless.
Length: Hip length, ending in a waistband.
Collar: Notched collar with small lapels; the collar is cut with a separate stand.
Front: Each front is cut in an upper and a lower part. A separate placket is sewn to the front edge and topstitched 0.2 cm from the seam; four buttons, buttonholes on the left front.
Pockets: Horizontal in-seam pockets in the seam between the upper and lower fronts, with lining pocket bags.
Back: Horizontal back yoke above a centre back panel cut on the fold; curved vertical panel seams.
Waist: Two-layer waistband all round, extended into a pointed tab at the front with a button.
Finishing: Shoulder straps topstitched 0.2 cm from the edge, caught in the armhole and buttoned at the neck end.
Lining: Full lining cut from the main pieces less the facings, sewn to the front facings and back neck facing; armholes finished by the lining in two stages, front then back.
Intermediate. A notched collar with a stand set between the vest and the facings, in-seam pockets in a horizontal seam, armholes bagged with the lining and a waistband with a tab.
Jacket fabrics quilted with polyester wadding, of natural or blended fibres.
From Main Fabric:
From Lining Fabric:
Lining pieces are cut using the main pattern pieces, excluding the width of the front facing and back neckline facing.
Before cutting your fabric:
Place the Pocket Bag onto the Lower Front piece, right sides together, and stitch, starting and ending exactly at the pocket markings.
Attach the Pocket Bag to the Upper Front piece in the same manner.
Join the front pieces together, press the seam allowances open.
Stitch the Pocket Bag edges together to complete the pocket.
Attach the Placket to the front piece.
Press the seam allowance toward the Placket and topstitch 0.2 cm from the seam.
Stitch the panel seams of the back.
Press the seam allowances open.
Attach the Back Yoke to the back.
Press the seam allowance upward toward the Back Yoke.
Stitch the shoulder seams.
Press the seam allowances toward the back.
Stitch the shoulder seams of the Center Front Facings and the Back Neckline Facing.
Press the seam allowances open.
Attach the Stand Collar to the Collar, matching notches; press the seam allowances open.
Place the upper and lower collars right sides together and stitch the collar ends and outer edges, starting and ending the stitching exactly at the marked points.
Trim seam allowances at the corners, turn the collar right side out, and press carefully.
Place the Center Front Facings onto the vest, right sides together.
Stitch along the front edges and lapel.
Trim the seam allowances, clip into the corner, turn right side out, and press neatly.
Set the upper collar into the neckline of the outer garment and press the seam allowances open.
Set the lower collar into the neckline of the Center Front Facings and Back Neckline Facing, and press the seam allowances open.
Secure the collar seam allowances to each other by hand.
Place the Epaulette pieces right sides together and stitch along the outer edges.
Trim seam allowances at the corners, turn right side out, and press.
Topstitch around the perimeter 0.2 cm from the edge.
Position the Epaulette over the shoulder seam and secure it to the garment along the armhole edge.
Stitch the seams of the lining pieces together.
Attach the lining to the Back Neckline Facing and to the Center Front Facings.
Finish the armholes in two stages: first stitch the front armhole, then stitch the back armhole.
Place the Waistband pieces right sides together and stitch along one short edge, the lower edge, and the corner up to the marked point. Clip the seam allowance at the marking.
Attach the outer side of the Waistband to the waistcoat. Turn the seam allowance of the inner side to the inside and topstitch it into the seam where the outer side was attached.
Work buttonholes on the left front.
Sew buttons onto the right front, the epaulettes, and the Waistband.
Ready now, no waiting: PDF A0, A4, US Letter, One Page and Projector files with seam allowances, plus the sewing booklet with fabric requirements — in one ZIP.
Body measurements the sizes are drafted for
| Size | Height | Chest | Waist | Hip |
|---|---|---|---|---|
| L | 183 cm72″ | 107 cm42″ | 92 cm36.2″ | 107 cm42″ |
| XL | 188 cm74″ | 112 cm44″ | 99 cm39.0″ | 113 cm44″ |
Prefer a pattern drafted to your own measurements? Order it below.
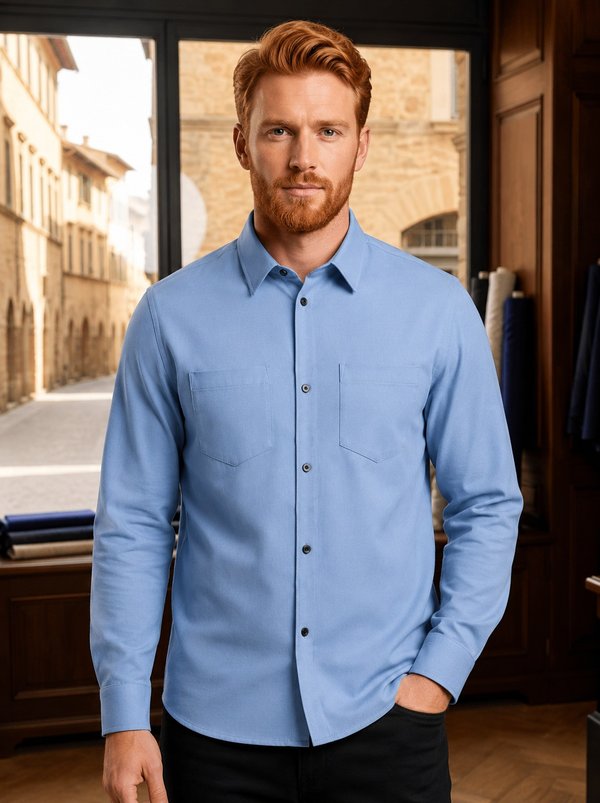
#6138
Men's Long Sleeve Shirt

#6140
Men's Relaxed Fit Drawstring Trousers
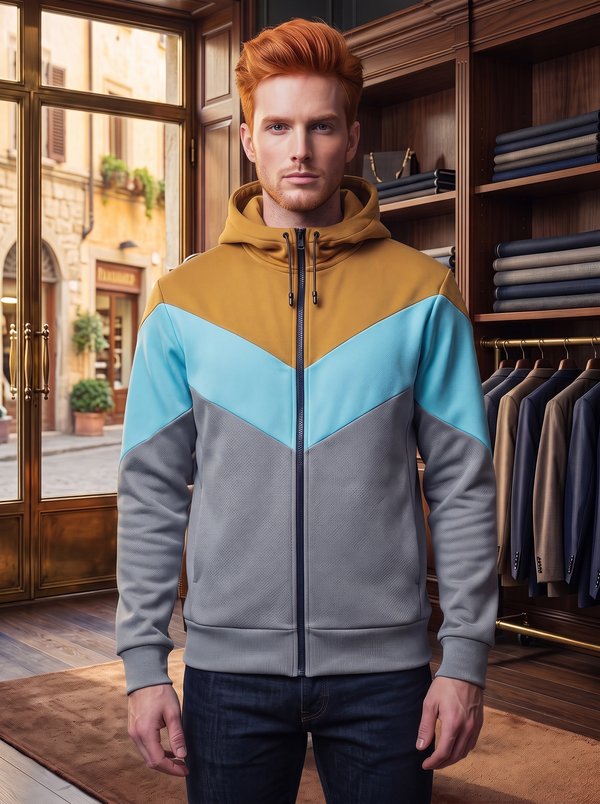
#6137
Chevron Color Block Zip Hoodie
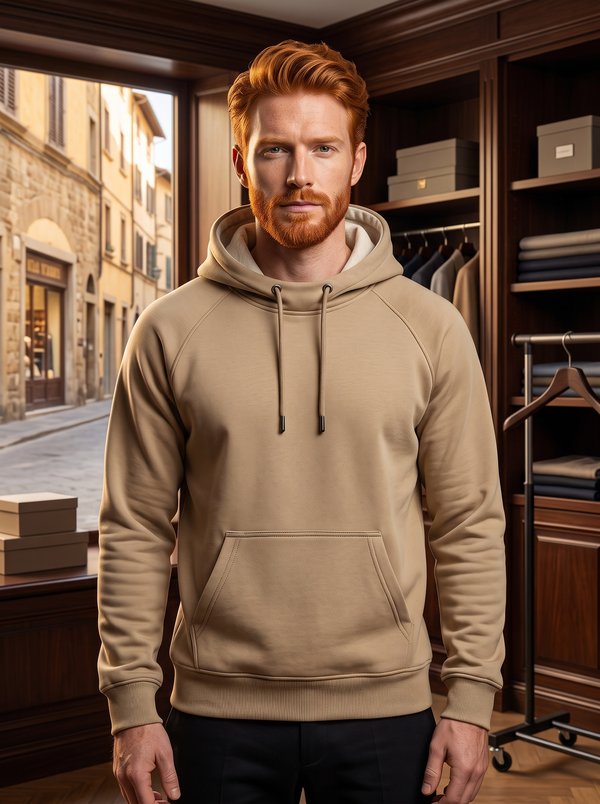
#6141
Raglan Sleeve Hoodie with Kangaroo Pocket
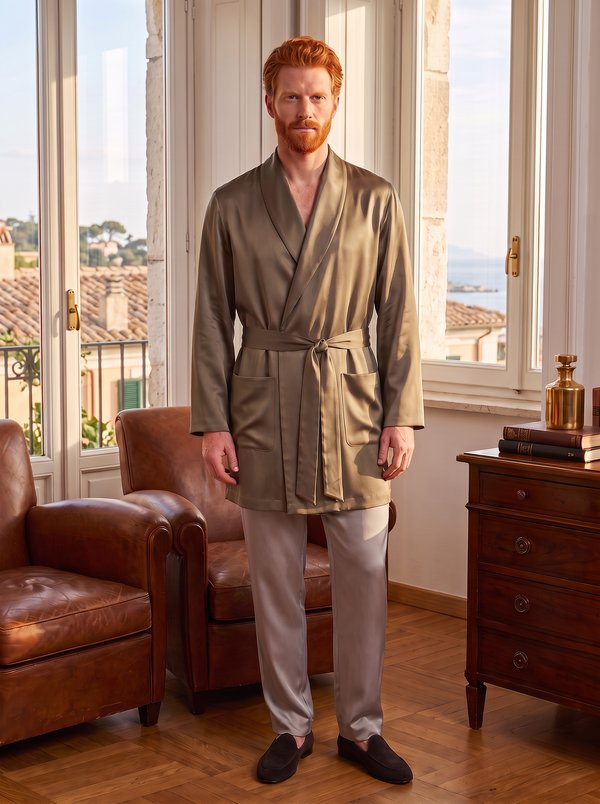
#6136
Shawl Collar Wrap Robe
#6142
Zip Front Hoodie with Kangaroo Pocket
#6135
Men's V-Neck Short Sleeve T-Shirt
#6143
Drawstring Cowl Neck Raglan Sleeve Hoodie

Minerva Support
Online