Professional made-to-measure digital sewing patterns — PDF · PLT · DXF AAMA
A women's cheongsam-style sheath dress in silk satin with a stand collar, short set-in sleeves and a curved seam running from the neckline across to the right side, edged with decorative braid and set with three soutache frog loops and buttons. Concealed zip in the left side seam and slits at both side seams. Drafted to your own measurements. Recommended fabric: silk satin fabrics.
A women's cheongsam-style sheath dress in silk satin with a stand collar, short set-in sleeves and a curved seam running from the neckline across to the right side, edged with decorative braid and set with three soutache frog loops and buttons. Concealed zip in the left side seam and slits at both side seams.
Silhouette: Close-fitting, straight sheath.
Length: Short, above the knee.
Collar: Mandarin stand collar with rounded front ends, cut double with the inner stand interfaced; braid stitched along the upper edge.
Front: A front with bust darts and waist darts, and an upper front joined to it by a curved seam from a mark near the neck to the right side seam. Braid is topstitched along the seam. Between the neckline and the mark the upper front overlaps the front and is fastened with a hook and loop.
Closure: Concealed zip in the left side seam. Three decorative soutache loops with buttons sit along the curved seam.
Sleeves: Short, one-piece, set-in; hems turned twice, topstitched and trimmed with braid.
Back: Centre back seam and princess seams from the armholes to the hem.
Skirt: Slits at the lower end of both side seams, with the slit allowances topstitched down.
Finishing: Seams serged; 3 cm hem turned twice and topstitched. Fusible web tape along the curved seam lines keeps them from stretching.
Intermediate. A curved seam in slippery satin with trim set along it, a concealed zip combined with a side slit, a two-piece stand collar and hand-sewn soutache loops.
Silk satin fabrics.
From Main Fabric:
From Fusible Interfacing:
Lower Stand Collar – 1 piece
Before cutting your fabric, print and lay out the paper patterns according to your fabric width (90–150 cm) to determine required yardage.
Remember to account for paired and symmetrical pieces.
When sewing, pay close attention to all notches — they must match precisely to ensure correct construction and fit.
Careful pressing and precise seam handling are essential when working with satin fabrics to preserve surface smoothness and prevent marking.
Apply fusible interfacing to the lower Stand Collar.
Stitch the center back seam, press the seam allowances toward the left side and overlock.
Stitch the princess seams of the Center Back and Side Back, press the seam allowances toward the center and overlock.
Stitch the bust darts on the Front and press downward.
Stitch the waist darts on the Front and press toward the center.
Overlock the upper curved edge of the Front and the lower curved edge of the Upper Front.
Tip: to prevent stretching of curved edges, reinforce the stitching lines with fusible web tape.
Place the Front and Upper Front together and stitch the curved seam from the marking to the side edge (the allowance of the lower edge of the Upper Front is wider by 0.5 cm).
Press the seam allowances downward.
Topstitch decorative trim along the curved seam of the Front, turning back the seam allowance of the Upper Front.
Stitch the shoulder seams of the dress, press the seam allowances toward the Back and overlock.
Overlock the seam allowances of the side seams of the Back and Front.
Stitch the left side seam from the top to the zipper marking and from the zipper marking to the slit.
Press the side seam allowances open, press the zipper opening allowances and the lower slit.
Place the zipper under the slit so that the teeth are not visible and stitch in place.
Stitch the right side seam from the top to the notch, press the seam allowances open, pressing the slit.
Place the Stand Collar pieces right sides together and stitch along the upper edge, beginning and ending the stitching exactly at the marked collar attachment line.
Clip seam allowances at the curves, turn the stand collar right side out and press.
Attach the outer stand collar to the neckline, turn under the seam allowance of the inner stand collar and topstitch in the seam of attachment of the outer stand collar.
Topstitch decorative trim onto the stand collar along the upper edge.
Stitch the sleeve seams, press the seam allowances and overlock.
Set the sleeves into the armholes, matching notches.
Press the seam allowances and overlock.
Turn the sleeve hem twice to the wrong side and topstitch.
Topstitch decorative trim along the lower edge.
Topstitch the slit allowances onto the dress.
Turn the hem of the dress twice and topstitch.
Sew a loop onto the Upper Front between the neckline and the marking, and sew a hook onto the Front.
Sew decorative loops and buttons onto the Front and Upper Front.
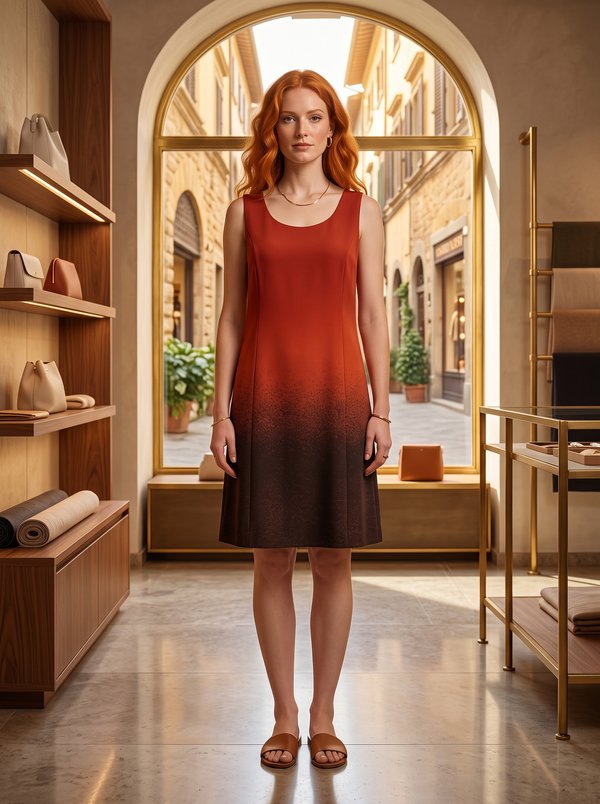
#5963
Sleeveless Princess Seam A-Line Dress

#5962
A-line Halter Neck Dress with Front Inverted Pleats
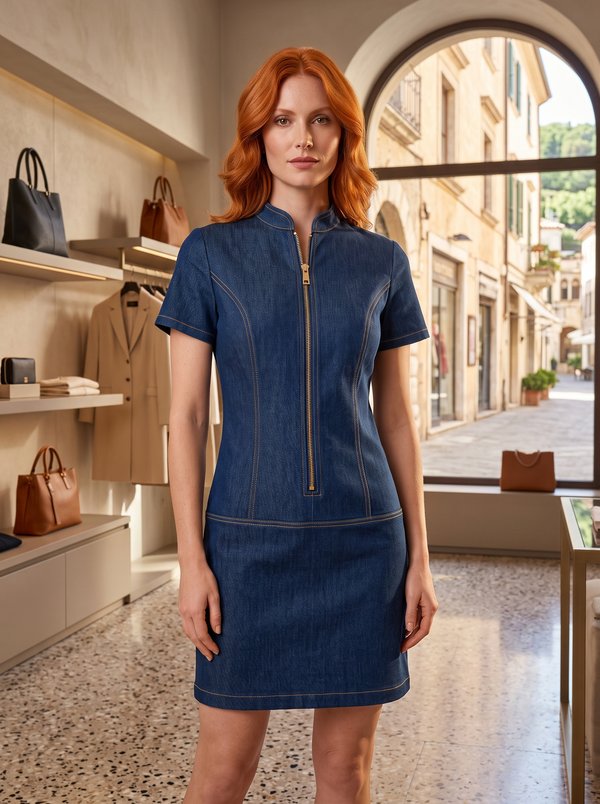
#5966
Short Sleeve Front Zipper Stand Collar Denim Dress

#5961
Short Sleeve Fitted Split V-Neck Yoke Dress
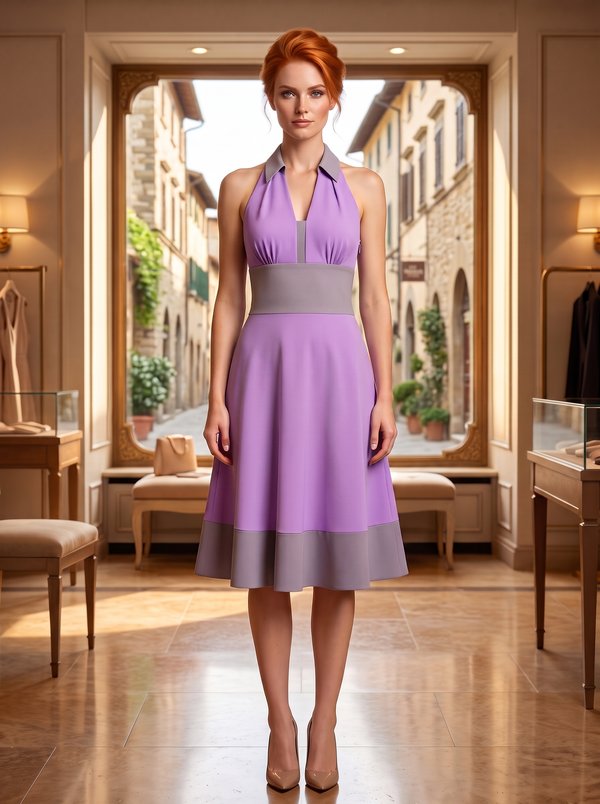
#5960
Halter Neck Collar A-Line Dress
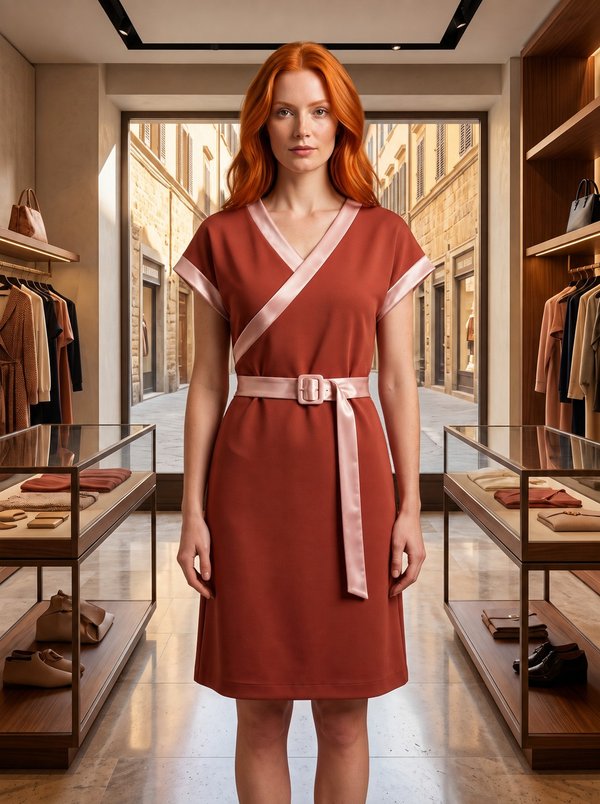
#5959
Kimono Sleeve Mock Wrap Dress

#5957
Long Sleeve Boat Neck Sheath Dress

#5971
Easy Fit Knit Tunic Dress

Minerva Support
Online