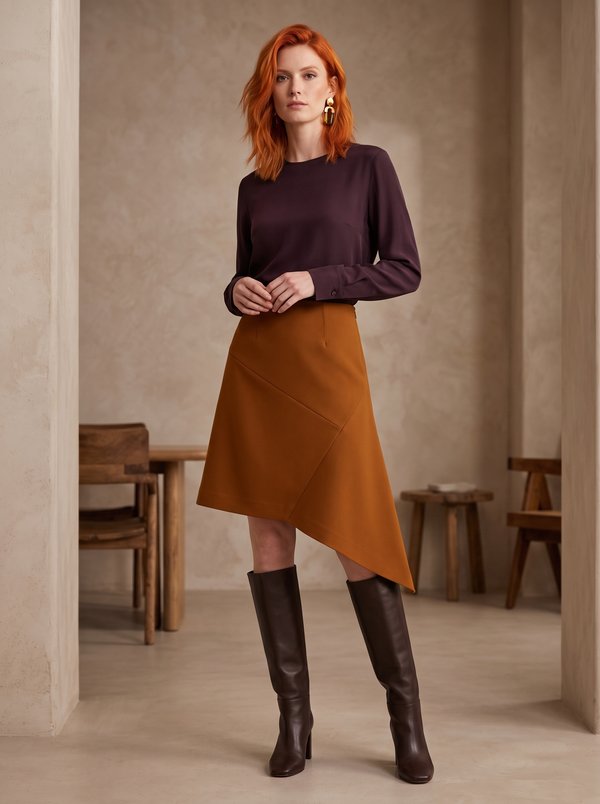
Front Pleat A-Line Maxi Skirt
A women's A-line maxi skirt with an edgestitched pleat down the centre front, two patch pockets with slanted welt openings, a straight buttoned waistband and a centre back vent.
When To Wear
- In autumn and spring, with a blouse, shirt or fine knit tucked into the waistband.
- For the office and everyday wear in a dense suiting fabric, with flat shoes or ankle boots.
Key Design Features
Silhouette: A-line, widening gradually from the hips to the hem.
Length: Maxi, to the ankle.
Waist: Straight interfaced waistband, folded in half, with a button extension and one button and buttonhole. Waist darts on the front and back, pressed toward the centre.
Front: One piece cut on the fold, with a pressed pleat at the centre front running the full length, edgestitched along its fold.
Closure: Zipper in the left side seam and a button on the waistband.
Pockets: Two patch pockets topstitched to the front, each with a slanted single-welt opening made in the pocket itself and backed with a facing.
Back: Two back pieces joined by a centre back seam that ends in a vent; the vent facing is cut in one with the left back, and the top of the vent is topstitched diagonally.
Level Of Difficulty
Intermediate. Welt openings cut into patch pockets, a side-seam zipper, a folded waistband with extension, and a lapped centre back vent.
Fabric Recommendations
Dense suiting fabrics; recommended: gabardine, 150 cm wide.
Additional Supplies
- Fusible interfacing (waistband, welts, facings, 4 cm strips behind the pocket openings)
- Zipper
- 1 button
Cutter's Must
- From main fabric:
- Back Skirt – 2 pieces
- Front Skirt – 1 piece (cut on fold)
- Waistband – 1 piece
- Patch Pocket – 2 pieces
- Off-Set Welt – 2 pieces
- Facing – 2 pieces
- From fusible interfacing: Waistband, Off-Set Welt, Facings.
Sewing Instructions
- Reinforce the Waistband, Off-Set Welt and Facings with fusible interfacing (fusible interfacing is pressed onto the wrong side of the piece with a hot iron).
- Stitch the darts on the Front Skirt and Back Skirts and press them toward the center. Stitch the center back seam down to the vent, press the seam allowances open.
- Make the welt openings in the Patch Pockets: on the wrong side of each Patch Pocket, press a 4 cm wide strip of interfacing over the pocket marking. Fold the welts in half lengthwise, right side out, and press. Along the marked pocket opening line, pin the welt below the line with its raw edges toward the line, and the Facing above the line with its raw edge toward the marking. Stitch 1 cm from the line. Cut the Patch Pocket along the line between the two stitching lines, cutting diagonally into the corners toward the ends of the stitching. Be careful not to cut the Facing or the welt! Press the seam allowances toward the pocket. Turn the welt to the wrong side so it forms a neat frame, and baste. From the right side, stitch in the ditch of the welt attachment seam. Turn the small triangles at the ends of the cut to the wrong side and stitch them onto the welt, exactly from the end of one stitching line to the end of the other. On the wrong side of the pocket, secure the free end of the Facing.
- Press the seam allowances along the outer edges of the Patch Pockets to the wrong side, place the pockets on the Front Skirt and topstitch them in place.
- Press the pleat on the Front Skirt and edgestitch it. Stitch the right side seam, and the left side seam from the zipper mark down. Press the seams open. Insert the zipper.
- Fold the Waistband in half lengthwise and stitch the ends and the button extension. Stitch the outer half of the Waistband to the upper edge of the skirt, turn under the inner half and stitch it in the ditch of the attachment seam. Make a buttonhole.
- Hem the skirt. Press the cut-on vent facing (left Back Skirt) to the wrong side along the fold line and sew it to the hem. Hem the long edge of the vent extension (right Back Skirt) as narrowly as possible. On the left Back Skirt, topstitch diagonally across the top of the vent, catching the vent extension.