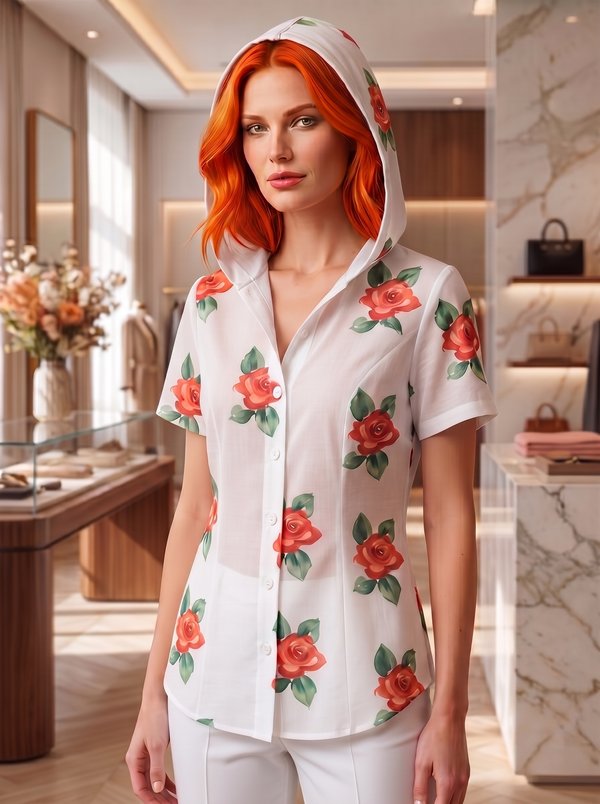
Blouse with Curved Side Panels
A women's semi-fitted hip-length blouse with curved princess seams from the armholes on the front and back, an open collar set with cut-on front facings, a five-button front and elbow-length sleeves with cuffs.
When To Wear
- With trousers or a pencil skirt for the office in spring and summer.
- Under a jacket or cardigan in cooler weather.
Key Design Features
Silhouette: Semi-fitted, shaped by curved princess seams from the armholes on the front and back.
Length: Hip length, with a curved hem rising at the sides.
Collar: Open collar cut in two pieces; it is basted into the neckline and the cut-on facings are folded over it, forming small lapels.
Closure: Five buttons and buttonholes on the right front; cut-on front facings.
Sleeves: Elbow-length set-in sleeves with an eased cap, finished with a cuff folded in half lengthwise.
Back: Centre back panel cut on the fold, with side back panels.
Finishing: Seam allowances overlocked and pressed open; hem turned up 1.5 cm and topstitched; front facings, cuffs and under collar interfaced.
Level Of Difficulty
Intermediate. Curved princess seams, a collar set with cut-on facings, eased set-in sleeves, cuffs, five buttonholes.
Fabric Recommendations
Light blouse fabrics.
Additional Supplies
- Fusible interfacing (front facings, cuffs, under collar)
- 5 buttons
Cutter's Must
- From main fabric:
- Center Back – 1 piece on fold
- Side Back – 2 pieces
- Side Front – 2 pieces
- Center Front – 2 pieces
- Sleeve – 2 pieces
- Cuff – 2 pieces
- Collar – 2 pieces
- From fusible interfacing: the cut-on front facings (Center Front) and the cuffs; interface only one Collar piece (the under collar).
Sewing Instructions
- Reinforce the cut-on front facings, the cuffs and the under collar with fusible interfacing (fusible interfacing is pressed onto the wrong side of the piece with a hot iron).
- Stitch the princess seams of the front and back. Overlock the seam allowances and press them open.
- Stitch the side and shoulder seams. Turn up the hem allowance to a width of 1.5 cm and topstitch.
- Stitch the two Collar pieces together along the outer edge, turn and press; then, holding the raw edges together, baste the collar into the neckline.
- Fold the cut-on facings to the right side and stitch them to the neckline over the collar. From the ends of the facings, stitch the collar into the back neckline.
- Turn the facings to the wrong side and sew them to the lower edge of the blouse.
- Stitch the sleeve seams. Overlock the seam allowances and press them open.
- Ease each sleeve cap between the marks. To do this, run two lines of long machine stitches on both sides of the marked sleeve seam line and gently draw up the fabric on the bobbin threads.
- Place the sleeve and the blouse right sides together and pin the sleeve into the armhole, first only in its lower part, matching the sleeve seam to the side seam and the cross marks on the front and sleeve. Do not ease either the armhole or the sleeve here!
- Pin the sleeve at the shoulder seam of the blouse, matching the cross mark on the sleeve cap to the seam. Then pin the sleeve into the upper part of the armhole, easing it slightly and evenly.
- Baste and stitch the sleeve from the sleeve side, starting at the sleeve seam. Overlock the seam allowances together. In the cap area, press the seam allowances towards the sleeve.
- Fold the Cuff in half lengthwise and stitch the short ends. Stitch the outer half of the cuff to the lower edge of the sleeve, turn under the inner half and sew it over the attachment seam.
- Work 5 buttonholes along the edge of the right front and sew the buttons onto the left front.