Professional made-to-measure digital sewing patterns — PDF · PLT · DXF AAMA
A hip-length women's wrap blouse with long set-in sleeves, a deep V-neckline and fronts bound with bias binding. Lace trim is set into the edge of the outer front, and the wrap fastens with ties at the side, a rouleau loop and a hidden button. Drafted to your own measurements. Recommended fabric: blouse fabrics of natural or blended fibres.
A hip-length women's wrap blouse with long set-in sleeves, a deep V-neckline and fronts bound with bias binding. Lace trim is set into the edge of the outer front, and the wrap fastens with ties at the side, a rouleau loop and a hidden button.
Silhouette: Semi-fitted wrap, no darts.
Length: Hip length.
Neckline: Deep V formed by the overlapping fronts; front edges and back neckline bound in one pass with 4 cm bias binding folded in half and topstitched along the fold.
Closure: One tie is sewn into the left side seam, the other into the edge of the right front; they knot at the side. A rouleau loop in the binding closes over a button at the V, and the inner front is held by a hidden button and buttonhole.
Sleeves: Long, one-piece, set-in; hems turned 1 cm twice and topstitched.
Back: One piece cut on the fold.
Finishing: Lace trim 2–3 cm wide caught into the binding seam along the outer front edge; garment hem turned 1 cm twice and topstitched.
Beginner. Simple pieces with no darts; the curved bias binding with lace, ties and a rouleau loop inserted in the same seam needs care.
Blouse fabrics of natural or blended fibres.
If the patterns have a double contour, seam allowances are included. If the contour is single, seam allowances are not included. Seam allowances: all seams – 1 cm. Hem allowance for the garment bottom and sleeve bottom – 2 cm. Attention! First, print out the paper patterns and lay them out on the fabric width (fabric width can be from 90 cm to 150 cm) to determine how much material you will need (do not forget to account for paired and symmetrical pieces). When stitching pieces, pay attention to the notches - they must match!
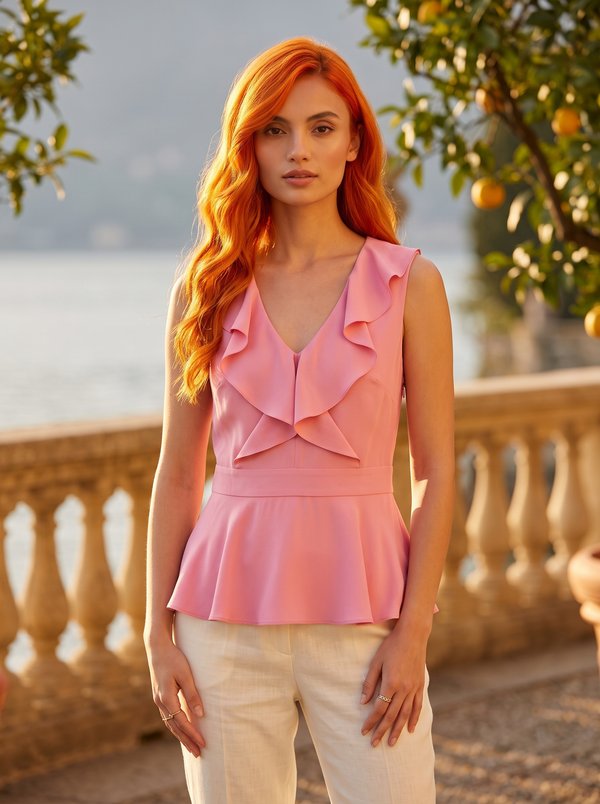
#4782
Ruffled V-Neck Peplum Top

#4781
Mock Neck Gathered Bodice Bell Sleeve Blouse

#4780
Trimmed Neck Blouse with Bloused Hem

#4779
Pussy-Bow Blouse with Tiered Flounce Sleeves
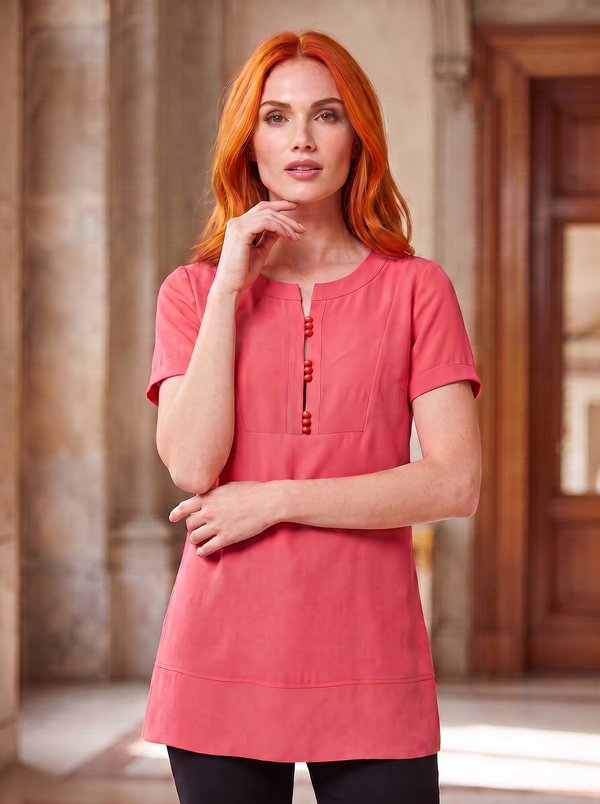
#4774
Rounded Neck Structured Placket Tunic

#4802
Pintucked Blouse with Lace and Roll-Tab Sleeves
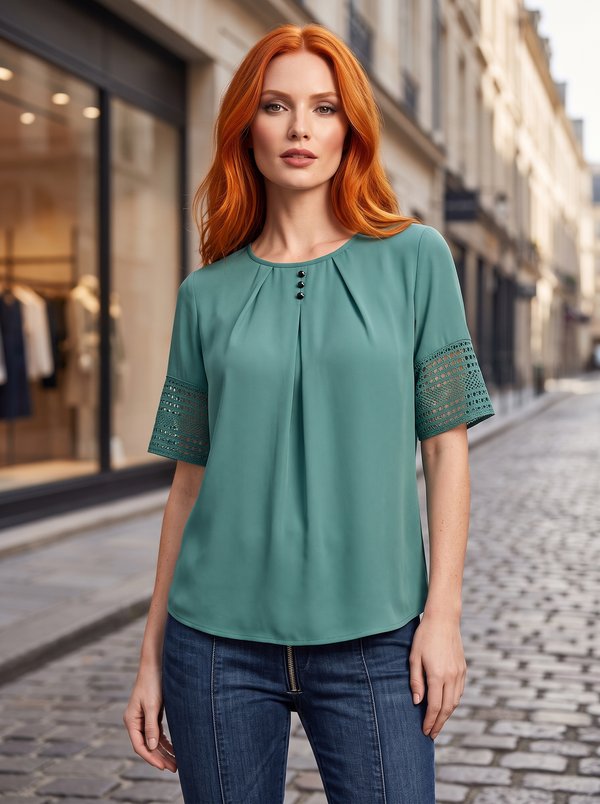
#4770
Pleated Tunic Blouse with Lace Accents

#4804
Knit Colorblock Top with Cuffed Sleeves

Minerva Support
Online