Professional made-to-measure digital sewing patterns — PDF · PLT · DXF AAMA
A loose women's pull-on blouse with a square neckline, shoulder inserts that run along the top of the short cut-on sleeves, decorative trim along the neckline and insert seams, front pleats at the hem and a hem band shirred with elastic thread at the back. Drafted to your own measurements. Recommended fabric: thin blouse fabrics of natural or blended fibres.
A loose women's pull-on blouse with a square neckline, shoulder inserts that run along the top of the short cut-on sleeves, decorative trim along the neckline and insert seams, front pleats at the hem and a hem band shirred with elastic thread at the back.
Silhouette: Loose body that blouses over the hem band.
Length: Hip length.
Neckline: Square. The neckline edge of the shoulder inserts is turned, topstitched and trimmed; the front and back neckline sections between the inserts are topstitched.
Sleeves: Short sleeves cut in one with the body, the upper sleeve seam stitched together with the insert, finished with a folded, interfaced cuff band.
Front: Cut on the fold, with pleats folded and stitched up from the lower edge, pressed towards the centre.
Back: One piece cut on the fold.
Waist: Folded hem band in two parts; the front band is interfaced and flat, the back band is shirred with rows of elastic thread.
Finishing: Decorative trim topstitched along the neckline and the insert seams on the front and back. Seams overlocked.
Beginner. Straight seams, stitched pleats, folded bands and topstitched trim; shirring with elastic thread is the only special technique.
Thin blouse fabrics of natural or blended fibres.
If the patterns have a double contour, they include seam allowances. If the contour is single, the patterns do not include seam allowances. Seam allowances: all seams 1 cm. Attention! First, print out the paper patterns and lay them out on the fabric width (fabric width can be from 90 cm to 150 cm) to determine how much material you will need. When stitching pieces, pay attention to the notches - they must match!

#4779
Pussy-Bow Blouse with Tiered Flounce Sleeves

#4781
Mock Neck Gathered Bodice Bell Sleeve Blouse
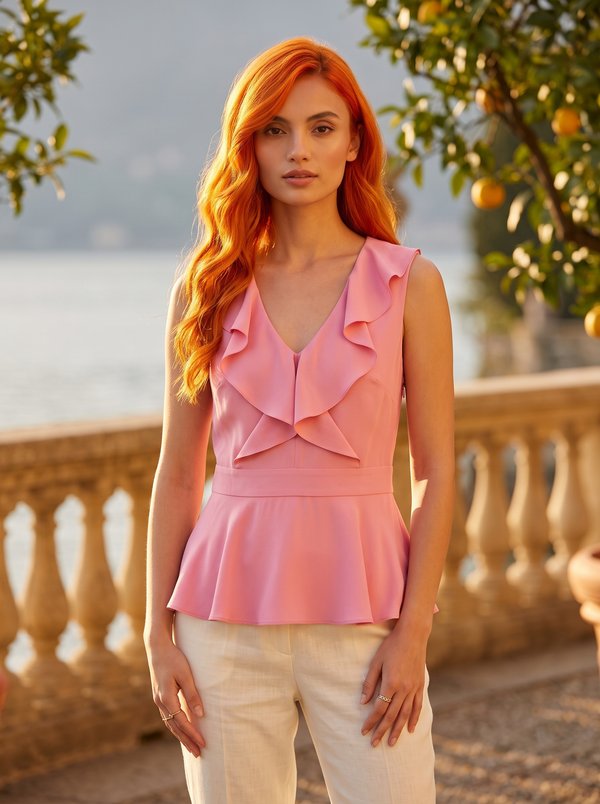
#4782
Ruffled V-Neck Peplum Top
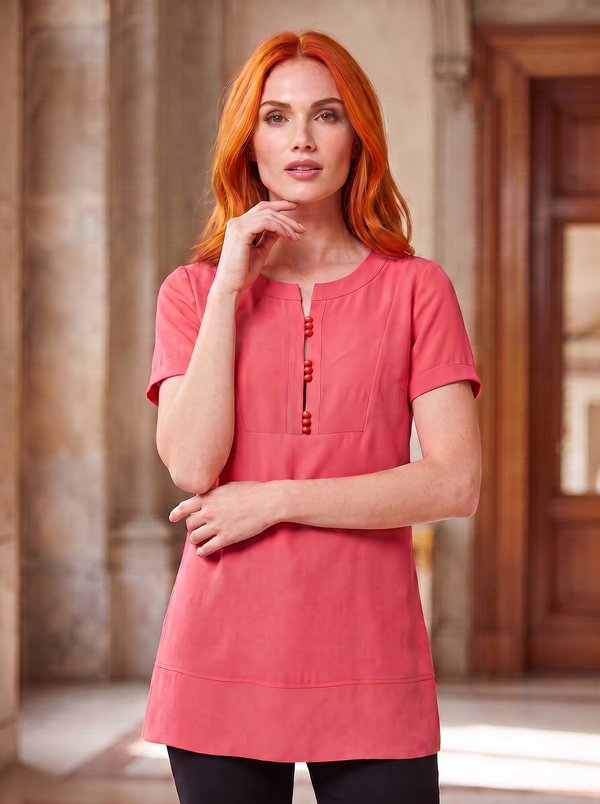
#4774
Rounded Neck Structured Placket Tunic
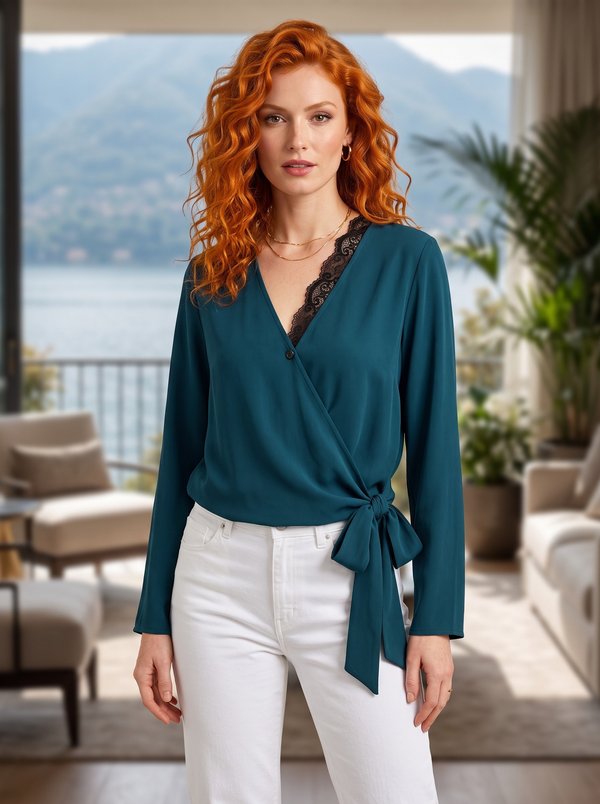
#4787
Lace Trim Wrap Blouse with Side Ties
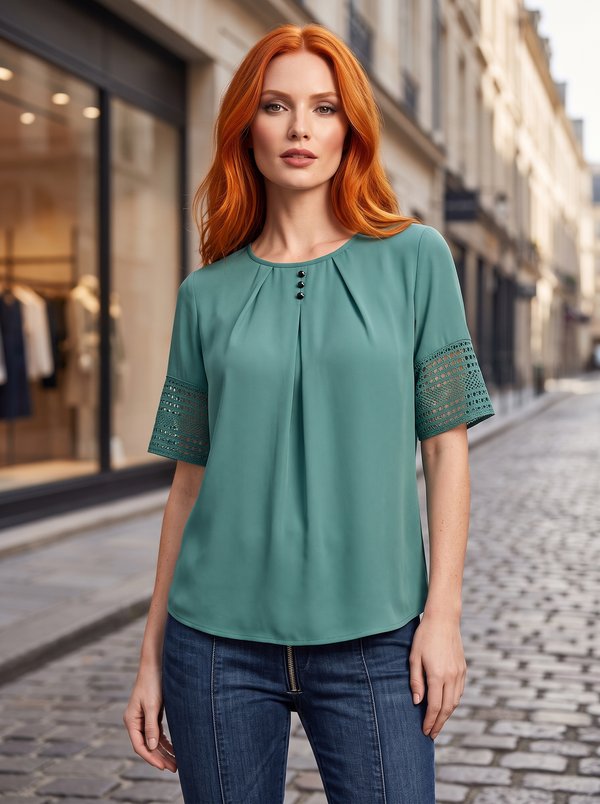
#4770
Pleated Tunic Blouse with Lace Accents
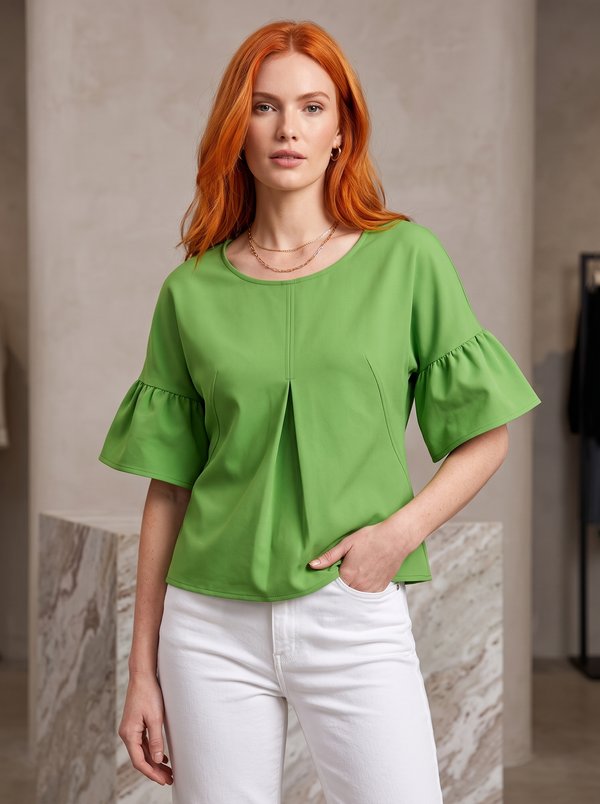
#4767
Relaxed Fit Front Pleat Blouse
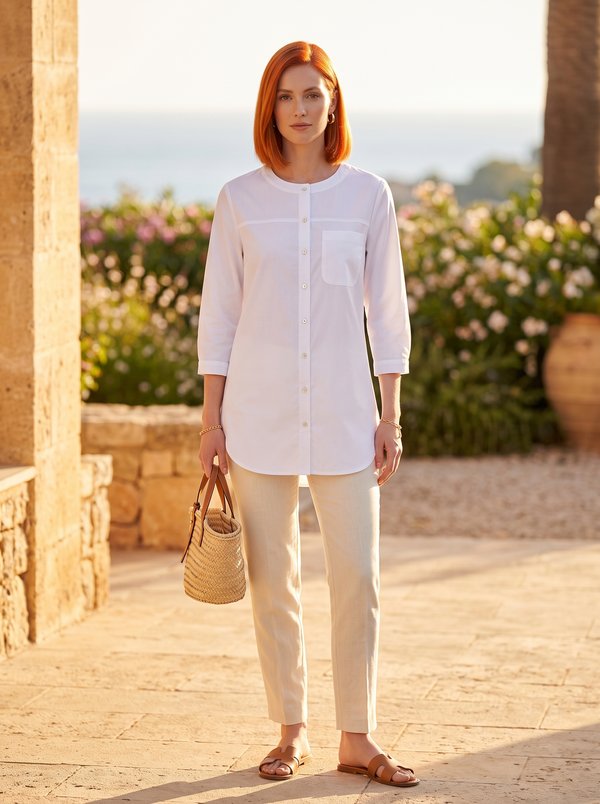
#4764
Collarless Button Front Yoke Blouse

Minerva Support
Online