Professional made-to-measure digital sewing patterns — PDF · PLT · DXF AAMA
A hip-length women's jacket with a wrap front and shawl-style collar, a wide folded band that crosses the waist from the left side seam, and two-piece set-in sleeves. It closes with a zip at the top of the centre back seam. Drafted to your own measurements. Recommended fabric: suiting fabric of natural or blended fibres.
A hip-length women's jacket with a wrap front and shawl-style collar, a wide folded band that crosses the waist from the left side seam, and two-piece set-in sleeves. It closes with a zip at the top of the centre back seam.
Silhouette: Fitted through the body with darts at front and back; the front below the band flares slightly into a short peplum.
Length: Hip length.
Collar: Shawl-style collar cut in one with the fronts and faced with the front facings; it stands up at the back neck and is stitched into the neckline together with the shoulder seams.
Front: The right front overlaps the left to form a deep V; the fronts are fixed together along the centre lines, with pleats at the shoulders. They do not open.
Waist: A double-layer band, folded into soft pleats, is sewn into the left side seam, crosses the front and is caught into the right side of the centre back seam; a separate double-layer back band covers the left back.
Sleeves: Long two-piece set-in sleeves with elbow and front seams.
Back: Centre back seam with darts and a zip at the neck.
Finishing: Jacket and sleeve hems turned up 3 cm and hand-sewn with blind stitches. Unlined.
Intermediate. A collar cut in one with the front and set between garment and facing, a wrap front, a pleated band anchored in two seams, and two-piece sleeves.
Suiting fabric of natural or blended fibres.
If the patterns have a double contour, they include seam allowances. If the contour is single, the patterns do not include seam allowances. Seam allowances: all seams 1 cm. Hem allowance for jacket bottom and sleeve bottom 3 cm. Attention! First, print out the paper patterns and lay them out on the fabric width (fabric width can be from 90 cm to 150 cm) to determine how much material you will need (do not forget to account for paired and symmetrical pieces).
When stitching pieces, pay attention to the notches - they must match! Note: markings on patterns are made on the right side.
#4768
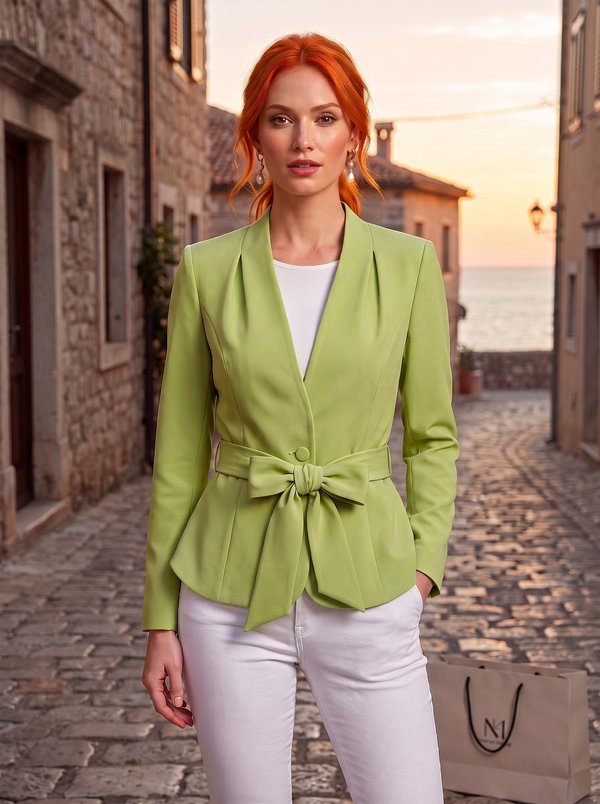
Fitted Belted Jacket with Shoulder Pleats
#4754
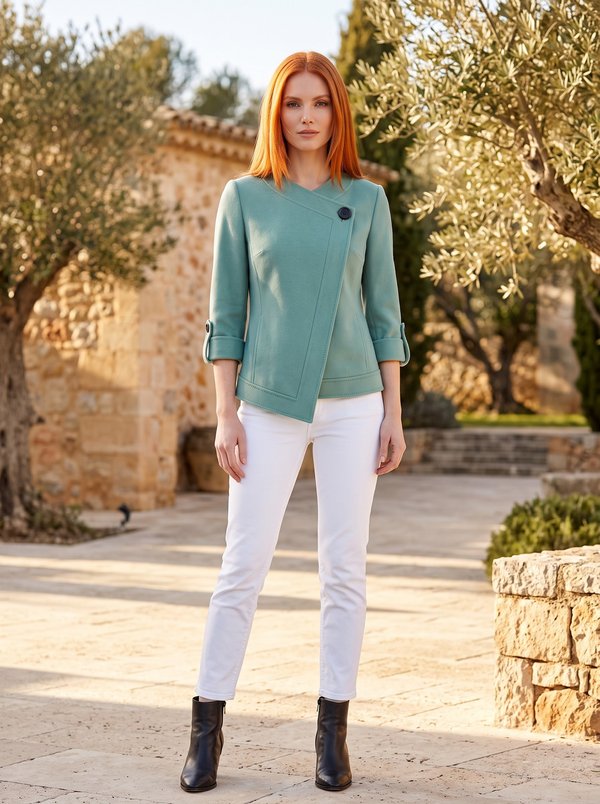
Asymmetrical Wrap Front 3/4 Sleeve Jacket
#4772
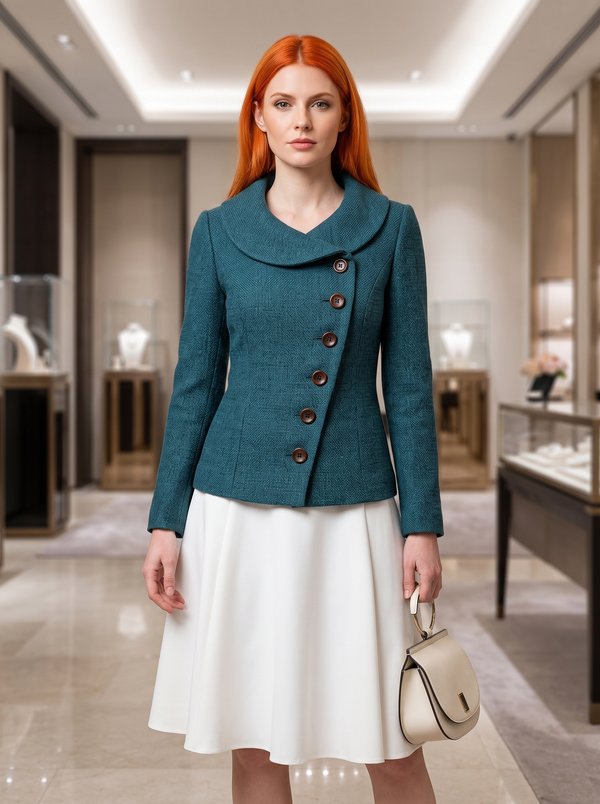
Rounded Lapel Asymmetrical Button Jacket

#4773
Jacket with Shaped Neck Band and Waistband
#4775
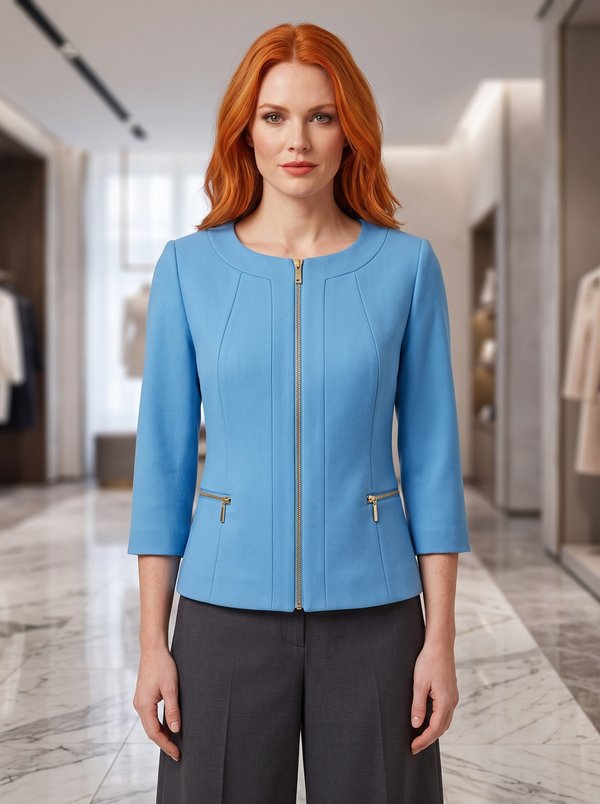
Fitted Zip-Front Collarless Jacket

#4791
Relaxed Fit Stand Collar Yoke Coat
#4731
Fitted Collarless Button-Front Jacket

#4795
Tailored Jacket Stand Collar Asymmetrical Front

Minerva Support
Online