Professional made-to-measure digital sewing patterns — PDF · PLT · DXF AAMA
A women's straight blouse in two colours: the rounded front yoke and the long set-in sleeves are cut from a second fabric. The side seams open into slits, the back is longer than the front, and a keyhole opening at the back neck closes with a button and rouleau loop. Drafted to your own measurements. Recommended fabric: dress fabrics in natural or blended fibres, in two colours: one for the body and back yoke, the other for the front yoke and sleeves.
A women's straight blouse in two colours: the rounded front yoke and the long set-in sleeves are cut from a second fabric. The side seams open into slits, the back is longer than the front, and a keyhole opening at the back neck closes with a button and rouleau loop.
Silhouette: Straight and loose, mid-thigh length.
Neckline: Round, finished with a 4 cm bias strip folded in half.
Front: A yoke with a curved lower edge, in the contrast colour, joined to the front.
Sleeves: Long, one-piece, set in; hems turned and topstitched.
Back: Straight yoke in the main colour; back cut on the fold, with a slit from the neck finished in bias binding, a rouleau loop and one button.
Finishing: Side seams stitched to a mark and left open below it. The lower edges of front and back are rounded at the corners and finished with separate facings turned to the inside and topstitched.
Intermediate. A bias-bound back slit with a turned rouleau loop, a curved yoke seam, faced rounded hems with side slits.
Dress fabrics in natural or blended fibres, in two colours: one for the body and back yoke, the other for the front yoke and sleeves.
If the patterns have a double contour, they include seam allowances. If the contour is single, the patterns do not include seam allowances. Seam allowances: all seams 1 cm; sleeve hem allowance – 1.5 cm. Attention! First, print out the paper patterns and lay them out on the fabric width (fabric width can be from 90cm to 150cm) to determine how much material you will need (do not forget to account for paired and symmetrical pieces). When stitching pieces, pay attention to the notches – they must match!
From main fabric:
From contrast fabric (second colour):
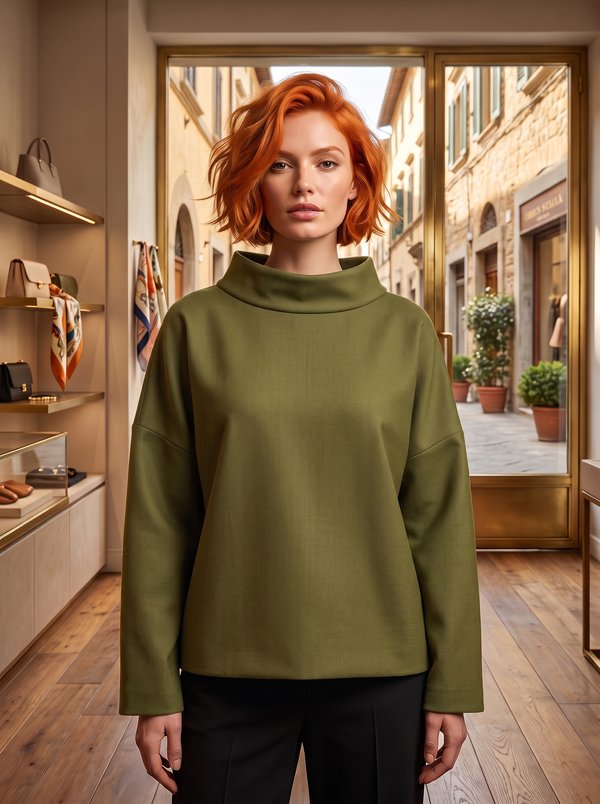
#4621
Collared Blouse for Soft Suiting
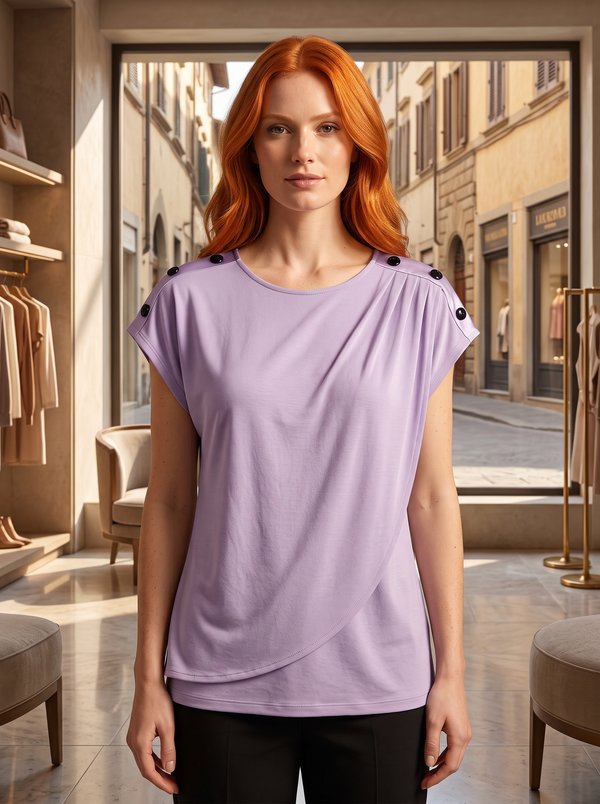
#4620
Draped Blouse With Buttoned Shoulders
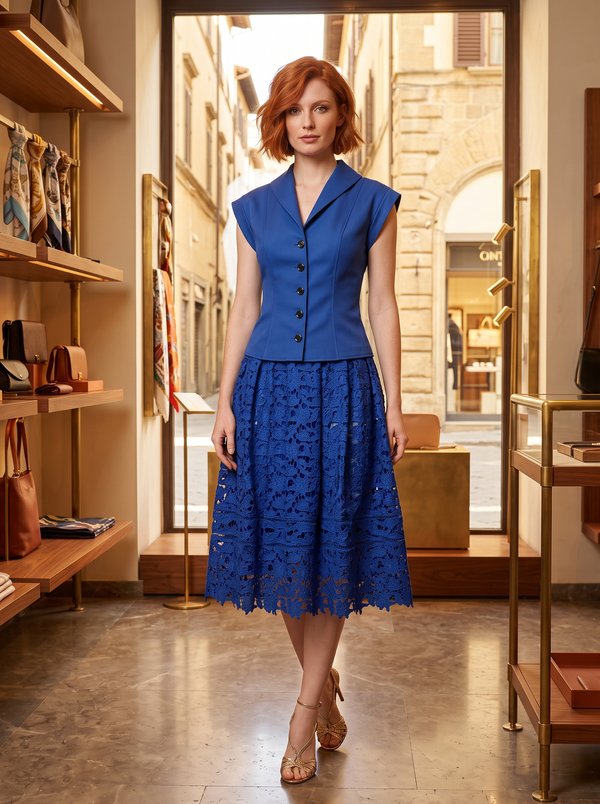
#4619
Shaped Blouse with Shawl Collar and Short Sleeves
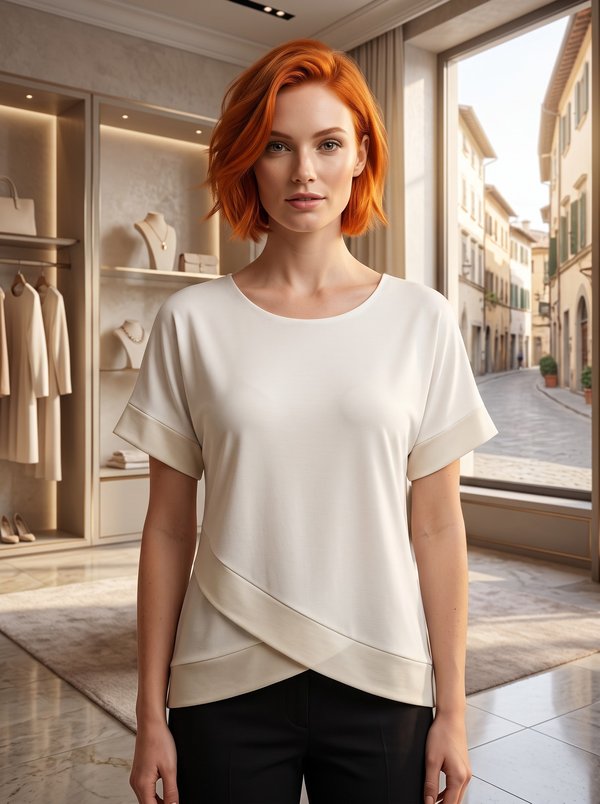
#4629
Crossover Front Knit Top with Cuffed Sleeves
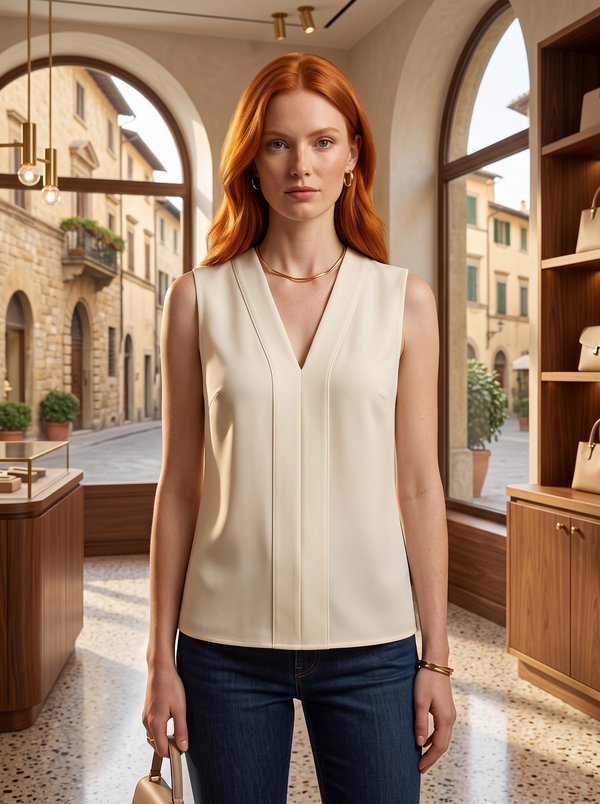
#4633
Sleeveless V-Neck Blouse with Front Placket
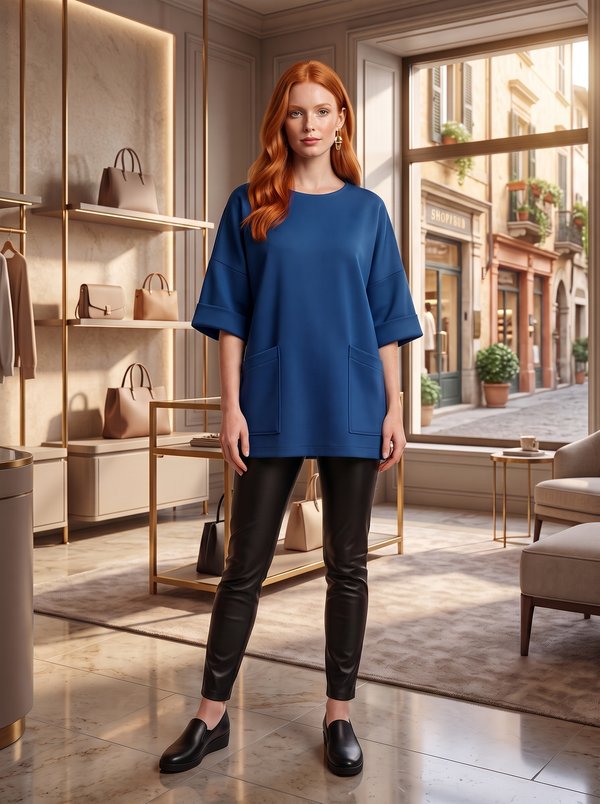
#4610
Oversized Tunic Top with Patch Pockets
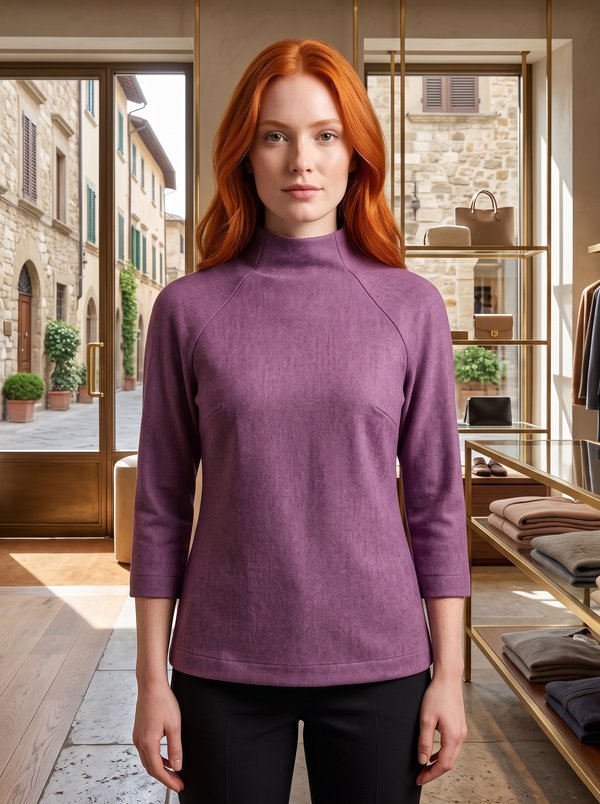
#4636
Long Raglan Sleeve Mock Neck Top

#4644
Round Neck Flowy Sleeve Blouse

Minerva Support
Online