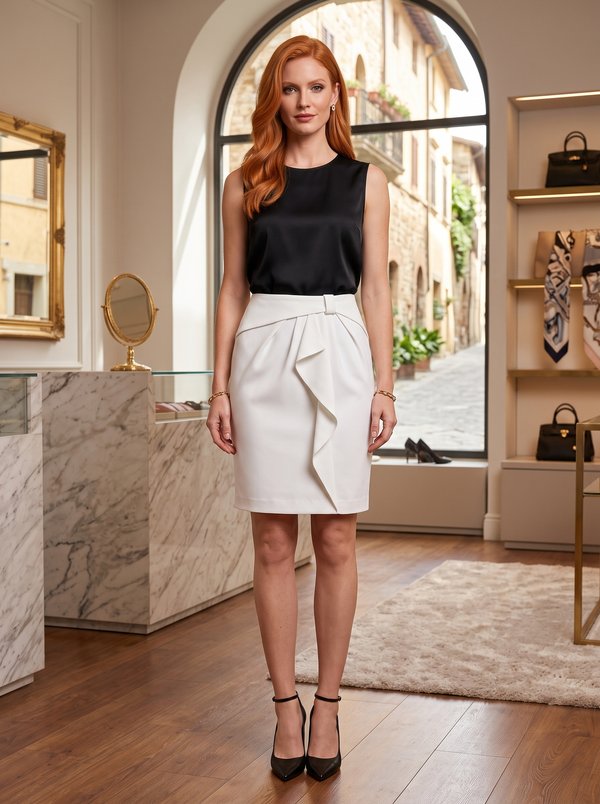
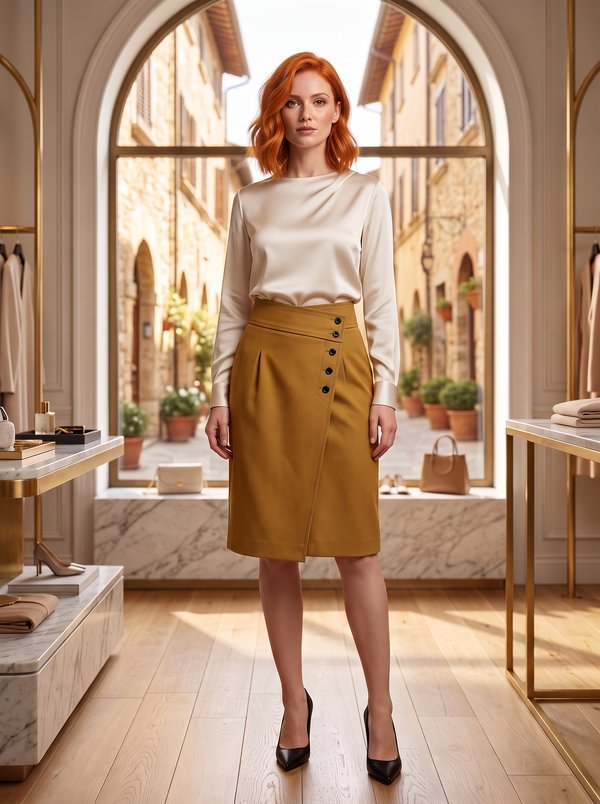
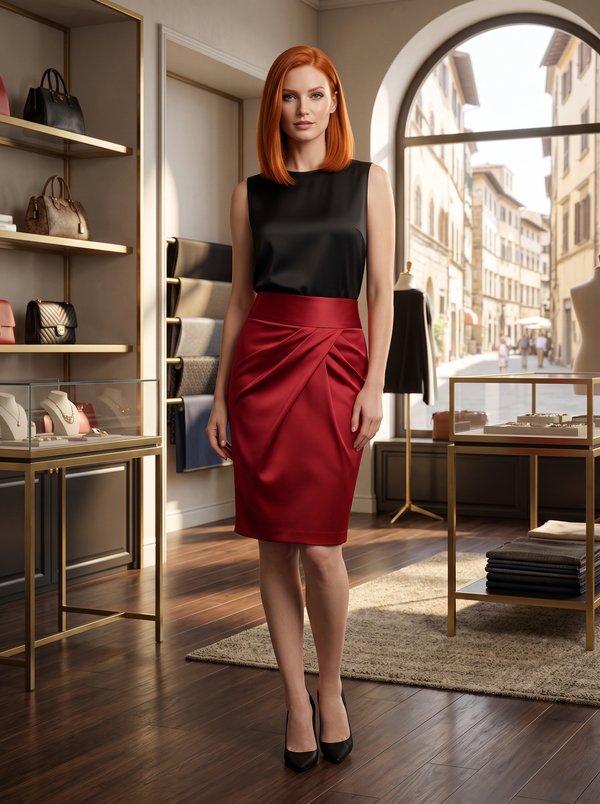
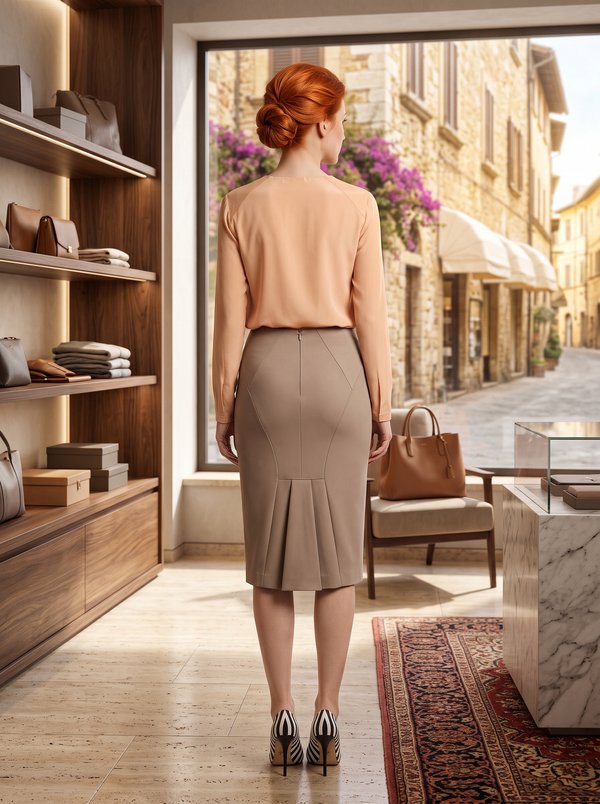
Pencil Skirt with Back Flounce and Shaped Panels
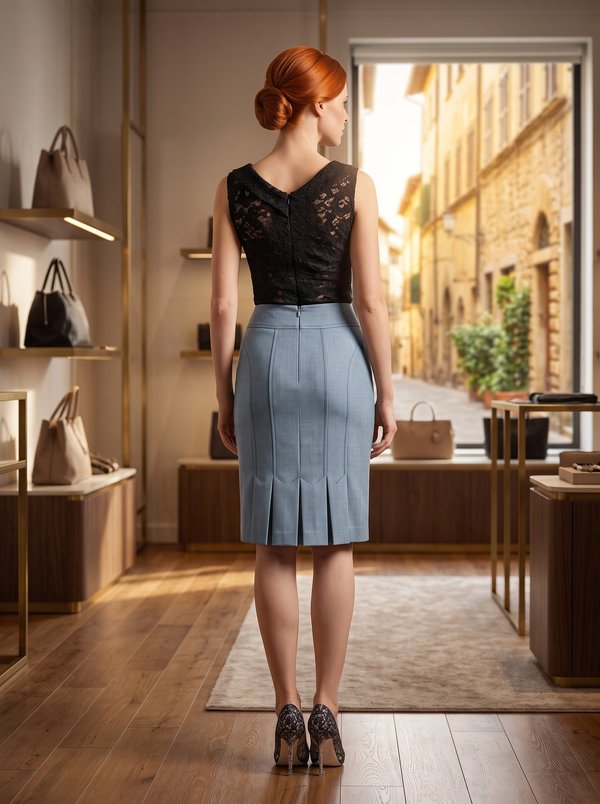
A women's knee-length pencil skirt with a plain front, angled panel seams on the back and two double-layer flounces folded into cascades at the lower centre back. Shaped yokes replace a waistband.
When To Wear
- For the office, with a tucked-in blouse or a fitted top.
- For daytime events in spring and autumn, with a short jacket.
Key Design Features
Silhouette: Fitted, slightly narrowing towards the hem.
Length: To the knee; hem turned up 3 cm and slip-stitched by hand.
Waist: Interfaced shaped yokes at the front and back, faced with a second yoke on the inside instead of a waistband; the facing seam is understitched 0.2 cm from the edge.
Front: One plain front panel under the yoke, with no darts or seams.
Back: Each half is made of an upper back, a side panel and a lower back, joined by angled seams that run from the waist towards the centre. Below them, two centre plackets meet edge to edge; each carries a flounce folded into cascades and stitched into the placket seam.
Closure: Concealed zipper in the centre back seam.
Finishing: Each flounce is two layers sewn along the outer edge, turned and edge-stitched 0.1 cm from the edge.
Level Of Difficulty
Intermediate. Angled panel seams, flounces folded to markings and set into placket seams, a faced yoke and a concealed zipper.
Fabric Recommendations
Lightweight suiting fabrics from natural or blended fibres.
Additional Supplies
- Fusible interfacing (front and back yokes)
- 1 concealed zipper
Cutter's Must
If the patterns have a double contour, they include seam allowances. If the contour is single, the patterns do not include seam allowances. Seam allowances: all seams 1 cm. Hem allowance – 3 cm. Attention! First, print out the paper patterns and lay them out on the fabric width (fabric width can be from 90cm to 150cm) to determine how much material you will need. When stitching pieces, pay attention to the notches - they must match!
- From main fabric:
- Upper back – 2 pieces
- Side – 2 pieces
- Placket – 2 pieces
- Lower back – 2 pieces
- Front – 1 piece
- Back yoke – 4 pieces
- Front yoke – 2 pieces
- Flounce – 4 pieces
- From fusible interfacing:
- Back yoke – 2 pieces
- Front yoke – 1 piece
Sewing Instructions
- Interface the yokes with fusible interfacing.
- Fold flounces in pairs right sides together and stitch the outer edge. Clip allowances. Turn the flounce right side out, straighten, and press. Stitch a topstitch along the edge at 0.1 cm.
- Fold the placket in half lengthwise right sides together and stitch the lower edge. Turn the piece right side out, straighten, and press. Place the flounce on the placket, aligning the raw edges (the finished edge of the flounce is directed towards the fold of the placket), and stitch. Fold the flounce according to the technical drawing and secure it along the upper edge with the placket. Note that the edge of the flounce, folded along the "fold" line, is directed inwards.
- Overlock the center edges of the upper back separately. Stitch the center seam from the zipper mark downwards. Press allowances open.
- Fold and secure the plackets with flounces butt-to-butt. Stitch the upper back to the plackets. Press allowances upwards and overlock.
- Stitch the lower back to the upper and the placket. Note that the lower is 3 cm longer than the placket. Press allowances towards the side and overlock.
- Stitch the side to the back. Press allowances towards the side and overlock.
- Stitch the outer back yokes to the back, press allowances upwards. Insert the zipper. Stitch the front yoke to the front, press allowances upwards.
- Stitch the side seams of the skirt, press allowances towards the back and overlock.
- Stitch the side seams of the inner yokes. Overlock the lower edge. Fold the yoke with the skirt right sides together and stitch the upper edge. Topstitch allowances onto the inner yoke at a distance of 0.2 cm from the stitching seam. Fold facings to the wrong side, press. Fold the center edges of the inner yoke and sew to the zipper tape. Topstitch the inner yoke into the seam of the outer yoke attachment.
- Overlock the lower edge of the skirt, press to the wrong side and hem with blind stitches.