Professional made-to-measure digital sewing patterns — PDF · PLT · DXF AAMA
A women's blouse for knit fabric with medium to high stretch, with a teardrop keyhole cutout at the centre front neckline, fastened at the top with one button and a bias loop. Short set-in sleeves flare out towards the hem. Drafted to your own measurements. Recommended fabric: knit fabric with medium or high stretch, made from natural or blended fibres.
A women's blouse for knit fabric with medium to high stretch, with a teardrop keyhole cutout at the centre front neckline, fastened at the top with one button and a bias loop. Short set-in sleeves flare out towards the hem.
Silhouette: Straight, semi-fitted, shaped at the front by bust darts from the side seams.
Length: Hip length, with a softly curved hem.
Neckline: Round neckline with a decorative keyhole cutout at the centre front. Neckline and cutout are finished with fused front and back facings and topstitched 0.5 cm from the edge. A loop made from a 3 cm bias strip is set into the facing seam, with one button sewn on the opposite side.
Sleeves: Short set-in sleeves, narrow at the armhole and widening into soft flutes at the hem.
Front: One piece cut on the fold.
Back: One piece cut on the fold, with no centre back seam and no opening.
Finishing: Seams sewn with a stretch or narrow zigzag stitch and overlocked, allowances trimmed to 0.6–0.8 cm; garment and sleeve hems turned up and topstitched, with a twin needle to keep the stretch.
Beginner. Few pieces and simple seams; the faced keyhole with a loop and sewing knit fabric with stretch stitches need some care.
Knit fabric with medium or high stretch, made from natural or blended fibres.
If the patterns have a double contour, they include seam allowances. If the contour is single, the patterns do not include seam allowances. Seam allowances: hem allowance for the garment and sleeve hem – 1.5 cm, neckline allowance for the front – 0.5 cm; other seams 1 cm. Attention! First, print out the paper patterns and lay them out on the fabric width (fabric width can be from 90 cm to 150 cm) to determine how much material you will need.
Tip: Knit fabric pieces are stitched with a special elastic or narrow zigzag stitch. When serging, trim seam allowances to 0.6 – 0.8 cm. The hem allowance is topstitched with a twin needle to maintain elasticity.
When stitching pieces, pay attention to the notches - they must match!
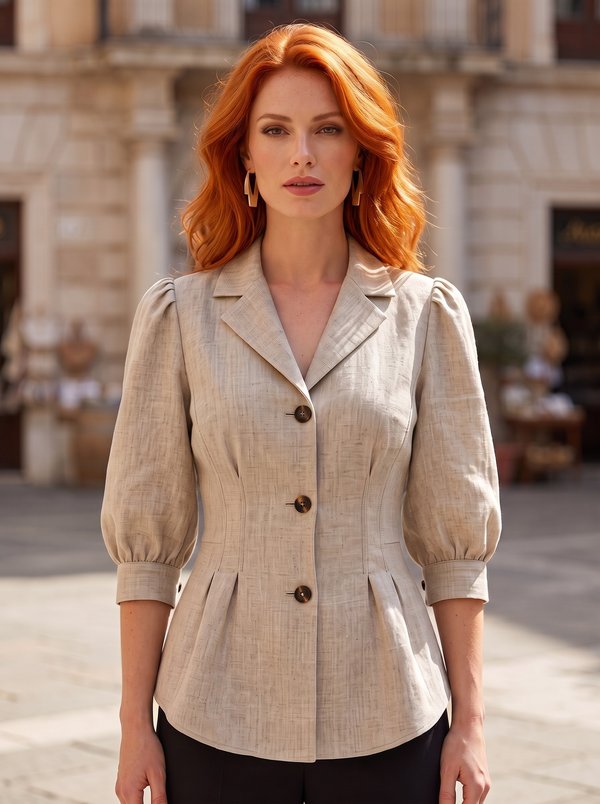
#2292
Notched Lapel Peplum Blouse Puff Sleeves
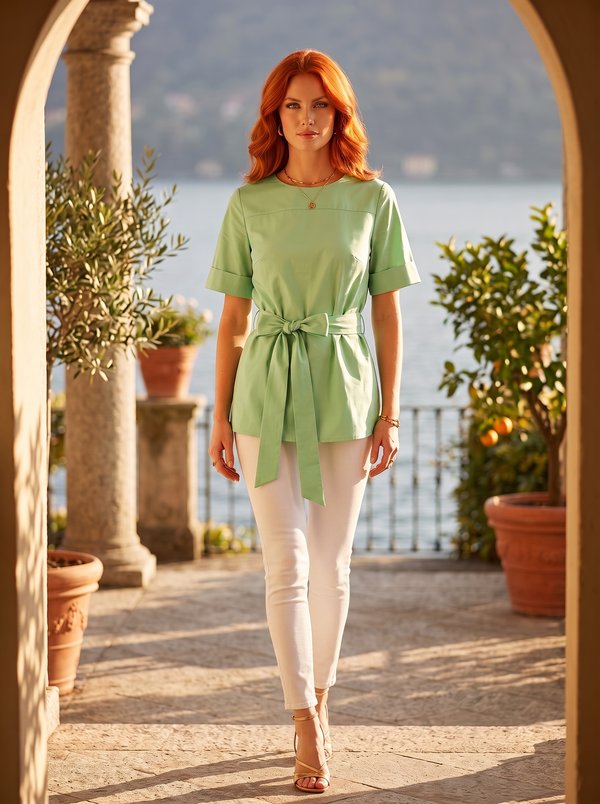
#2294
Short Sleeve Waist Tie Blouson

#2288
Sleeveless Blouse with V-Notch Yoke
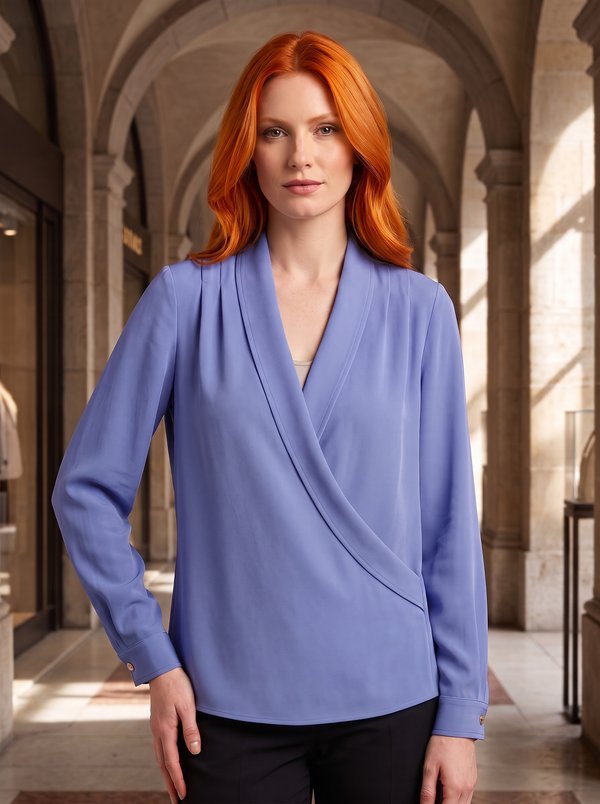
#2298
Wrap Blouse with Pleated Shoulders

#2287
Ruffled Sleeveless Blouse with Back Neck Tie
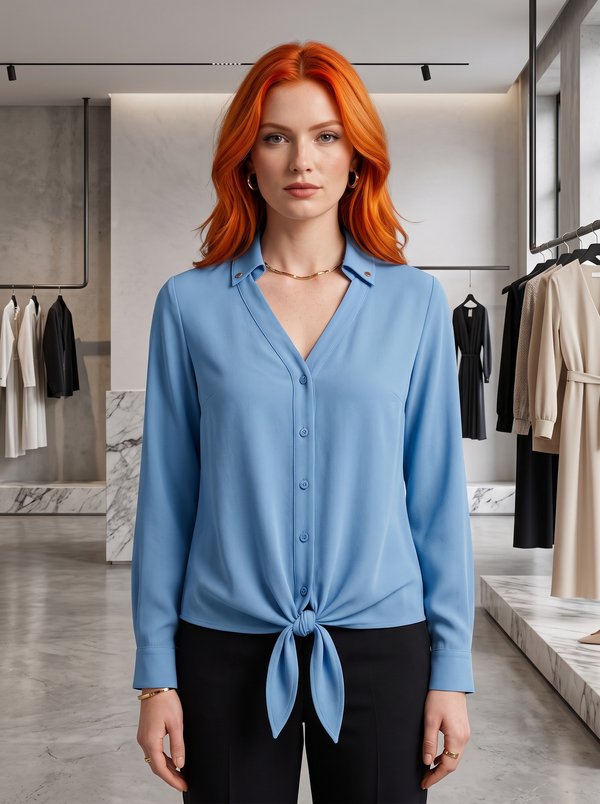
#2299
V-Neck Tie Front Long Sleeve Blouse
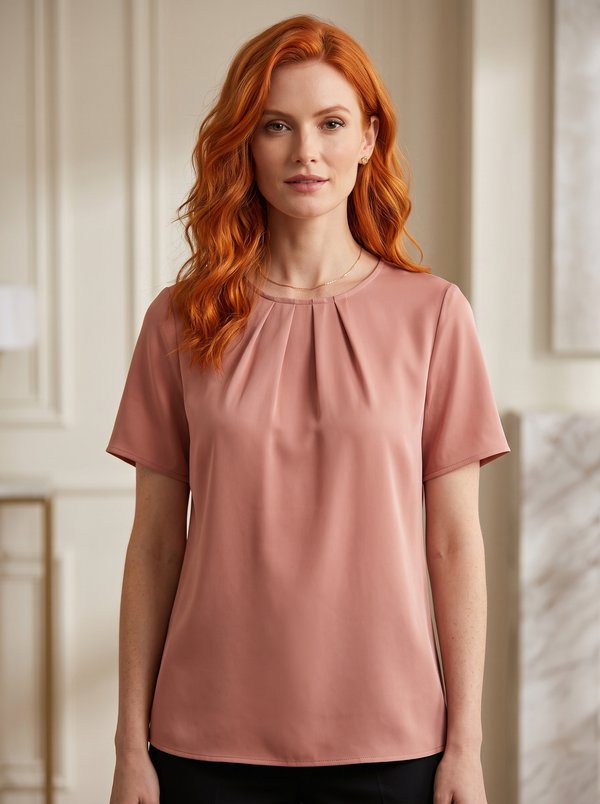
#2286
Pleated Neckline Short Sleeve Blouse
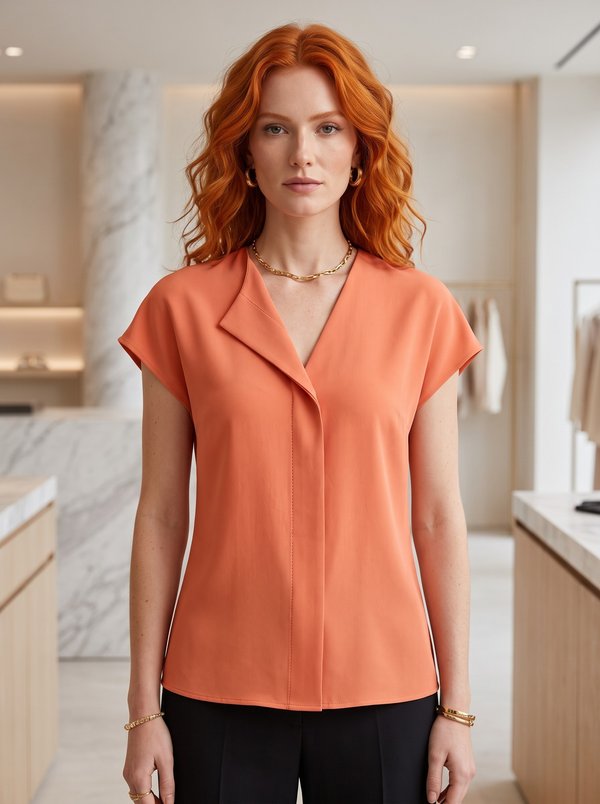
#2300
Lapel Crossover Blouse with Cap Sleeves

Minerva Support
Online