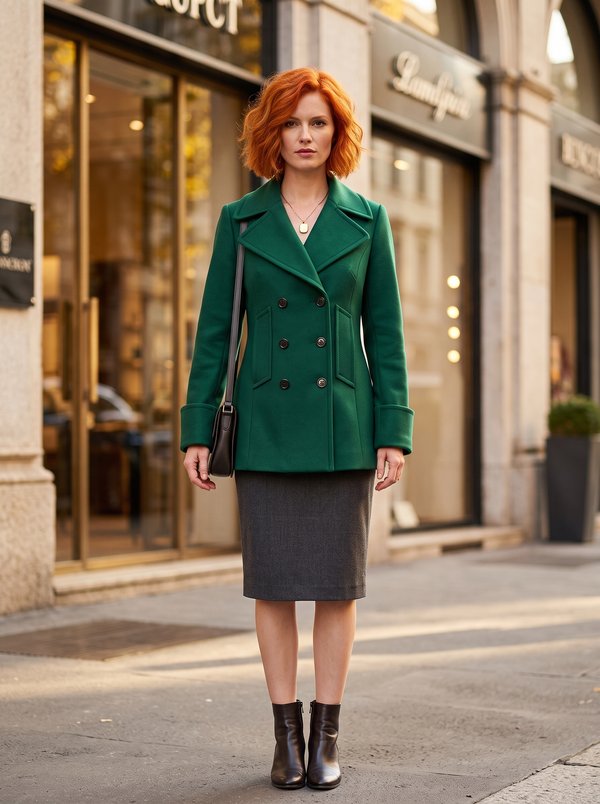
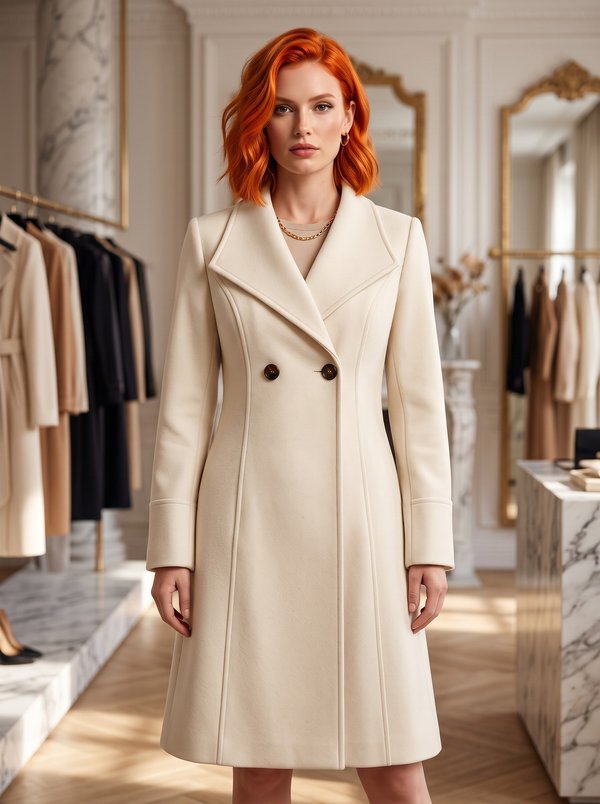
Sport Style Short Coat
A women's short, straight coat cut like a shirt: a collar on a stand, a front yoke, two patch pockets with flaps under the yoke seam and a single-breasted button front. Dropped shoulders, sleeves finished with a folded cuff, and a full lining.
When To Wear
- In spring and early autumn as a light coat over a shirt, sweater or T-shirt.
- With jeans, trousers or a straight skirt for everyday wear.
Key Design Features
Silhouette: Straight, loose fit with dropped shoulders.
Length: Below the hip.
Collar: Shirt collar on a stand; the collar is topstitched 0.5 cm from the outer edge and corners. One button on the stand.
Sleeves: Set into the dropped armhole; sewn together with the side seam in one pass; finished with a cuff folded in half lengthwise.
Front: Single-breasted with front facings; five buttons on the front and one on the collar stand, buttonholes on the left side. Front edge topstitched along the marked line. Front yoke topstitched 0.5 cm from the seam.
Pockets: Patch pockets on the fronts, with flaps topstitched 0.5 cm from the edge and caught into the yoke seam.
Back: One piece cut on the fold, with no centre back seam and a back neckline facing.
Lining: Full lining of the body and sleeves, cut from the main pattern minus the facings; the coat is turned through an opening in the left sleeve lining.
Level Of Difficulty
Intermediate. Collar with stand set between the coat and the facings, lined construction bagged through the sleeve, flapped patch pockets, buttonholes.
Fabric Recommendations
Lightweight coating or suiting fabric made from natural or blended fibres.
Additional Supplies
- Lining fabric
- Fusible interfacing (front facings, back neckline facing, collar, collar stand, cuffs, flaps)
- 6 buttons
Cutter's Must
When stitching pieces, pay attention to the notches - they must match!
- From main fabric:
- Front – 2 pieces
- Back – 1 piece on fold
- Yoke – 2 pieces
- Collar - 2 pieces
- Collar stand – 2 pieces
- Front facing – 2 pieces
- Back neckline facing – 1 piece
- Sleeve – 2 pieces
- Pocket – 2 pieces
- Flap – 4 pieces
- Cuff – 2 pieces
- From lining fabric:
- Front – 2 pieces
- Back - 1 piece on fold
- Sleeve – 2 pieces
- Yoke – 2 pieces
- From fusible interlining:
- Front facing – 2 pieces
- Back neckline facing – 1 piece
- Collar - 1 piece
- Cuff – 2 pieces
- Flap – 2 pieces
- Collar stand – 2 pieces
Attention: Back, front, and sleeve pieces from lining are cut according to the main fabric patterns, subtracting the width of the back neckline facing and front facing respectively.
Sewing Instructions
- Fuse interlining to the designated pieces.
- Overlock the top edge of the pocket, fold the allowance inwards and topstitch. Press the side and bottom allowances of the pocket inwards. Place the pocket on the front according to the markings and topstitch along the side and bottom edges.
- Place flap pieces right sides together in pairs and stitch along the side and bottom edges. Turn the flap right side out and press. Topstitch along the contour 0.5 cm from the edge. Place the flap on the front and secure it with the top allowance.
- Attach the front yoke to the front. Press the allowance upwards. Topstitch 0.5 cm from the seam.
- Stitch and press open the shoulder seams of the coat. Attach the sleeves. Press allowances open.
- Stitch the side seam simultaneously with the sleeve seam. Press the allowance towards the back.
- Stitch the cuff seam, press allowances open. Fold the cuff in half lengthwise and press. Attach the cuff to the bottom of the sleeve.
- Place collar pieces right sides together and stitch along the ends and outer edge. Trim allowances at corners, turn right side out and press. Topstitch along the outer edge and corners 0.5 cm from the edge. Place collar stands right sides together and stitch, inserting the collar. Start and end the stitching strictly at the marked line for attaching the collar stand to the neckline.
- Stitch and press open the shoulder seams of the back neckline facing and front facing.
- Place the front facing on the right side of the front, right side down, pin and stitch along the front edge. Trim seams at corners.
- Attach the lower collar stand to the coat neckline, and the upper collar stand to the neckline edge of the back facing and front facing. Press open the allowances of the collar stand attachment seams and secure close to the seams.
- On the lining pieces, stitch the seams, leaving an opening in the left sleeve.
- Attach the lining to the inner edges of the front facings, the back neckline facing, and the bottom of the coat. Attach the lining to the bottom of the sleeve.
- Turn the coat right side out through the opening in the sleeve. Stitch the opening in the lining sleeve.
- Topstitch along the front edge according to the marked line. On the left front and collar stand, make buttonholes. Sew buttons onto the right front and collar stand.