Thigh Length Hoodie With Patch Pockets
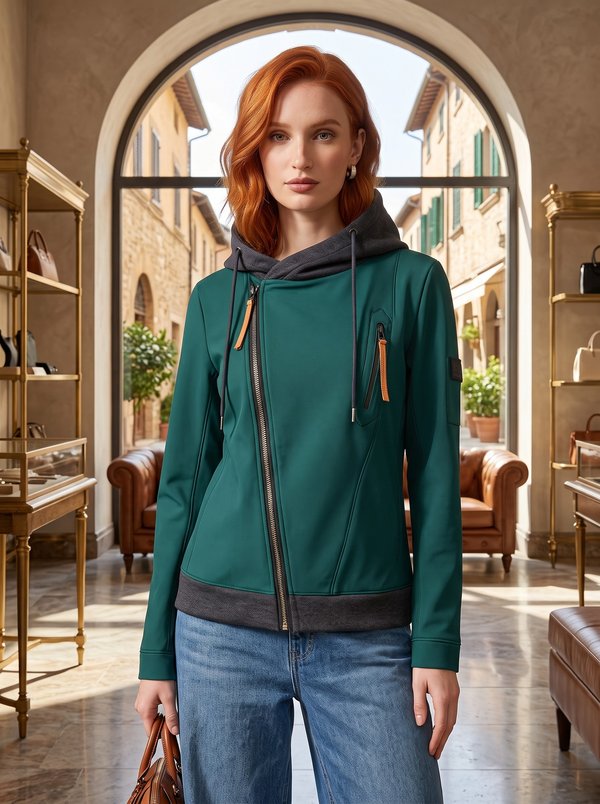
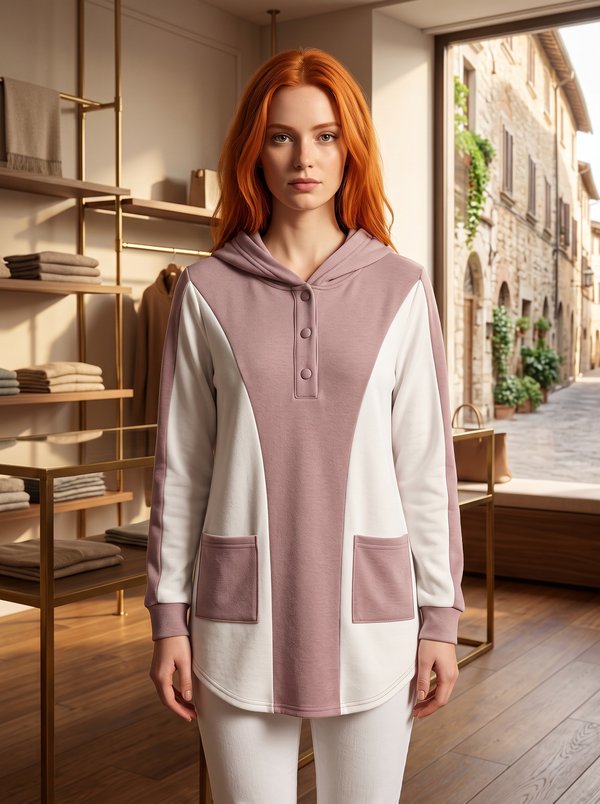
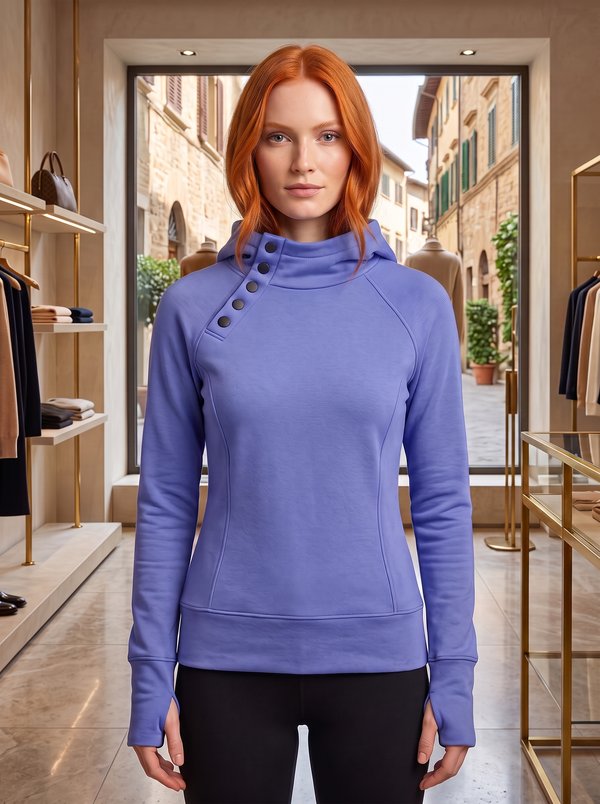
A women's thigh-length knit hoodie with a full-length separating zipper, a two-piece hood with a drawstring, patch pockets with slanted openings, and a rib-knit hem band and cuffs.
When To Wear
- In autumn and spring as a light outer layer over a T-shirt.
- For walks, sports and travel, with leggings or jeans.
Key Design Features
Silhouette: Straight, loose fit for thick knit fabric.
Length: Mid thigh.
Collar: Hood in two pieces with a centre seam; the front edge is turned to form a casing for the cord, which exits through two buttonholes.
Closure: Separating zipper at the centre front, sewn between the front and the interfaced front facing and topstitched alongside.
Pockets: Patch pockets on the fronts, one each side of the zipper, with interfaced, slanted openings turned and topstitched.
Sleeves: Long, set in flat into the open armhole, then stitched with the side seam in one pass; finished with rib cuffs.
Back: One piece cut on the fold, with a back neck facing.
Finishing: Folded hem band and cuffs in rib knit, attached slightly stretched.
Level Of Difficulty
Intermediate. A separating zipper set with facings, a hood with a drawstring casing and buttonholes, and rib bands applied to knit fabric.
Fabric Recommendations
Fleece or soft thick knit (French terry). Rib knit or a high-stretch knit for the hem band and cuffs.
Additional Supplies
- Rib knit or high-stretch knit
- Knit fusible interfacing (front facings, back neck facing, hood buttonholes, pocket openings)
- Separating zipper
- Cord for the hood
- Cord tips
- Twin needle
Cutter's Must
When stitching pieces, pay attention to the notches - they must match!
- From main fabric:
- Front – 2 pieces
- Back - 1 piece on fold
- Sleeve - 2 pieces
- Patch pocket – 2 pieces
- Hood – 2 pieces
- Front facing – 2 pieces
- Back neckline facing – 1 piece
- From main fabric1:
- Bottom facing – 1 piece
- Cuff – 2 pieces
- From fusible interfacing:
- Front facing – 2 pieces
- Back neckline facing – 1 piece
Sewing Instructions
Tip: Cut pieces from knit fabrics are stitched with a special elastic or narrow zigzag stitch. When serging, trim seam allowances to 0.6 – 0.8 cm. Hem allowance is topstitched with a twin needle to maintain elasticity.
- Fuse interfacing to the designated pieces. Fuse interfacing to the areas for buttonholes on the hood and the diagonal edge of the pocket.
- Stitch darts on the front, if provided by the size.
- Serge the pocket opening. Fold the allowance inwards and topstitch. Serge and fold the top, bottom, and side allowances of the pockets to the wrong side and press. Mark the pocket placement on the front and topstitch the pocket.
- Stitch the shoulder seams of the hoodie. Press seams towards the back and serge.
- Set the sleeve into the open armhole. Serge the seam. Stitch the side seam and sleeve seam. Serge the seam and press towards the back.
- Fold the bottom facing in half lengthwise, right sides out, and press. Attach the facing to the bottom of the garment, slightly stretching the facing. Press and serge the allowances.
- Stitch the hood seam. Serge the allowance and press to the left side. Serge buttonholes. Serge the outer edge of the hood, fold to the wrong side and topstitch, forming a casing. Attach the hood to the neckline.
- Stitch the shoulder seams of the front facing and back neckline facing. Press allowances open. Serge the outer and bottom edges of the front facing and back neckline facing. Place the front facing onto the front, aligning edges, insert the separating zipper and stitch along the front edge and neckline. Turn the front facing to the wrong side and secure at the shoulder seam. Secure the bottom edge of the front facing to the seam attaching the bottom band. Topstitch along the zipper.
- Stitch the cuff into a loop, press allowances open. Fold the cuff in half lengthwise, right sides out, and press. Attach the cuff to the bottom of the sleeve, slightly stretching. Press and serge the allowances.
- Insert the drawstring into the casing, secure the cord ends.