Professional made-to-measure digital sewing patterns — PDF · PLT · DXF AAMA
A women's below-knee dress with a fitted bodice, a sweetheart-shaped neckline edged with a double neckline band, gathers along the centre front seam, cap sleeves, a waist seam and a flared skirt. Invisible zip in the centre back. Drafted to your own measurements. Recommended fabric: dress fabrics of natural or blended fibres that drape well.
A women's below-knee dress with a fitted bodice, a sweetheart-shaped neckline edged with a double neckline band, gathers along the centre front seam, cap sleeves, a waist seam and a flared skirt. Invisible zip in the centre back.
Silhouette: Fitted bodice with darts in the front and back, waist seam and a flared skirt.
Length: Below the knee.
Neckline: Wide neckline with a dip at the centre front, edged with a band made of two layers of interfaced facing, stitched to the neckline and stitched in the ditch on the inside.
Front: Centre front seam in the upper front, gathered from a mark up to the neckline to the length of a control template supplied with the pattern; lower front cut in one piece on the fold.
Sleeves: Short cap sleeves covering the top of the armhole, hemmed and set in; the lower part of the armhole is finished with a 4 cm bias strip.
Back: Upper and lower back joined at the waist, centre back seam with an invisible zip.
Skirt: Flared skirt with soft folds, cut as one front piece and two back pieces.
Finishing: Hem turned up 2 cm and topstitched; sleeve hems 1.2 cm.
Intermediate. Controlled gathers on a centre front seam, a double neckline band, cap sleeves with bias-bound underarms and an invisible zip.
Dress fabrics of natural or blended fibres that drape well.
If the patterns have a double contour, seam allowances are included. If the contour is single, the patterns are without seam allowances. Seam allowances: All seams – 1.0 cm; hem allowance – 2.0 cm; sleeve hem allowance – 1.2 cm. Attention! First, print out the paper patterns and lay them out on the fabric width (fabric width can be from 90cm to 150cm) to determine how much material you will need (don't forget to account for paired and symmetrical pieces).
Control Pattern Block – not cut; used as a template to gather the center front seam to the correct length.
When stitching pieces, pay attention to the notches - they must match! Try to observe the grain line direction.
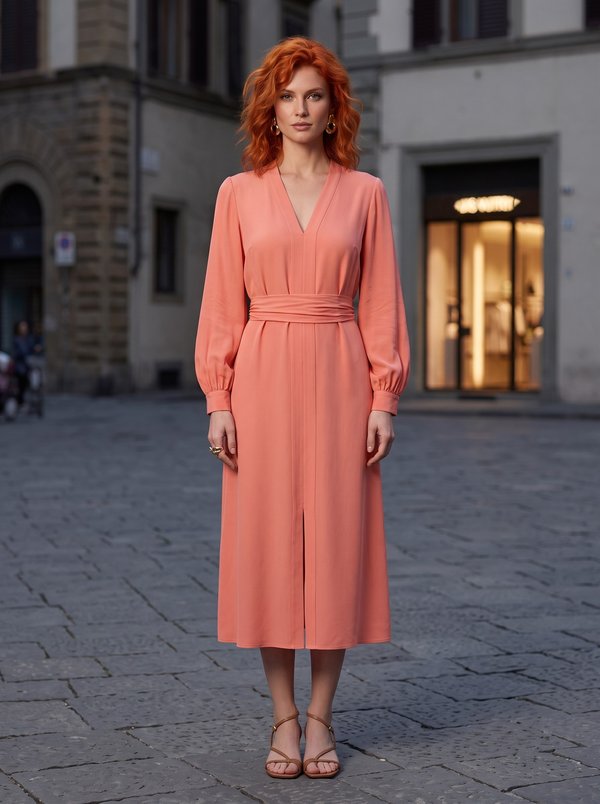
#2172
Below the KNEE Belted Dress with Placket and Center Front Slit
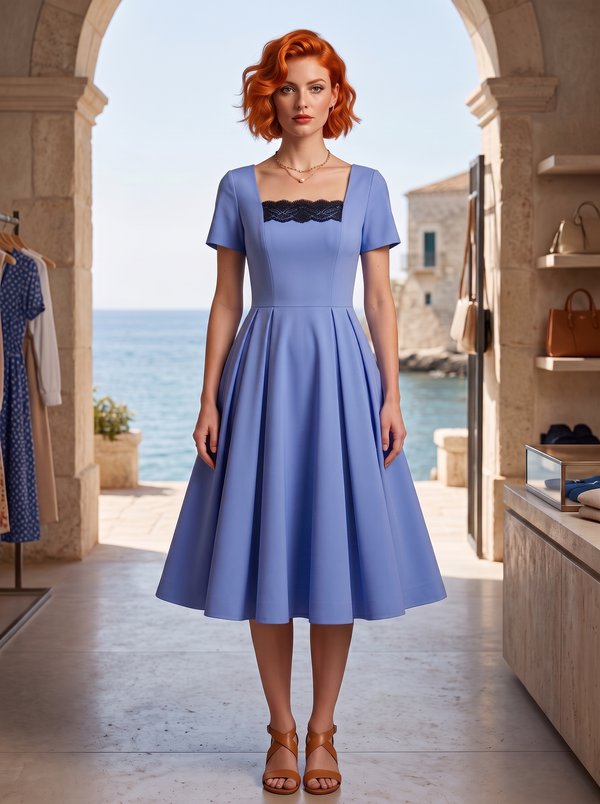
#2171
Square Neck Lace Trim Pleated Dress
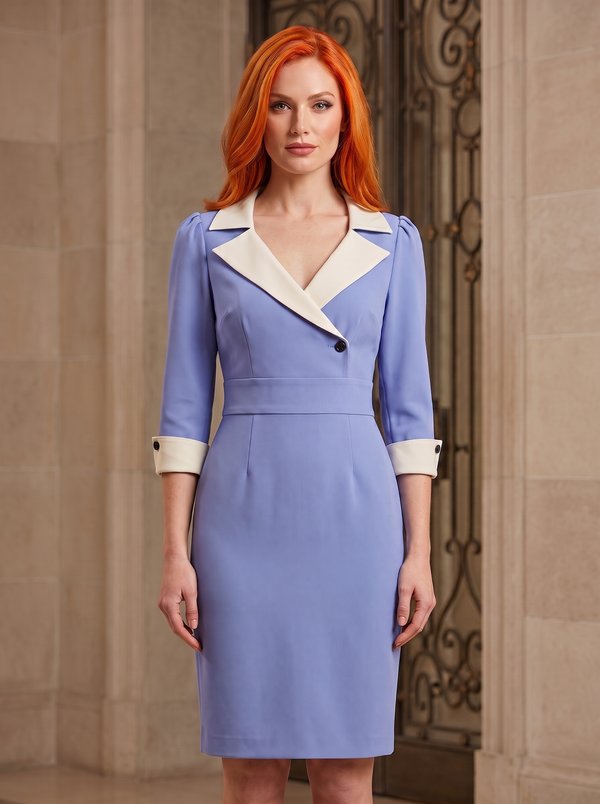
#2170
Tailored Pencil Dress Contrast Lapels Cuffs
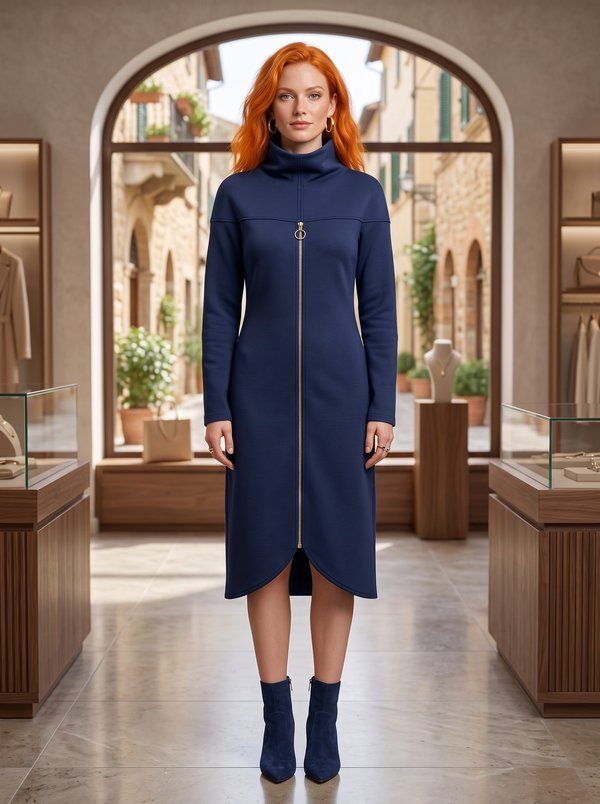
#2176
Dress with Yoke and Separating Zipper
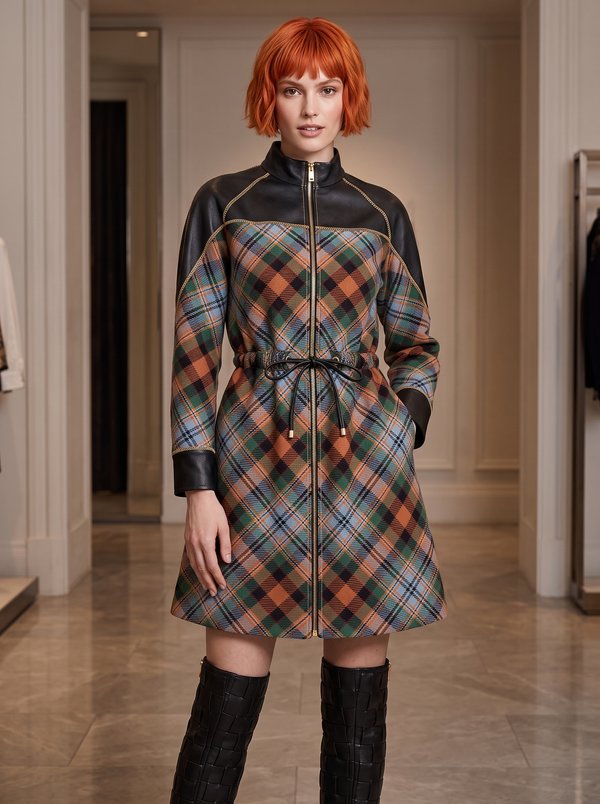
#2169
Zippered Dress with Collar and Drawstring
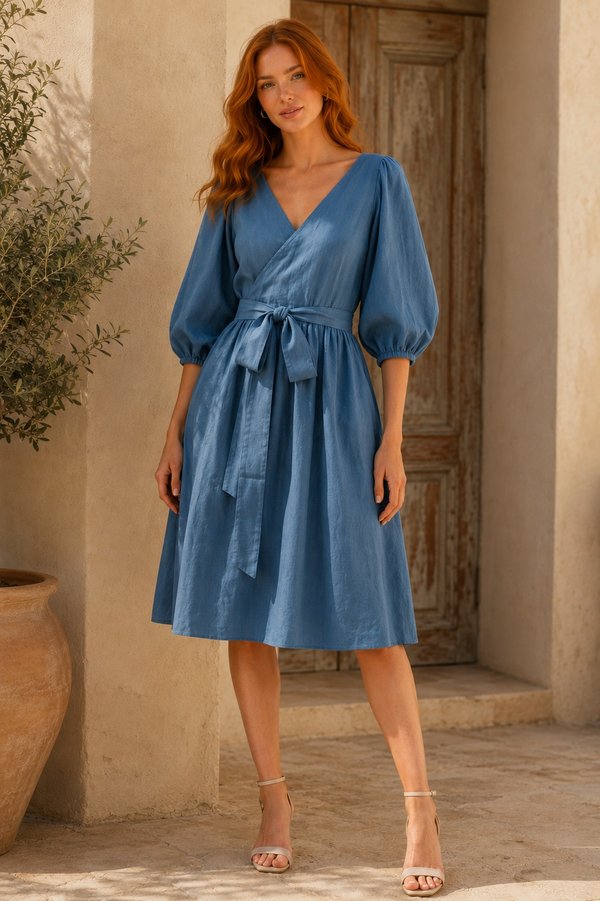
#2168
Woven Wrap Dress with Sleeves and Ties
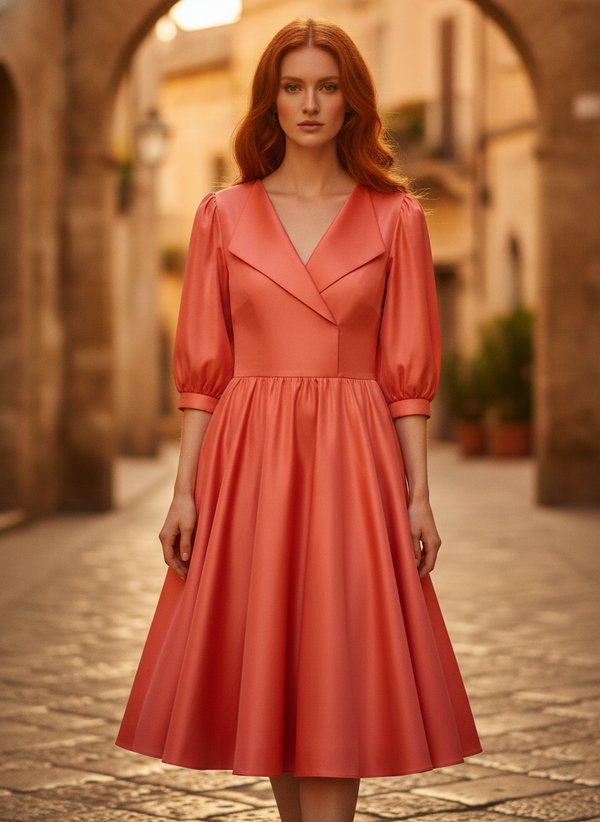
#2178
Fitted Bodice Dress With Cuffed Sleeves
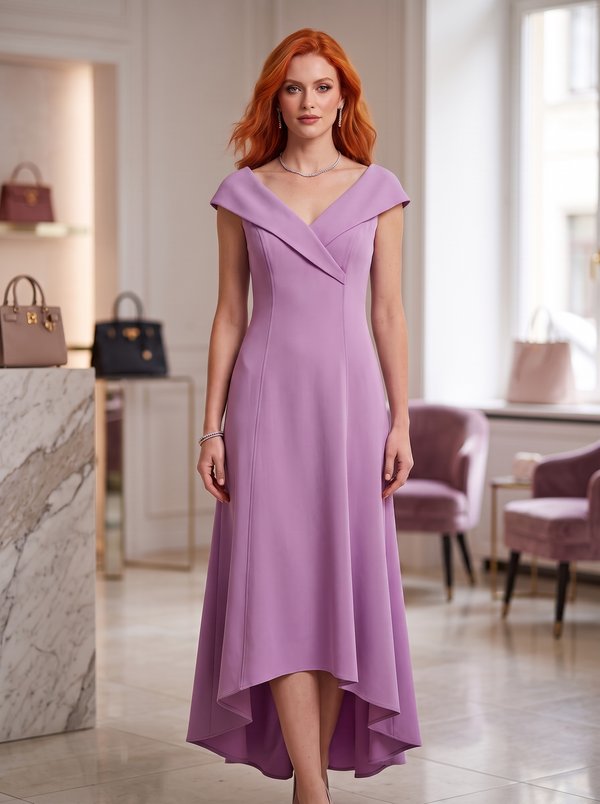
#2167
Collared Dress with Princess Seams

Minerva Support
Online