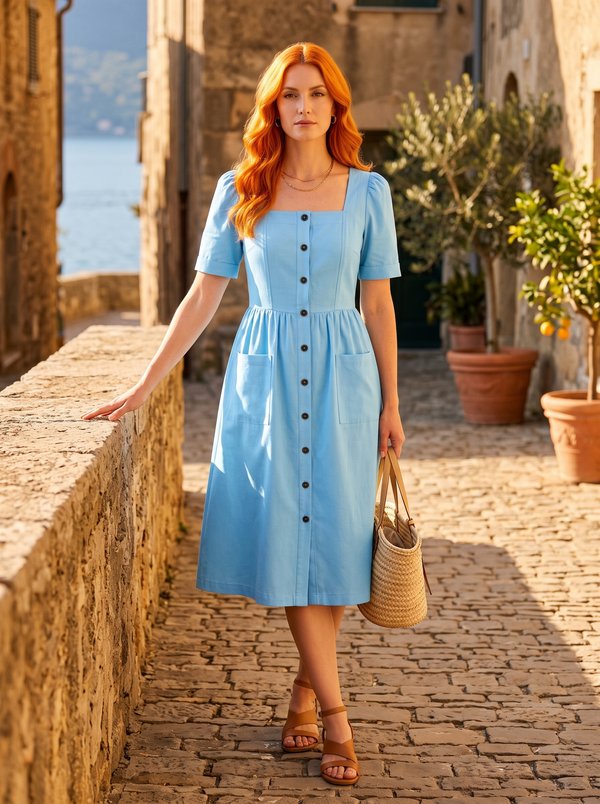
Sleeveless Shirt Dress
A women's sleeveless knee-length shirt dress with a shirt collar on a stand, a four-button half placket and a waist seam. One patch pocket with a box pleat sits on the left chest; the armholes are bound with bias binding.
When To Wear
- Hot summer days, with sandals or flat shoes.
- Over a thin shirt or T-shirt, or under a cardigan, in spring and early autumn.
Key Design Features
Silhouette: Fitted bodice joined at the waist to a flared skirt.
Length: About knee length.
Collar: Shirt collar on a stand, topstitched 0.1 cm from the edge.
Front: Bodice front with a dart and a side front panel; lower front cut in one piece on the fold.
Closure: Half placket set onto the front, right side over left, with four buttons.
Pockets: Patch pocket on the left chest with a box pleat and a folded, interfaced band at the top.
Back: Upper and lower back with darts, joined at the waist; centre back seam.
Finishing: Armholes finished with a 4 cm folded bias binding turned to the inside and topstitched; hem turned and topstitched (2 cm allowance).
Level Of Difficulty
Intermediate. Collar with stand, a set-on placket with clipped corners, a pleated patch pocket and bias-bound armholes.
Fabric Recommendations
Dress fabrics in natural or blended fibres.
Additional Supplies
- 4 buttons
- Fusible interfacing (plackets, collar, collar stand, pocket band)
Cutter's Must
When stitching pieces, pay attention to the notches - they must match!
- From main fabric:
- Upper back – 2 pieces
- Lower back – 2 pieces
- Upper front – 2 pieces
- Lower front – 1 piece on fold
- Front side – 2 pieces
- Front placket – 4 pieces
- Collar – 2 pieces
- Collar stand – 2 pieces
- Pocket facing – 1 piece
- Pocket – 1 piece
- From fusible interfacing:
- Placket – 2 pieces
- Collar – 1 piece
- Collar stand – 1 piece
- Pocket facing – 1 piece
Sewing Instructions
- Interface the pieces with fusible interfacing.
- Stitch darts on back pieces. Press dart allowances towards the center. Stitch upper and lower back parts. Overlock and press allowances upwards. Stitch center back seam. Overlock allowance and press to the left side.
- Stitch dart on front. Trim dart depth with overlocker and press towards the center. Attach front side to front. Overlock allowance and press towards the center.
- Form a box pleat on the pocket and secure it at the upper and lower edges. Fold pocket facing in half lengthwise, right sides out, and stitch to the upper edge of the pocket. Overlock and press allowances downwards. Fold side and lower pocket allowances inwards and press. Topstitch pocket onto the left front according to markings.
- Stitch upper and lower front parts. Overlock and press allowances upwards.
- Stitch side and shoulder seams, press allowances towards the back and overlock.
- Fold plackets in pairs, right sides together, and stitch the center edges of the plackets. Turn plackets right side out and press. Attach plackets to the right side of the front along the long edge, stopping 1 cm from the bottom. Overlock allowances. Clip the front allowance at the corners, stopping 1 mm from the stitching. Position the right placket over the left. Tuck the ends of the plackets inwards and stitch, securing the bottom edge.
- Fold upper collar with lower collar, right sides together. Stitch the ends and outer edge of the collar. Trim seams. Turn collar right side out, shape and press. Fold collar stand pieces right sides together, insert the finished collar between them, align notches and stitch, simultaneously stitching the ends of the collar stand. Start and end stitching strictly at the marked line of the collar stand attachment seam. Turn finished collar right side out and press.
- Attach the outer collar stand with collar to the neckline, turn under the open edge of the inner collar stand and topstitch into the attachment seam. Topstitch along the collar and collar stand 0.1 cm from the edge.
- Cut a bias binding 4 cm wide and length equal to armhole length + 4 cm. Fold bias binding in half lengthwise, right sides out, and press. Fold binding with armhole edge, right sides together, leaving tails, and stitch. Fold binding to the wrong side, clip seams, and topstitch along the fold onto the main piece. Press seam.
- Overlock the bottom edge of the garment, press to the wrong side and topstitch.
- Make buttonholes and sew on buttons.