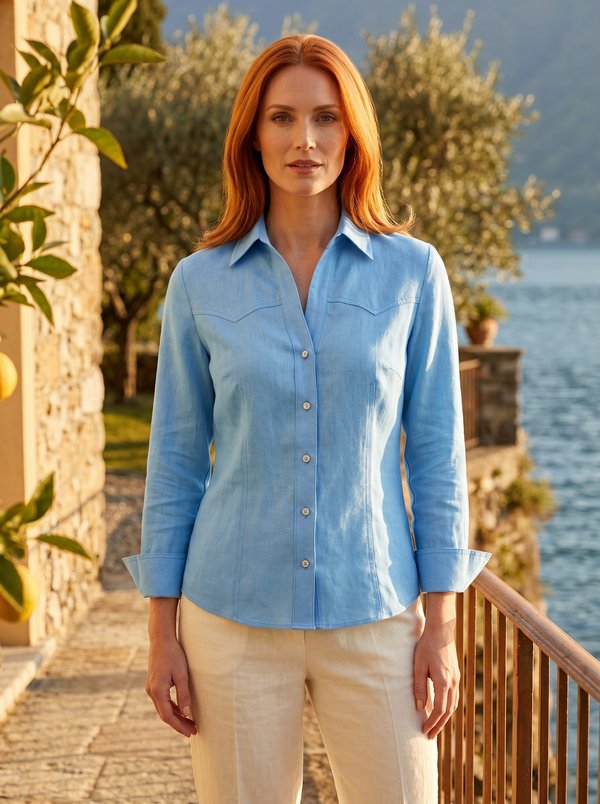
Sleeveless Collared Button-Front Pleated Blouse
A sleeveless women's hip-length top with a notched collar, a five-button front, long front and back yokes and a pleated lower section whose pleats are stitched down and open 5 cm above the hem.
When To Wear
- In summer, with trousers or a straight skirt, for the office or daytime.
- Under a jacket or cardigan in spring and autumn.
Key Design Features
Silhouette: Straight yokes down to about the waist, joined to a pleated lower section that opens out at the hem.
Length: Hip length.
Collar: Notched collar with lapels; upper collar interfaced, sewn into the neckline between the garment and the front facings.
Sleeves: Sleeveless; armholes finished with folded bias strips turned to the wrong side and topstitched.
Front: Two front yokes with a few shallow pleats at the lower seam, lower fronts with stitched-down pleats. Separate interfaced front facings, turned along the hemline at the lower corners. Five buttons, with buttonholes on the right front.
Back: Back yoke and lower back each in two pieces, with a centre back seam; the lower back is pleated like the front.
Finishing: Yoke seams overlocked and pressed up onto the yokes; interfaced back neck facing tacked to the shoulder seams; hem overlocked and topstitched.
Level Of Difficulty
Intermediate. A notched collar set with front facings, partly stitched-down pleats, yoke seams and bias-faced armholes.
Fabric Recommendations
Thin fabrics made from natural fibres.
Additional Supplies
- 5 buttons
- Fusible interfacing (front facings, back neck facing, upper collar)
Cutter's Must
- From main fabric:
- Back Yoke – 2 pieces
- Lower Back – 2 pieces
- Lower Collar – 1 piece
- Back Neckline Facing – 1 piece
- Upper Collar – 1 piece
- Front Yoke – 2 pieces
- Center Front Facing – 2 pieces
- Lower Front – 2 pieces
- Bias strips for the armholes (cut to length)
- From fusible interfacing:
- Center Front Facing – 2 pieces
- Back Neckline Facing – 1 piece
- Upper Collar – 1 piece
Sewing Instructions
- Fuse interfacing to the Center Front Facing, Back Neckline Facing and Upper Collar.
- Mark the pleats on the Lower Front and Lower Back and stitch them down, stopping 5 cm above the hem.
- Form shallow pleats on the Front Yoke and attach the Lower Front. Overlock the seam allowances and press towards the Front Yoke.
- Attach the Lower Back to the Back Yoke. Overlock the seam allowances and press towards the Back Yoke.
- Stitch the center back seam. Overlock the seam and press towards the right back.
- Stitch the shoulder seams of the top. Overlock the shoulder seams and press towards the Back.
- Cut bias strips for the armholes. Fold each strip in half lengthwise and press. Stitch the folded strip to the armhole edge of the Front and Back, with the fold of the strip lying on the garment at a width of 0.75 cm. Trim the seam allowances to a width of 0.5 cm. Turn the strip to the wrong side of the top and topstitch along the armhole of the Front and Back.
- Stitch the side seams. Overlock the side seams of the top and press towards the Back.
- Stitch the Lower Collar and Upper Collar together along the outer edges, then turn the collar right side out.
- Stitch the shoulder seams of the Back Neckline Facing and Center Front Facing. Press the seams open and overlock the outer edge of the facings.
- Place the Center Front Facing on the right side of the front, face down, pin, and stitch the neckline of the Front and Back together with the collar. Stitch the facing to the front along the front edge. The stitching is done from the Front side. Mark the hemline. Stitch the lower edges of the Center Front Facing to the front precisely along the marked hemline. Trim the seams of the upper and lower corners of the front edge. Turn the front edges to the right side, and straighten the seams.
- Secure the Back Neckline Facing to the shoulder seam of the top with a 1 cm tack.
- Overlock the bottom hem of the top and topstitch to the garment.
- On the right front, make buttonholes, and on the left, sew on buttons.